Run your fingers over that faded cotton jersey; it feels like a Sunday morning from a decade ago. Every fiber in your hands holds a specific thermal memory and a distinct tensile strength that has been softened by years of wear and washing. We are not just sewing today; we are engineering a legacy. Creating Embroidered Memory Quilts is the ultimate fusion of high-stakes physics and deep emotional resonance. You are taking disparate textiles, each with a different grain direction, and forcing them into a singular, structural masterpiece. It is about the friction of the needle against the weave and the way a silk thread catches the light against a rugged denim backdrop. This is technical, it is messy, and it is absolutely brilliant. We are going to take those boxes of "too precious to toss" garments and turn them into a weighted, tactile archive. Grab your coffee and clear the workbench. We are diving into the molecular level of memory, where every stitch is a calculated decision in durability and design.
THE STUDIO KIT
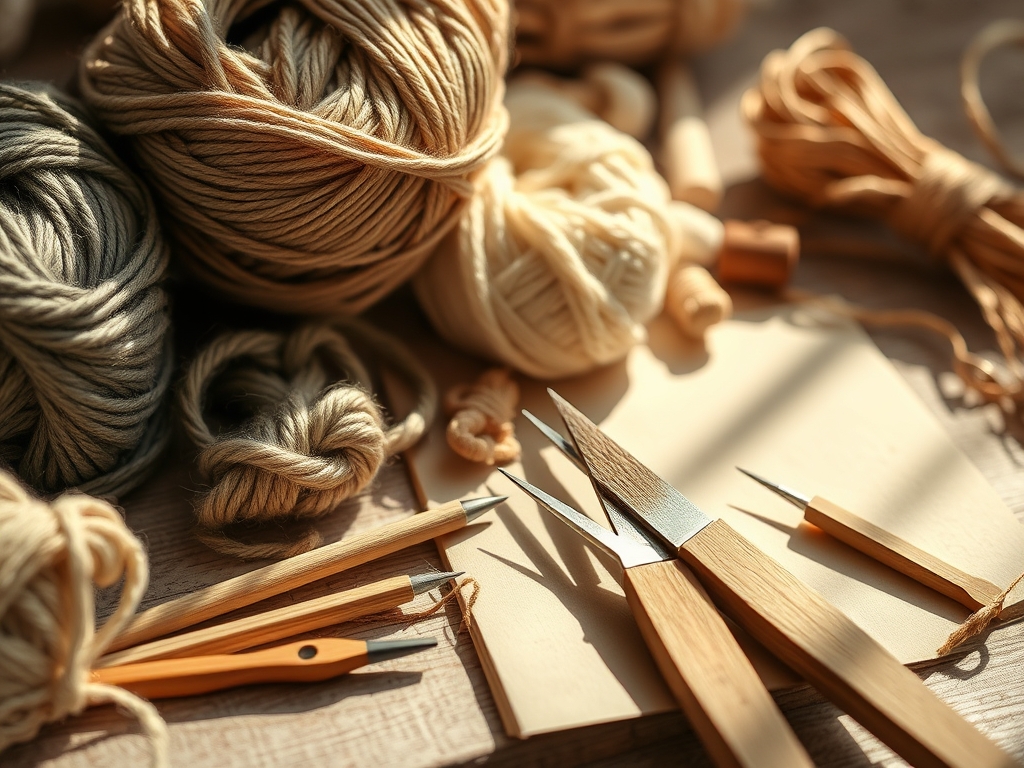
To build a professional grade quilt, you need more than just a standard sewing kit. You need tools that respect the material physics of aged fabric. Start with a high carbon steel rotary cutter with a 45mm blade; the sharpness ensures you do not distort the weave as you cut. You will also need a self-healing cutting mat with a precise grid for geometric accuracy. For the embroidery phase, select mercerized cotton floss or silk thread; these have a higher luster and better ply stability than standard polyester.
Essential hardware includes a bone folder for crisp seam pressing and a sewing gauge to ensure your seam allowances are consistent to the millimeter. Because old clothes vary in elasticity, you must use a fusible lightweight stabilizer. This adds structural integrity to stretchy knits without sacrificing the soft hand-feel. If you lack a specific tool, consider these Material Substitutions: use a clean wooden ruler as a makeshift bone folder to burnish your seams, or repurpose a fine-tipped permanent marker for mapping out your embroidery paths on the stabilizer backing before it is fused.
THE TEMPO
The "Maker's Rhythm" is a psychological state where your movements become automated and precise. For Embroidered Memory Quilts, the tempo is divided into three distinct movements. Phase one is the Curation and Stabilization, which typically requires four to six hours. This involves the surgical dismantling of garments and the application of heat to bond the stabilizers. Phase two is the Layout and Embroidery, the most time intensive portion, often spanning twenty to forty hours depending on the complexity of your needlework. Finally, the Assembly and Binding phase takes roughly eight hours. Do not rush the cool-down period after pressing; allowing the fibers to set prevents the fabric from "creeping" or shifting out of alignment later.
THE CORE METHOD
1. The Deconstruction and Mapping
Carefully open the seams of your garments using a seam ripper with a sharp surgical edge. Avoid pulling the fabric, which causes mechanical stress and permanent distortion of the fibers. Map your pieces based on color theory and fabric weight.
Mastery Tip: Always align your cutting path with the warp and weft of the fabric. If you cut on the bias (diagonally), the fabric will stretch significantly under the weight of the embroidery, leading to puckering.
2. Thermal Bonding of Stabilizers
Apply your iron-on stabilizer to the reverse side of every piece. This process uses heat and pressure to create a chemical bond between the adhesive and the textile fibers. It transforms a flimsy t-shirt into a stable canvas.
Mastery Tip: Use a dry iron setting to prevent moisture expansion. If the fabric fibers absorb steam during the bonding process, they will shrink as they dry, causing the stabilizer to delaminate or bubble.
3. Precision Squaring
Use your rotary cutter and an acrylic ruler to trim every stabilized piece into uniform squares or rectangles. Use calipers if you want to be truly obsessive about your border widths. Consistency here ensures the geometric logic of the quilt remains intact.
Mastery Tip: Accuracy at this stage prevents cumulative error. A discrepancy of just one millimeter per block can result in a total misalignment of several inches across the width of a full sized quilt.
4. The Embroidery Narrative
Transfer your designs using a water soluble pen. As you stitch, maintain even thread tension. If you pull too tight, you create a "dimple" in the fabric; too loose, and the thread will snag and lose its tactile definition.
Mastery Tip: Utilize the capillary action of your marking pens by testing them on a scrap first. Some vintage dyes react chemically with marking inks, leading to permanent staining that cannot be laundered out.
5. The Structural Lattice
Sew your blocks together into rows using a 1/4 inch seam allowance. Use a walking foot attachment on your sewing machine to ensure that the top and bottom layers of fabric move at the exact same speed through the feed dogs.
Mastery Tip: This prevents differential shifting. Without a walking foot, the friction of the presser foot can push the top layer forward, resulting in mismatched corners at the end of a long seam.
6. The Batting Sandwich
Layer your quilt top, the batting (the insulating middle layer), and the backing fabric. Use curved safety pins to baste the layers together. The batting provides the thermal resistance and the "loft" or thickness of the finished piece.
Mastery Tip: Choose a batting with high resiliency. Natural wool batting offers excellent "bounce back" and breathability, whereas polyester batting provides more "loft" but less moisture wicking capability.
7. The Final Binding
Wrap a strip of fabric around the raw edges of the quilt and stitch it down. This creates a protective barrier that prevents the internal layers from fraying. Use a blind stitch for a professional, invisible finish.
Mastery Tip: Cut your binding strips on the bias if your quilt has rounded corners. The inherent stretch of a bias cut allows the fabric to navigate curves without folding or "pleating" against the edge.
THE TECHNICAL LEDGER
Maintenance & Longevity: To preserve the molecular bonds of the dyes and fibers, wash your quilt only when necessary using a pH neutral detergent. Avoid UV exposure, which causes photodegradation and weakens the thread strength over time.
Material Variations:
- Sustainable: Use bamboo batting and organic cotton threads.
- Recycled: Repurpose old flannel sheets for the internal batting layer.
- Premium: Incorporate silk habotai or high-grade linen for a luxurious surface texture.
The Correction:
- Puckered Embroidery: If the fabric bunches, you likely skipped the stabilizer. Fix: Carefully remove stitches, apply a heavier stabilizer, and re-stitch.
- Mismatched Corners: This happens due to uneven seam allowances. Fix: Use a seam ripper to open the junction and re-pin using a sewing gauge for exactness.
- Thread Breaking: Usually caused by a burr on the needle or a tension mismatch. Fix: Replace the needle with a topstitch needle which has a larger eye to reduce friction.
Studio Organization: Store your ongoing project in a breathable cotton bag or an acid free archival box. Never store textiles in plastic bins for long periods, as trapped moisture can lead to mildew growth and fiber rot.
THE FINAL REVEAL
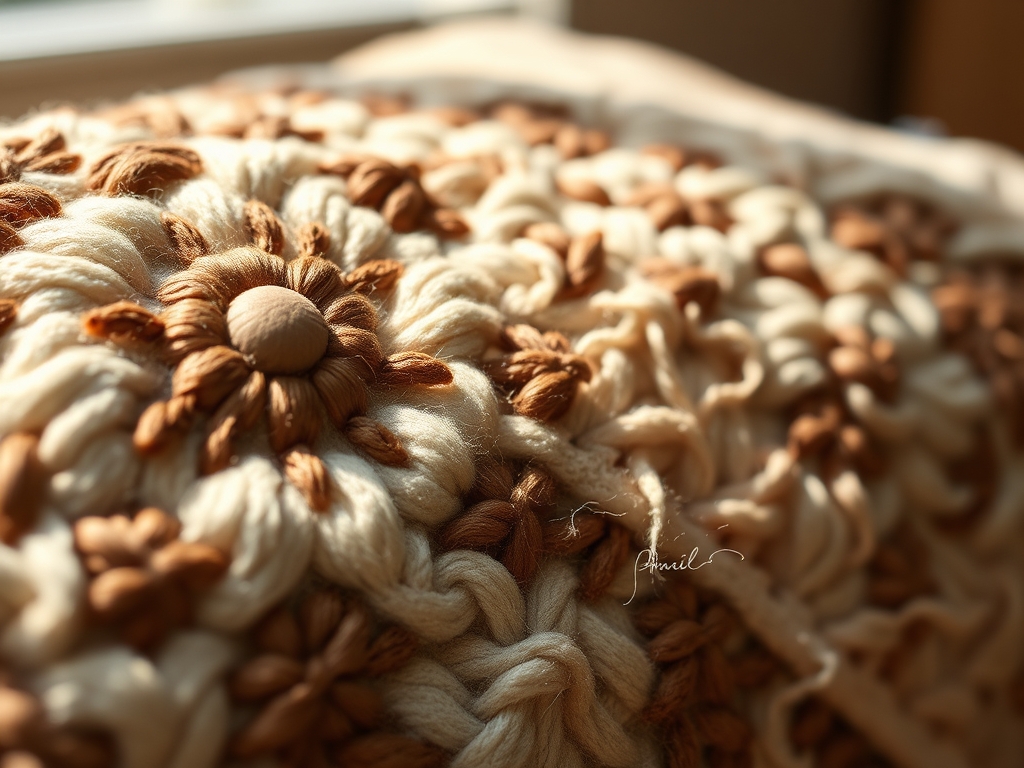
Look at that! You have successfully navigated the complex biomechanics of needlework and the rigid laws of textile geometry. Your finished quilt is a heavy, comforting weight of history. The way the light hits the embroidery creates a 3D effect that you just cannot get from a store bought blanket. You have mastered the tactile art of storytelling through thread. This isn't just a craft; it is a high-performance piece of functional art that will stand up to decades of use. You should be incredibly proud of the structural integrity and the soul you have sewn into every square inch.
STUDIO QUESTIONS
What is the best fabric for memory quilts?
High quality woven cottons like dress shirts or quilting cottons offer the best tensile strength. Avoid extremely thin synthetics or heavy leathers, as they require specialized industrial needles and can compromise the structural balance of the quilt.
How do I prevent my embroidery from puckering?
Puckering is caused by a lack of lateral support. Always use a fusible stabilizer on the back of your fabric before stitching. This locks the fibers in place and prevents the thread tension from collapsing the weave of the cloth.
Can I include stretchy t-shirts in my quilt?
Yes, but you must neutralize the elasticity. Apply a non-stretch, lightweight fusible interfacing to the back of the jersey fabric. This transforms the knit into a stable material that behaves like a woven textile during the assembly process.
How do I choose the right needle size?
Match the needle gauge to the fabric density. A size 80/12 needle is standard for most medium weight clothes. For thicker seams or heavy denim, move to a 90/14 to prevent the needle from flexing and causing skipped stitches.
How should I clean a finished memory quilt?
Hand wash in cool water with a pH-balanced soap. Do not wring the fabric, as this causes mechanical strain on the embroidery. Lay it flat on a rack to dry to maintain the geometric shape and prevent fiber stretching.