
Wet clay under your palms feels like a living, breathing creature before it even has a single vent. When you are working on Hand Thrown Garlic Keepers, you are not just making a jar; you are engineering a micro-climate. Garlic is a biological marvel that requires darkness to prevent sprouting and airflow to stop the creep of mold. As you center that four-pound lump of stoneware on the wheel, you feel the centrifugal force fighting your wrists. The grit of the grog, those tiny pre-fired ceramic particles, provides the necessary tensile strength to keep the walls from collapsing as you pull them upward. You want the walls thick enough to insulate against kitchen heat but thin enough to remain elegant. There is a specific magic in the moment the clay transitions from a chaotic blob into a symmetrical cylinder. It is cold, slick with slurry, and ready to become the ultimate pantry guardian. We are going to dive deep into the physics of airflow and the tactile joy of high-fire ceramics.
THE STUDIO KIT
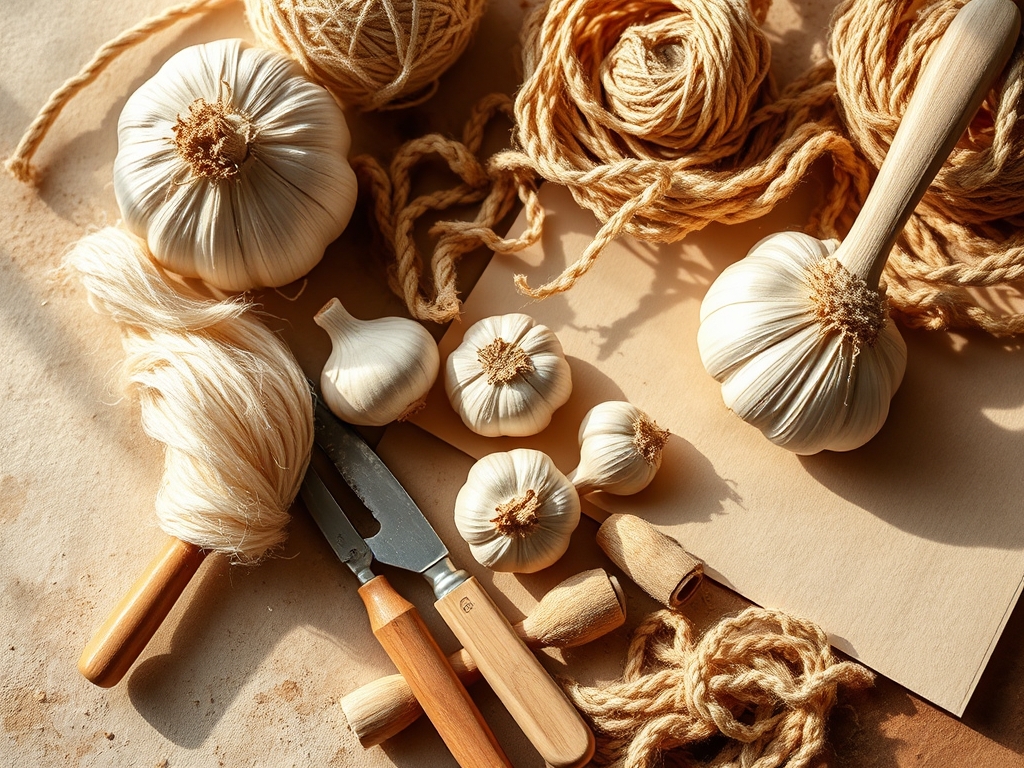
To master the Hand Thrown Garlic Keepers, your workbench needs to be a shrine to precision. You will need a pottery wheel with a high-torque motor to handle the initial centering of dense stoneware. For the shaping, keep a stainless steel rib and a wooden modeling tool nearby to refine the exterior profile. The most critical tool for our specific mission is the hole punch tool or a sharp drill bit set to create those five essential breathable holes. You will also need calipers to ensure the lid fits the gallery perfectly; a fraction of a millimeter determines whether your lid sits flush or wobbles.
For materials, I recommend a mid-range stoneware clay with a 5 percent shrinkage rate. Stoneware is less porous than terracotta once fired to maturity, which provides better structural integrity for long-term pantry use. If you cannot find stoneware, a porcelain-stoneware blend offers a smoother finish but requires more delicate handling due to its lower greenware stability.
Material Substitutions: If you lack a professional hole punch, a brass tube or even a sharpened copper pipe segment works beautifully. If you prefer a more rustic look, you can substitute the steel rib with a smooth river stone to burnish the surface, which compresses the clay particles and creates a natural, low-sheen luster without the need for heavy glazes.
THE TEMPO
The "Maker's Rhythm" for a garlic keeper is a slow dance with evaporation. You cannot rush the hydration curve of clay.
- The Throwing Phase (30 Minutes): This is the high-energy burst where you shape the vessel and the lid. It requires intense focus on symmetry.
- The Leather-Hard Wait (12 to 24 Hours): The piece must sit until it reaches a state where it is firm enough to trim but damp enough to cut. This is when the molecular bond of the water and clay is at its peak for structural carving.
- The Trimming and Piercing (45 Minutes): This is the precision stage where you carve the foot and punch the five breathable holes.
- The Bone-Dry Descent (3 to 5 Days): A slow, controlled dry is essential to prevent warping or S-cracks in the base.
- The Firing Cycle (48 Hours): This includes the initial bisque fire and the final glaze fire to reach vitrification, where the clay becomes glass-like and non-absorbent.
THE CORE METHOD
1. Centering and Opening the Floor
Start by securing your clay to the bat. Use your body weight to push the clay into the center until the oscillation stops completely. When opening the floor, leave at least half an inch of thickness at the bottom. This thickness is vital because you will be trimming a recessed foot later to allow air to circulate even underneath the jar.
Mastery Tip: Use hydrostatic pressure to your advantage. By keeping your hands lubricated but not soaking wet, you maintain the surface tension of the clay, preventing it from becoming "tired" or oversaturated, which leads to structural collapse.
2. Pulling the Walls and Creating the Gallery
Pull the walls upward using a steady, rhythmic motion. As you reach the desired height, use your thumb or a specialized tool to create a gallery, which is the small ledge where the lid will rest. This ledge must be perfectly level to ensure an airtight-ish fit that still allows for thermal expansion.
Mastery Tip: The tapered wall technique is key here. Make the base of the wall slightly thicker than the rim. This shifts the center of gravity downward, making the keeper stable when you are reaching for a clove in a hurry.
3. Engineering the Five Breathable Holes
Once the keeper is leather-hard, mark five equidistant points around the lower third of the vessel. Use your hole punch to remove the clay plugs. These holes create a convection current; as cool air enters the bottom, it pushes warmer, moisture-laden air out through the gaps in the lid.
Mastery Tip: To prevent stress fractures, always punch from the outside in while supporting the inner wall with your fingers. This minimizes the displacement of the clay's grain direction and ensures the hole remains a perfect circle during the firing process.
4. Refining the Lid and Air Gap
The lid should not be a vacuum seal. It needs a slight "rattle" or a small notch to complement the five holes in the body. Use your calipers to measure the gallery and throw the lid upside down to ensure the dome tension is sufficient to support its own weight without sagging.
Mastery Tip: A domed lid utilizes arch geometry to distribute weight to the outer edges. This prevents the center of the lid from cracking during the high-heat vitrification process in the kiln.
5. Burnishing and Final Surface Compression
Before the piece goes to the kiln, use a polished stone or a metal rib to burnish the exterior. This process aligns the flat clay platelets on the surface, creating a dense barrier that is naturally resistant to kitchen grease and dust.
Mastery Tip: Burnishing increases the capillary resistance of the clay. Even before glazing, a well-burnished piece will feel silky and repel minor moisture, which is the first line of defense for your stored garlic.
THE TECHNICAL LEDGER
Maintenance & Longevity: Hand Thrown Garlic Keepers should be hand-washed with mild soap. Avoid the dishwasher, as the high-pressure jets and harsh detergents can degrade the glaze fit over time, leading to "crazing" or tiny cracks where bacteria can hide.
Material Variations:
- Sustainable: Use "reclaim" clay, which is recycled scrap from previous projects, for a unique, variegated texture.
- Premium: Use a porcelain body for a translucent, high-end feel, though it requires expert-level control over plasticity.
The Correction:
- The Lid Stick: If the lid sticks after firing, use a diamond sanding pad to grind down the contact points.
- The Ovaling: If the jar turns oval, it was likely removed from the wheel too early. Use a rigid bat system to let it firm up before moving.
- The Clogged Hole: If glaze fills your breathable holes, use a small dremel tool with a diamond bit to carefully clear the obstruction after the final firing.
Studio Organization: Store your leather-hard pieces in a damp box (a plastic bin with a layer of set plaster at the bottom). This maintains a 100 percent humidity environment, allowing you to pause your work for days without the clay reaching the point of no return.
THE FINAL REVEAL
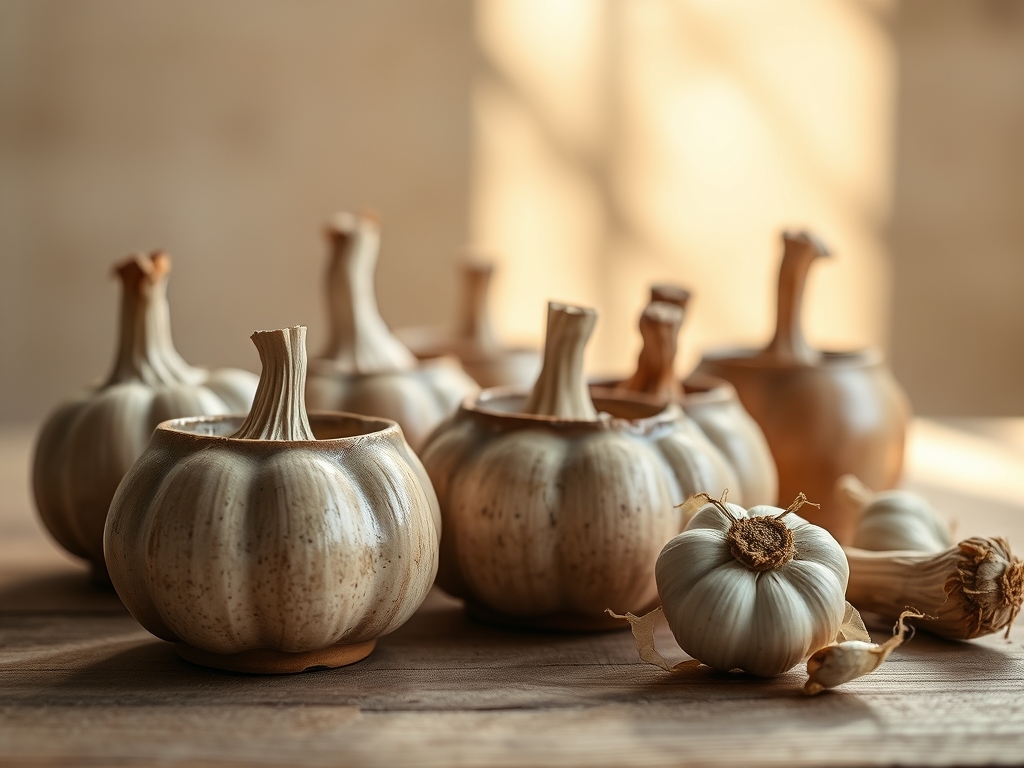
There is nothing quite like the sound of a ceramic lid settling into its gallery with a soft, stony "clink." Your Hand Thrown Garlic Keepers are now ready to take their place on the counter. The five-hole ventilation system ensures that your garlic stays firm and pungent for months, while the heavy stoneware body provides a thermal mass that resists the temperature swings of a busy kitchen. The tactile contrast between the smooth glaze and the raw, burnished clay at the base makes every interaction a sensory delight. You have successfully blended physics, art, and culinary utility into a single, beautiful object.
STUDIO QUESTIONS
Why are five holes better than three for garlic storage?
Five holes provide optimal cross-ventilation without compromising the structural integrity of the clay wall. This arrangement ensures that no matter how the jar is turned, a consistent airflow gradient prevents moisture buildup around the bulbs.
Can I use terracotta for my garlic keeper?
Yes, terracotta is naturally porous, which aids in moisture wicking. However, it is more fragile than stoneware. If you choose terracotta, ensure you do not glaze the interior to maintain the material's natural evaporative cooling properties.
How do I prevent the holes from warping during firing?
Ensure the clay is at a true leather-hard state before punching. If the clay is too soft, the edges will slump. Supporting the interior wall during the punch maintains the radial tension of the cylinder.
What is the best glaze for the interior of a keeper?
A food-safe clear gloss or a stable matte glaze is best. Avoid "crackle" glazes, as the tiny fissures can trap organic matter from the garlic skins, leading to mold growth within the micro-cracks of the vessel.
How big should the breathable holes be?
Aim for a diameter of roughly 6 to 10 millimeters. This size is large enough to allow significant gas exchange but small enough to keep light out, which prevents the garlic from thinking it is time to sprout.

