
Imagine the cool, damp weight of stoneware clay resisting your palms as the pottery wheel spins at a rhythmic three hundred revolutions per minute. There is a specific, visceral magic in the moment the centrifugal force meets your steady grip to create Hand Thrown Trinket Dishes. You can feel the grit of the grog; those tiny particles of fired clay added to the body to increase structural integrity and reduce shrinkage during the firing process. As the walls rise, the tactile feedback tells your brain exactly when the ceramic reaches its optimal thickness. We are not just making pottery here; we are manipulating earth and mineral to create a sanctuary for your most precious rings. The transition from a raw, spinning lump to a refined vessel is a lesson in physics and patience. Once the kiln transforms that fragile mud into a vitrified, non porous surface, we introduce the crowning glory: genuine gold leaf. This process requires a steady hand and a deep understanding of surface tension to ensure every fleck of twenty four karat brilliance adheres with permanent, professional precision.
THE STUDIO KIT
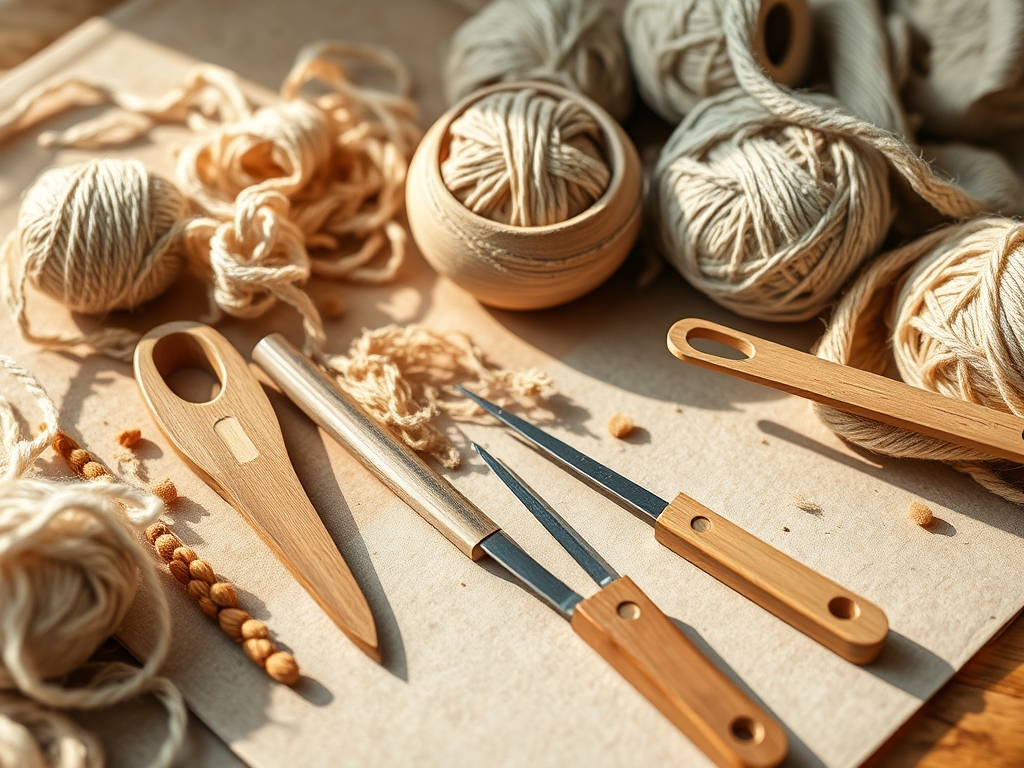
To execute these details with studio quality results, you need a kit that respects the chemistry of the medium. Your primary tool is the pottery wheel, but the secondary finishing tools are where the artistry happens. You will need a stainless steel rib for smoothing the exterior walls to a mirror finish and a wire clay cutter with high tensile strength to snap the dish from the bat without warping the base. For the gilding phase, an antistatic squirrel hair mop brush is non negotiable; synthetic bristles often carry too much static charge, causing the delicate leaf to shatter before it touches the dish. You also need gilding size, which is a specialized adhesive that reaches a specific state of "tack" rather than drying completely.
Material Substitutions: If you cannot source genuine gold leaf, a high quality composition leaf (a mix of copper and zinc) offers a similar aesthetic at a lower price point, though it requires a sealant to prevent oxidation. Instead of a professional kiln, some makers use air dry clay with a polyurethane gloss to mimic the vitrified look of true ceramics, though the structural density will be significantly lower.
THE TEMPO
The maker's rhythm for Hand Thrown Trinket Dishes is dictated by the evaporation of water. You cannot rush the physics of drying. The "Throwing Phase" takes roughly fifteen minutes per dish, but the "Leather Hard Phase" requires a twelve to twenty four hour wait depending on your studio humidity. This is the sweet spot where the clay is firm enough to trim with calipers and loop tools but still retains enough moisture to be malleable. The "Firing Cycle" is the longest stretch, often taking forty eight hours for the kiln to ramp up to temperature and cool down safely to avoid thermal shock. Finally, the "Gilding Phase" is a fast paced, high focus window of about thirty minutes where the adhesive tack is at its peak performance.
THE CORE METHOD
1. Centering and Opening the Floor
Start by throwing your clay onto the center of the wheel head with enough force to create a vacuum seal. Use your palms to "coning up" and "coning down" to align the plate like particles of the clay body. When opening the floor of the dish, use your thumb to create a flat, even base.
Mastery Tip: Always maintain a consistent rotational velocity. If the wheel slows down while you are applying pressure, the centrifugal force will drop, causing the walls to collapse or become asymmetrical.
2. Pulling the Walls with Precision
Using your fingertips, pinch the clay at the base and pull upward in a slow, controlled motion. Your Hand Thrown Trinket Dishes should have a slight interior curve to ensure rings slide toward the center rather than resting against the rim.
Mastery Tip: Use a wooden modeling tool to undercut the base. This creates a "shadow line" that makes the dish appear to float on the table, a technique used by master potters to enhance visual lightness.
3. Achieving the Bone Dry State
After trimming the foot of the dish during the leather hard stage, the piece must reach "bone dry" status. This means all chemically uncombined water has evaporated. The clay will feel room temperature to the touch rather than cool.
Mastery Tip: If you fire clay that still contains interstitial moisture, the water will turn to steam inside the kiln. This creates internal pressure that leads to "exploding" pieces due to the vapor expansion coefficient.
4. The First Bisque Firing
Place your dishes in the kiln for the bisque fire, usually reaching temperatures around one thousand nine hundred degrees Fahrenheit. This transforms the clay into a porous, durable ceramic that is ready to accept glaze.
Mastery Tip: This stage increases the capillary action of the material, allowing it to "suck" the moisture out of the liquid glaze to create an even, bonded coating.
5. Applying the High Gloss Glaze
Dip or brush your bisque ware with a clear or white gloss glaze. The glaze must be formulated to match the coefficient of thermal expansion of your specific clay body to prevent "crazing" or tiny cracks in the surface.
Mastery Tip: Wipe the bottom "foot" of the dish perfectly clean with a damp sponge. Any glaze left on the bottom will melt and fuse the dish to the kiln shelf, a mistake known as "plucking."
6. Mapping the Gold Leaf Design
Once the final glaze fire is complete, use a fine tipped brush to apply gilding size in specific patterns. Think of organic splatters, clean rim lines, or a solid "dipped" look on one half of the dish.
Mastery Tip: Wait for the size to reach a "whistling tack." If you touch it with your knuckle and it makes a clicking sound without leaving residue, the surface energy is perfect for the gold leaf to bond.
7. Laying the Leaf and Burnishing
Carefully lift a sheet of gold leaf using a gilder's tip or a piece of tissue paper. Lay it over the tacky areas and use a soft cotton ball to gently press it into the crevices.
Mastery Tip: Use a burnishing tool or a soft cloth to rub the gold in circular motions. This flattens the microscopic peaks of the metal, increasing its reflectivity and ensuring a permanent mechanical bond.
8. Final Curing and Polishing
Allow the gilded dishes to sit in a dust free environment for twenty four hours. This ensures the adhesive has fully polymerized. Use a microfiber cloth to give the gold a final polish, removing any stray flecks or "gold dust."
Mastery Tip: Avoid using harsh chemical sealants over genuine twenty four karat gold. Gold is a noble metal and does not oxidize; adding a topcoat can actually dull its natural, high refractive index.
THE TECHNICAL LEDGER
Maintenance & Longevity: Hand Thrown Trinket Dishes are durable but the gold leaf is a surface treatment. To maintain the luster, clean only with a soft, dry cloth. Avoid abrasive sponges which can scratch the soft gold, as gold has a low Mohs hardness scale rating.
Material Variations: For a sustainable approach, look for "reclaimed clay" or "pugged" scraps from local studios. You can also use eco friendly water based sizes that do not emit volatile organic compounds (VOCs) during the drying process.
The Correction:
- Bubbling Gold: This happens if the size is too wet. Fix it by letting the size dry longer next time; for now, you must sand it back and restart.
- Cracked Walls: Usually caused by uneven drying. Fix this by covering your wet pieces with plastic to slow down the evaporation rate.
- Dull Gold: This occurs if you over burnish or use a dirty cloth. Use a fresh, silk cloth to restore the specular reflection.
Studio Organization: Store your gold leaf in a climate controlled drawer. High humidity can cause the paper separators to stick to the leaf. Keep your clay in airtight "wet boxes" to maintain the plasticity for future throwing sessions.
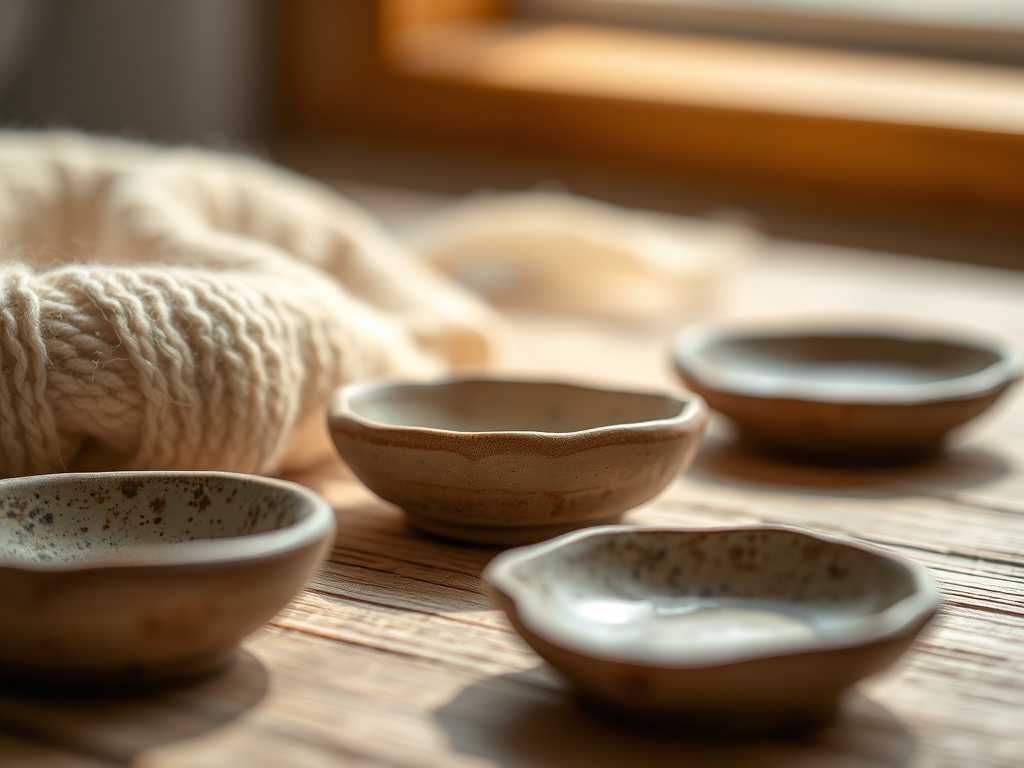
THE FINAL REVEAL
Look at those beauties! Your Hand Thrown Trinket Dishes are now high end gallery pieces. The way the gold leaf catches the light against the smooth, vitrified glaze is absolutely stunning. You have successfully navigated the complex physics of ceramic tension and the delicate chemistry of gilding. These dishes aren't just functional; they are a testament to your technical skill and artistic eye. Your rings have never had a more luxurious place to call home.
STUDIO QUESTIONS
Why is my gold leaf peeling off the ceramic?
The gilding size likely did not reach the proper "tack" before application. If the adhesive is too dry, the leaf cannot form a mechanical bond with the glaze. Always test the tackiness with your knuckle before laying the gold.
Can I put these dishes in the dishwasher?
Absolutely not. The high heat and abrasive detergents will strip the gold leaf and potentially damage the glaze. Hand wash only with mild soap to preserve the structural integrity of the decorative gold details.
What is the best clay for trinket dishes?
A fine grained porcelain or a smooth white stoneware is best. These clays have a high density and a smooth surface, which allows the gold leaf to lay flat and achieve maximum brilliance without being interrupted by "grog" texture.
Do I need a sealer for the gold leaf?
If you use genuine twenty four karat gold, no sealer is required because gold does not tarnish. However, if you use imitation leaf (composition metal), you must apply a solvent based sealer to prevent the copper content from oxidizing.

