
Close your eyes and listen to the rhythmic hum of a sewing machine needle piercing through high-density cotton. There is a specific, satisfying resistance when you work with heavy-gauge terry cloth; it is the tactile feedback of quality. We are not just making accessories today. We are creating heirlooms that survive the chaos of pureed carrots and spilled milk. When you craft Personalized Embroidered Bibs, you are balancing the tensile strength of the fabric against the delicate tension of the thread. The goal is a surface that is soft against an infant's skin but structurally sound enough to withstand a thousand wash cycles. You can feel the difference in your fingertips when the grain is perfectly aligned. It is about that crisp snap of the stabilizer and the way the embroidery hoop locks the fibers into a rigid, workable plane. We are diving deep into the physics of the stitch to ensure these cute animals do not just look good; they endure.
THE STUDIO KIT
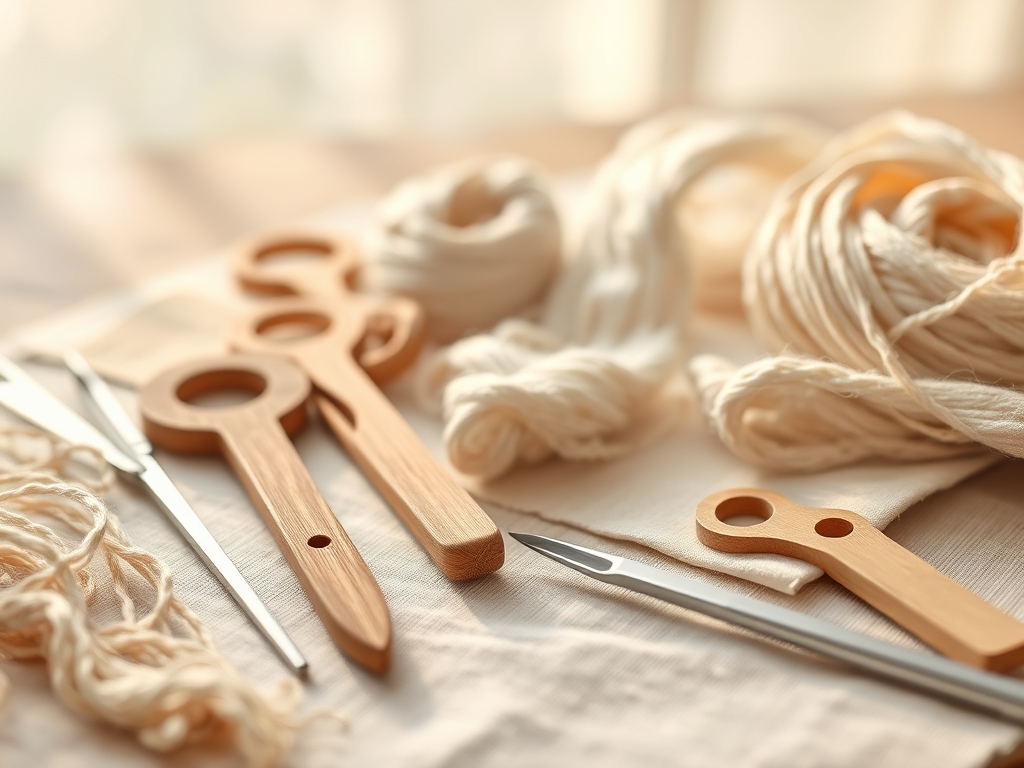
To achieve professional results, you need more than just a needle and thread. Your primary canvas should be a triple-ply organic cotton or a high-GSM (grams per square meter) bamboo velour. These materials offer superior absorbency and capillary action, pulling moisture away from the surface quickly. You will need a rotary cutter with a 45mm tungsten steel blade for clean, non-frayed edges and a self-healing cutting mat to preserve the blade's geometry. For the embroidery itself, select a 40-weight rayon or polyester thread; rayon offers a superior luster, while polyester provides higher chemical resistance to bleach and hot water.
Your toolkit must include a water-soluble stabilizer for the top of the fabric to prevent stitches from sinking into the pile, and a tear-away stabilizer for the back to maintain structural integrity. Do not forget a pair of curved embroidery snips for flush thread cuts and a tailor's ham to press the finished curves. If you cannot find bamboo velour, a high-quality linen is a viable material substitution, though it requires a tighter stitch density to prevent puckering due to its lower elasticity.
THE TEMPO
The "Maker's Rhythm" is a three-act play. Phase one is the Preparation Phase, which takes approximately twenty minutes. This involves stabilizing the fabric and calibrating your machine's tension settings. You cannot rush the hoop; if the fabric is too loose, the design will shift. If it is too tight, you risk permanent fiber distortion.
Phase two is the Execution Phase, lasting thirty to forty-five minutes per bib depending on the stitch count of your animal design. This is where you monitor the lay of the thread, ensuring no loops or "bird nests" form on the bobbin side. Finally, the Finishing Phase takes fifteen minutes. This involves dissolving the stabilizer, trimming jump stitches, and a final steam press. Total time per piece is roughly eighty minutes of focused, meditative engineering.
THE CORE METHOD
1. Calibrating the Substrate
Before the first stitch, you must pre-wash your fabrics. This is a technical necessity to manage residual shrinkage. Natural fibers like cotton will contract when exposed to heat. By washing first, you ensure that your embroidery does not pucker later when the bib meets the laundry machine. Use a bone folder to crisp your edges after cutting your pattern with the rotary tool.
Mastery Tip: Pre-washing removes factory sizing, which increases the porosity of the fibers. This allows the embroidery needle to glide through the weave without snapping the thread, reducing friction-induced heat.
2. Hooping and Stabilizer Alignment
Layer your stabilizer beneath the bib material. For Personalized Embroidered Bibs, the "sandwich" method is king. Place the tear-away stabilizer on the bottom, the bib in the middle, and the water-soluble film on top. Tighten the hoop screw until the fabric sounds like a drum when tapped.
Mastery Tip: This rigidity prevents hoop burn, a permanent bruising of the fabric fibers. By using a top stabilizer, you manage the surface tension of the thread, keeping it elevated above the fabric loops for a 3D effect.
3. Digitizing the Animal Designs
Whether you are stitching a lion, a bunny, an elephant, a fox, a bear, or a chick, the pathing matters. Start from the center and move outward to prevent the fabric from "pushing" toward the edges. Ensure your font for the personalization has a sufficient column width to remain legible after washing.
Mastery Tip: Use a ballpoint needle (size 75/11). Unlike a sharp needle that cuts through fibers, a ballpoint needle slides between them, preserving the tensile strength of the knit fabric and preventing "runs" or holes.
4. The Burnishing and Rinse
Once the machine finishes, remove the bib and trim the excess stabilizer. Use a steam iron on a medium setting to press the design from the back. This "sets" the stitches into the fabric grain. Rinse the bib in lukewarm water to dissolve the top film completely.
Mastery Tip: Pressing from the back prevents the iron from crushing the embroidery threads. This maintains the refractive index of the rayon thread, keeping the colors vibrant and the animal features sharp.
THE TECHNICAL LEDGER
Maintenance & Longevity: To keep the embroidery from fraying, always wash these bibs in a mesh laundry bag. Avoid high-heat drying, which can cause synthetic threads to become brittle and lose their flexibility.
Material Variations:
- Sustainable: Use recycled PET thread and organic hemp backing.
- Premium: Opt for Egyptian Giza cotton with a silk-thread monogram for a high-sheen finish.
The Correction:
- Puckering: Usually caused by insufficient stabilizer. Fix: Use two layers of 2.0 oz tear-away.
- Thread Breaks: Often due to a burr on the needle. Fix: Replace the needle every 8 hours of active stitching.
- Looping: Caused by low top tension. Fix: Increase tension in increments of 0.2 until the stitch is flush.
Studio Organization: Store your embroidery threads in a dark, climate-controlled bin. UV light degrades the polymer chains in polyester thread, leading to frequent breaks. Keep your stabilizers in airtight bags to prevent them from absorbing atmospheric humidity, which makes them gummy.
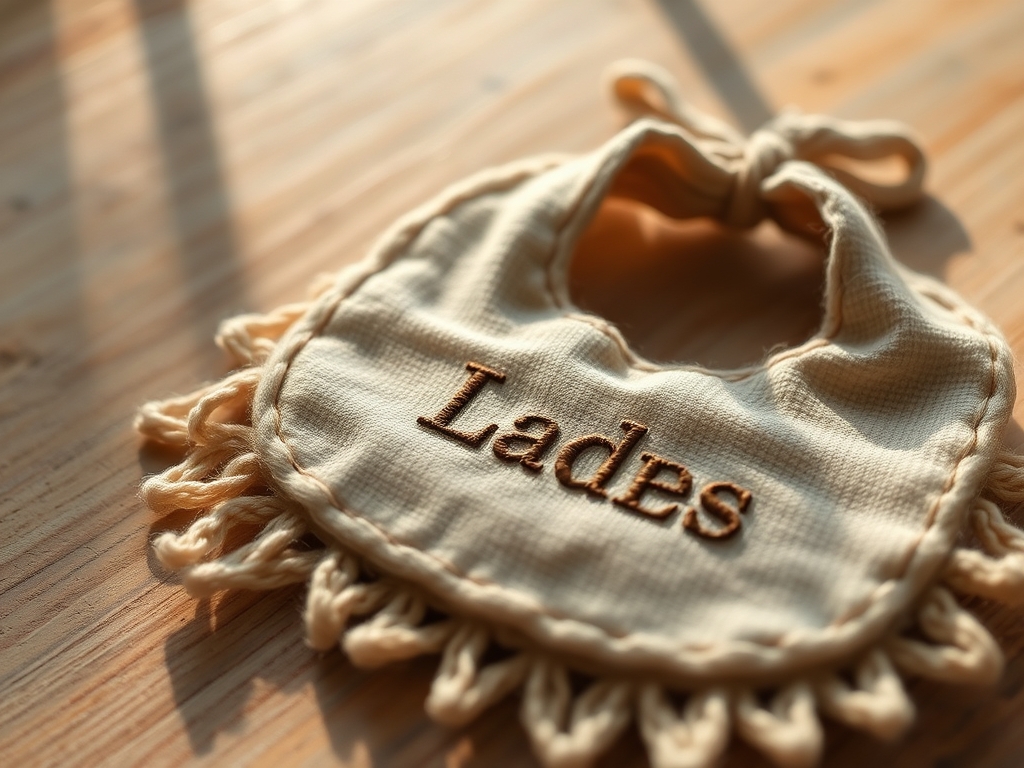
THE FINAL REVEAL
There is nothing quite like the moment you peel away the stabilizer to reveal a perfectly rendered, fuzzy fox or a chubby elephant. When you run your hand over the finished Personalized Embroidered Bibs, you should feel a smooth, integrated surface where the thread and fabric have become one. The colors should pop against the neutral cotton, and the name should be crisp and bold. You have successfully navigated the physics of tension and the chemistry of fibers to create something that is both a functional tool for a messy infant and a work of technical art.
STUDIO QUESTIONS
What is the best fabric for embroidered bibs?
High-GSM organic cotton terry or bamboo velour is ideal. These fabrics offer high absorbency and a stable weave, which supports heavy stitch counts without sagging or losing structural integrity over time.
How do I prevent embroidery from scratching the baby?
Use a soft, heat-bonded "cloud cover" or "tender touch" backing over the reverse side of the embroidery. This creates a smooth barrier that protects sensitive skin from the abrasive texture of the thread knots.
Why is my embroidery puckering after washing?
Puckering occurs when the fabric shrinks more than the thread. Always pre-wash your fabric to manage residual shrinkage and ensure your stabilizer is heavy enough to support the design's density during the stitching process.
Can I use metallic threads on baby bibs?
Metallic threads are generally discouraged for infant items. They have a high friction coefficient and can be scratchy or brittle, potentially breaking off and causing skin irritation or becoming a minor ingestion hazard.
What needle size is best for thick bibs?
A 75/11 or 80/12 ballpoint needle is the gold standard. It navigates the loops of terry cloth without cutting the yarns, maintaining the fabric's burst strength while ensuring clean stitch penetration.

