Close your eyes and run your fingers over a spool of raw, unbleached organic cotton. Feel that slight resistance? That is the natural friction of the fibers interlocking before they even hit the loom. When we talk about Woven Heritage Tapestries, we are not just making wall decor; we are engineering a structural archive of history. The tactile feedback of high-quality wool provides a specific tensile strength that allows a design to hang for decades without sagging. It is a physical conversation between the warp and the weft. Each knot carries the weight of a lineage, and the way the light hits the microscopic scales of the wool fibers determines the depth of the color. We are building something that breathes, something that holds tension, and something that captures the very essence of a cultural heartbeat. Grab your coffee because we are about to dive into the physics of fiber.
THE STUDIO KIT
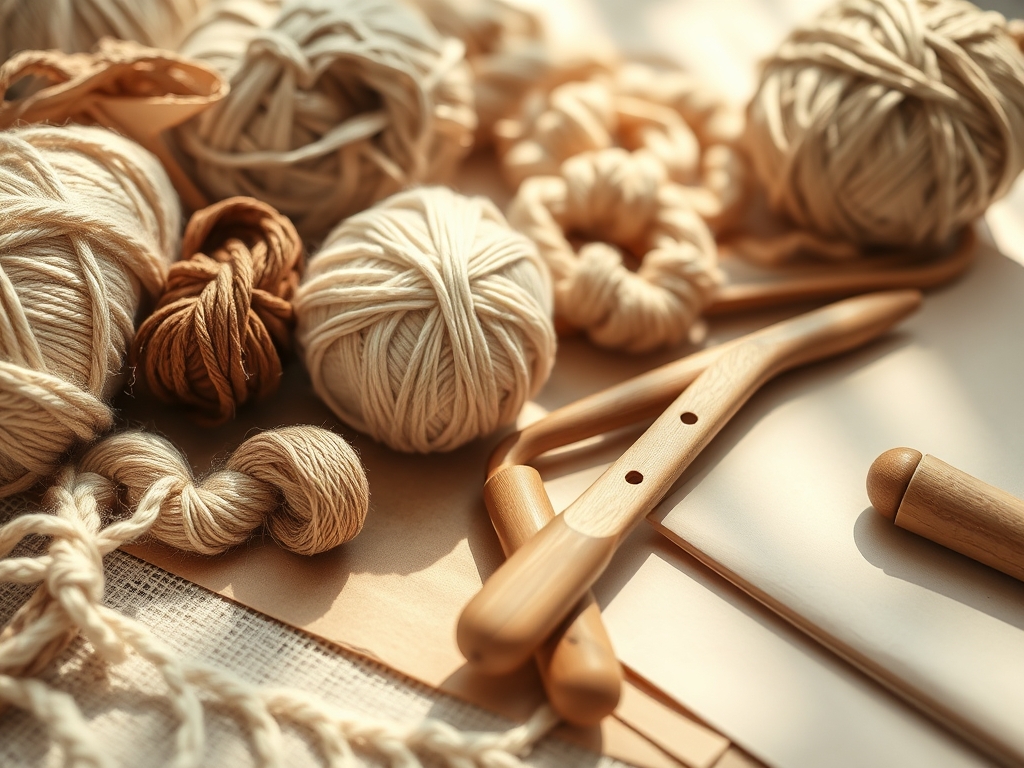
To master these patterns, your toolkit must be as precise as a laboratory. You will need a high-tension frame loom, preferably made of kiln-dried maple to prevent warping under the immense pressure of the vertical strings. Your primary tool is the weaving sword or shed stick, which allows you to create a temporary gap between the warp threads. You will also need a heavy-duty tapestry beat, usually made of weighted wood or brass, to compress the weft rows. For fine detail work, a set of curved upholstery needles and a pair of high-carbon steel fabric shears are non-negotiable.
Material selection is where the science happens. Use a 12-ply cotton twine for your warp because it has zero elasticity, ensuring your tapestry stays a perfect rectangle. For the weft, choose a high-density merino wool or a mulberry silk for a luminous finish. If you need material substitutions, you can swap expensive silk for mercerized cotton, which undergoes a chemical process to increase its luster and dye affinity. If a traditional loom is unavailable, a sturdy beechwood picture frame with steel finishing nails spaced at quarter-inch intervals can serve as a functional structural substitute.
THE TEMPO
The Maker's Rhythm is a physiological state where your heart rate synchronizes with the repetitive motion of the shuttle. For a standard 24 by 36 inch heritage piece, expect to invest roughly forty to sixty hours. The first phase is warping the loom, which takes about two hours of intense focus to ensure uniform tension across every inch. The second phase is the foundation weave, taking four hours to establish a stable base. The bulk of your time, approximately thirty hours, is dedicated to the pattern execution, where the complexity of the geometric shifts dictates your speed. Finally, the finishing and mounting phase requires four hours to secure the loose ends and burnish the edges. Do not rush the compression; if you beat the weft too hard, you risk creating internal stress that will cause the tapestry to curl once it is removed from the frame.
THE CORE METHOD
1. The Foundation Header
Before you start your heritage pattern, you must weave a one-inch header using a plain weave structure. This acts as a structural anchor. Use a thinner gauge yarn than your main body to ensure the bottom edge does not flare. Pass the weft over and under every single warp thread, maintaining a consistent arc angle to prevent the edges from pulling inward.
Mastery Tip: This step relies on lateral tension management. By leaving a slight slack in the weft before beating it down, you allow the yarn to wrap around the warp without pulling the vertical threads together. This prevents the dreaded hourglass shape.
2. The Geometric Diamond
This pattern represents the earth and roots. You will utilize a tapestry slit technique where two colors meet but do not interlock. This creates a clean, sharp line that defines the diamond shape. As you move diagonally, you will shift your color change by one warp thread every two rows.
Mastery Tip: To maintain structural integrity at the slit, ensure you do not leave a gap larger than half an inch. If the design requires a larger diagonal, use a dovetailing technique where both colors wrap around a shared warp thread to distribute the load.
3. The Stepped Chevron
The chevron symbolizes the flow of time. This requires a twill-inspired sequence where the weft floats over two warp threads and under one. This creates a diagonal ribbing effect that adds a three-dimensional texture to the surface of the tapestry.
Mastery Tip: Observe the light refraction on the floats. Because the yarn sits on top of the warp for a longer distance, it reflects more light. This increases the visual saturation of your color without needing more dye.
4. The Interlocking Key
A staple of heritage designs, the interlocking key requires a linked weft method. When two colors meet, you literally hook the two yarns together between the warp threads. This creates a seamless, reversible fabric that is incredibly dense.
Mastery Tip: This technique increases the material density of the section. You must use a caliper to check the thickness of your tapestry periodically. If one section becomes thicker than the rest, it will cause the fabric to ripple when hung.
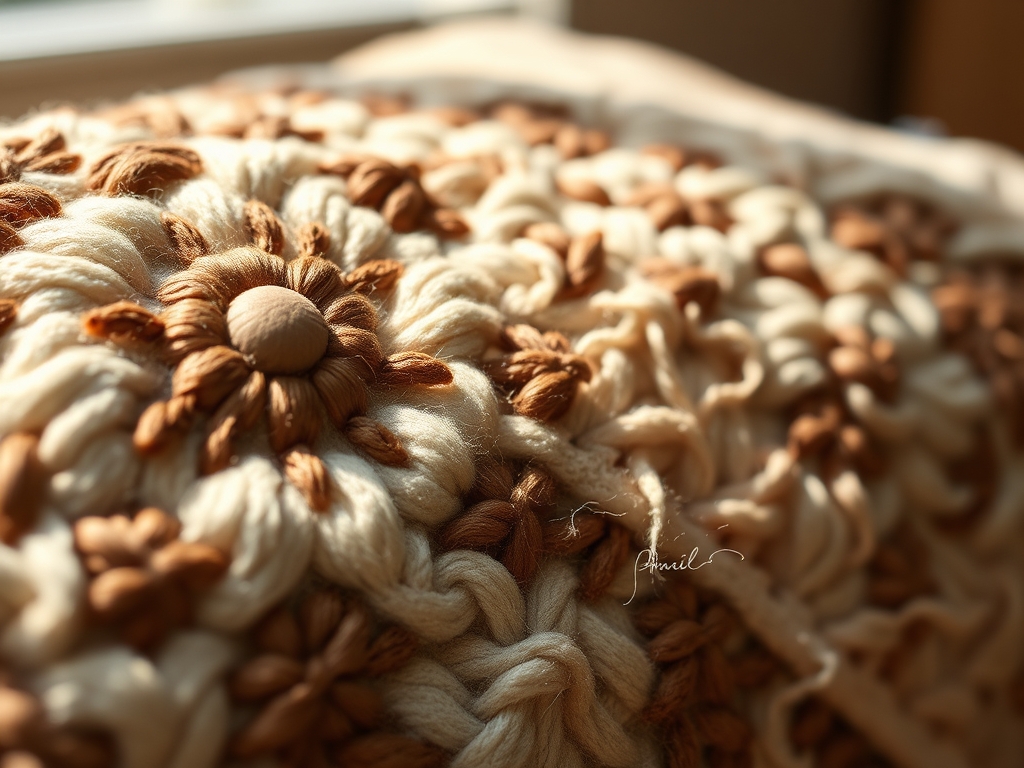
5. The Soumak Braid
To add a raised, rope-like texture that honors nomadic roots, use the Soumak technique. You wrap the weft yarn entirely around the warp threads in a circular motion. This is not technically weaving but rather a form of wrapping that creates a heavy, embossed line.
Mastery Tip: Soumak creates high friction resistance. Because the yarn is wrapped 360 degrees around the warp, it will not shift or slide. This is perfect for creating "borders" within the design that hold the other, looser weaves in place.
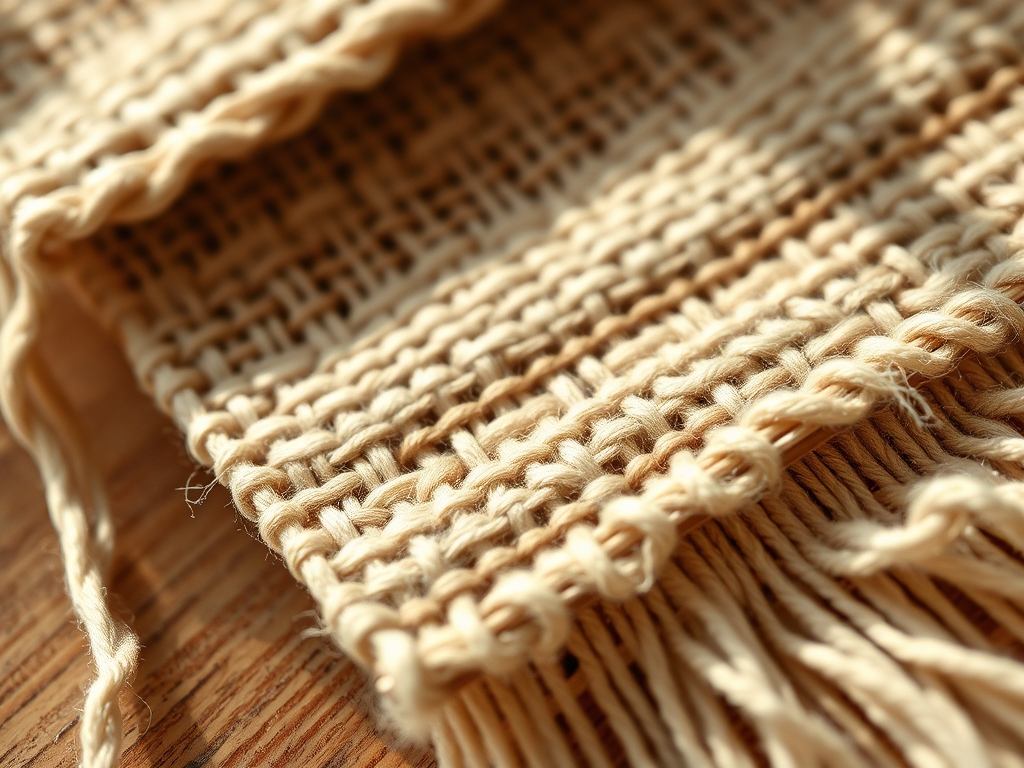
6. The Fringed Terminal
The final pattern is the knotted fringe. Use a Macrame square knot or a Larks head knot to secure the bottom of the warp. This transition from the rigid woven body to the free-flowing fringe represents the connection between the grounded past and the fluid future.
Mastery Tip: Use a bone folder to crisp the edges of your knots. This applies pressure to the fibers, forcing them to "lock" into place through mechanical adhesion, ensuring the fringe never unravels under the weight of the tapestry.
THE TECHNICAL LEDGER
Maintenance & Longevity: To preserve the protein fibers in wool, keep your tapestry out of direct ultraviolet light, which breaks down the molecular bonds of the dye. Vacuum your piece once every six months using a low-suction handheld device with a mesh screen over the nozzle to prevent fiber displacement.
Material Variations: For a sustainable approach, use recycled sari silk or hemp cordage. Hemp has a higher breaking strength than cotton but is much more abrasive on the hands. For a premium finish, incorporate alpaca fiber, which lacks the lanolin found in sheep wool and is naturally hypoallergenic.
The Correction:
- The Hourglass Effect: If the middle is narrower than the top, your weft tension is too high. Fix: Use a tapestry needle to manually loosen the weft loops in the affected rows.
- Warp Exposure: If you can see the vertical strings through your design, your weft is too thin or your beat is too light. Fix: Double-strand your weft yarn for the next five rows to build back the density.
- Slit Gaps: If a vertical color change is creating a hole, it is a structural failure. Fix: Use a needle and a matching thread to "sew" the two sections together from the back using a hidden whipstitch.
Studio Organization: Store your extra yarns in airtight polypropylene bins to prevent moisture absorption. Wool is hygroscopic, meaning it absorbs water from the air, which can lead to mold or weight changes that ruin your tension calculations.
THE FINAL REVEAL
There is nothing quite like the moment you cut a finished piece off the loom. The tension releases, the fibers settle, and suddenly, those sixty hours of work transform into a heavy, luxurious textile. Your Woven Heritage Tapestries are more than just art; they are a mathematical achievement. The way the geometric diamonds transition into the Soumak braids creates a visual rhythm that feels both ancient and incredibly modern. When you hang it, the weight of the wool pulls the piece into its final, perfect alignment. It is sturdy, it is soulful, and it is a technical masterpiece that you built with your own two hands.
STUDIO QUESTIONS
What is the best warp thread for a heavy tapestry?
A high-ply mercerized cotton or a specialized linen rug warp is best. These materials offer high tensile strength and minimal stretch, ensuring the tapestry maintains its geometric proportions over time without sagging under its own weight.
How do I prevent my edges from pulling in?
Always use the weaving arc technique. Instead of pulling the weft straight across, lay it in a high curve before beating it down. This provides the extra length needed to wrap around the warp threads without creating lateral tension.
Can I mix different fiber types in one piece?
Yes, but be mindful of shrinkage rates. If you wash a piece made of both wool and acrylic, the wool may felt and shrink while the acrylic stays the same, leading to permanent structural warping and surface distortion.
How do I clean a heritage tapestry?
Avoid immersion in water. Use a soft-bristled brush to remove surface dust. For deep cleaning, professional CO2 cleaning is recommended to preserve the fiber integrity and prevent the dyes from bleeding into the high-contrast sections of your pattern.