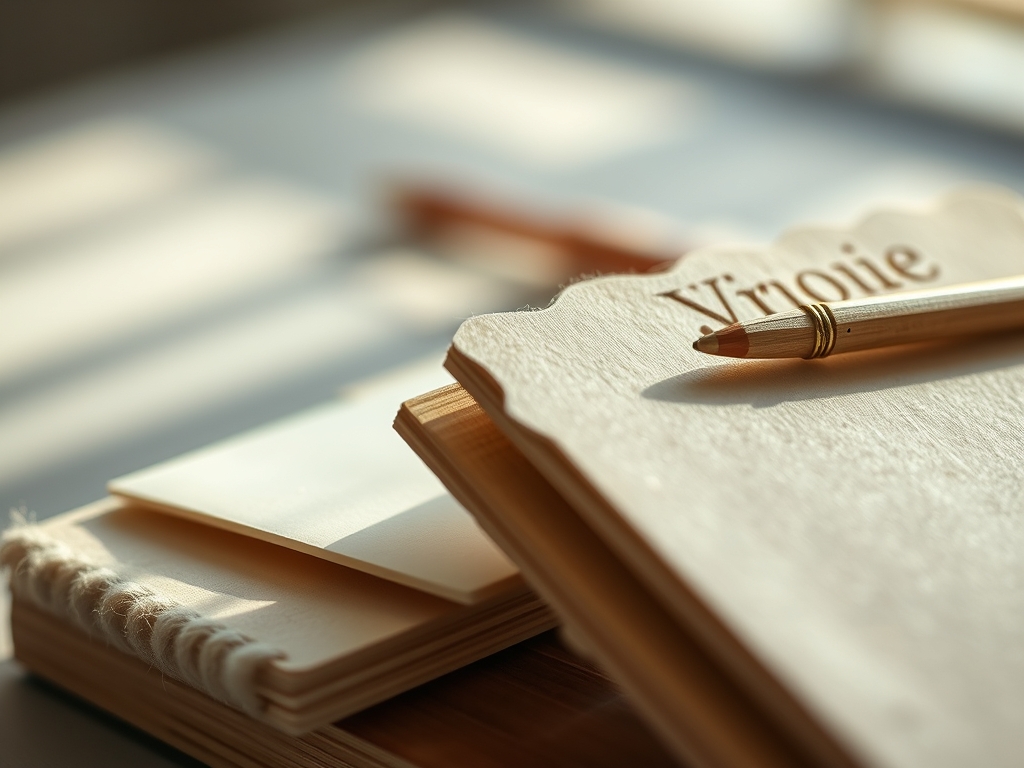
The scent of cold brass hitting hot resin is the ultimate olfactory trigger for a maker. It is that precise moment when the viscous liquid resists the metal stamp before yielding into a perfect, permanent crest. We are moving far beyond the realm of cheap stickers and ballpoint pens today. When you assemble Sincere Letter Writing Sets, you are actually engineering a tactile experience that bridges the gap between digital speed and physical permanence. Imagine the weight of a 120 GSM cotton-rag paper in your hand; it has a specific tensile strength that allows it to be folded repeatedly without the cellulose fibers snapping at the crease. This is about the physics of the touch. We are curating a kit that demands attention because it feels intentional. Every fiber, every drop of pigment, and every hand-carved edge serves a purpose in the architecture of a message. We are not just writing; we are constructing a vessel for thought using tools that respect the raw materials of the craft.
THE STUDIO KIT
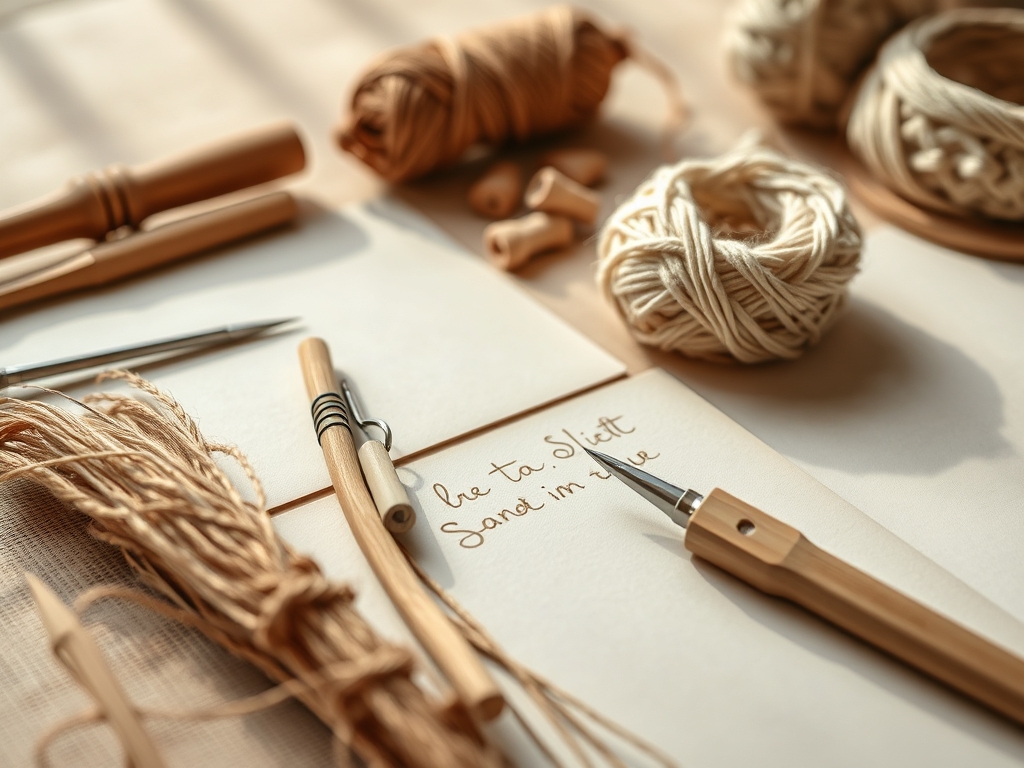
To build a professional-grade set, your workbench needs to look like a cross between a chemistry lab and a woodshop. You will need a bone folder made of genuine ox bone for high-pressure burnishing; plastic alternatives lack the density to compress paper fibers without leaving a shiny residue. A precision awl is necessary for pre-piercing heavy cardstock, while a rotary cutter with a 45mm tungsten steel blade ensures your edges are surgically straight. For the seals, you need a solid brass stamp head and a low-heat melting furnace.
Material Substitutions: If you cannot source high-grade beeswax for your seals, you can use a flexible glue-gun wax, though it lacks the traditional brittle snap of historical resins. If cotton-rag paper is unavailable, look for 90lb watercolor paper with a cold-press finish; the tooth of the paper provides excellent capillary action for fountain pen ink.
THE TEMPO
The "Maker's Rhythm" is a three-phase cycle that respects the drying times and structural setting of the materials. Phase one is the Substrate Preparation, which takes roughly forty minutes of measuring and cutting. Phase two is the Embellishment Stage, where you spend an hour on calligraphy or linocut printing. Phase three is the Curing Phase, specifically for the wax seals and ink setting, which requires at least two hours of undisturbed rest in a low-humidity environment. Total active labor for a full set of seven items is approximately three hours.
THE CORE METHOD
1. The Deckled Edge Stationery
Start with a large sheet of heavy-gauge paper. Instead of a blade, use a water-tear technique by running a wet brush along a metal ruler and pulling the paper against the grain. This exposes the internal cellulose fibers, creating a soft, feathered edge.
Mastery Tip: The science here is all about hydrogen bonding. By introducing moisture, you temporarily weaken the bonds between the fibers, allowing them to pull apart rather than shear, which results in that authentic, artisanal deckle.
2. Hand-Lined Envelopes
Trace your envelope template onto a lightweight 30lb vellum or silk-screened paper. Use a dry adhesive runner rather than liquid glue to prevent hygroscopic warping, which happens when paper absorbs moisture and expands at uneven rates.
Mastery Tip: Always align the grain of your liner with the grain of the envelope. If the grains are perpendicular, the tension created during folding will cause the paper to buckle and delaminate.
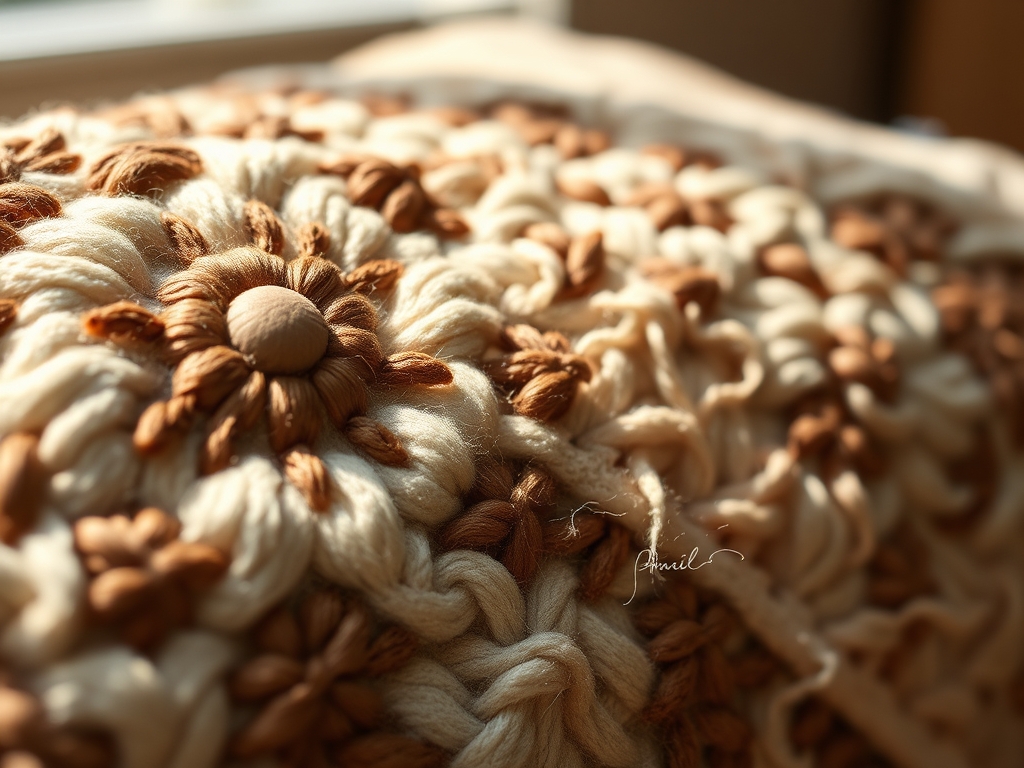
3. The Custom Brass Seal
Use a jeweler's saw or a high-speed rotary tool to etch a monogram into a 1-inch brass blank. The depth of the etch must be at least 0.5mm to ensure the wax creates a high-relief impression.
Mastery Tip: Brass is chosen for its thermal conductivity. It pulls heat away from the wax rapidly, causing the outer layer of the seal to solidify instantly, which captures the fine details of your engraving.
4. Botanical Infused Wax Pellets
Melt clear resin beads and stir in dried, crushed pigments or tiny flecks of gold leaf. Use a thermometer to ensure the wax stays between 120 and 140 degrees Fahrenheit.
Mastery Tip: This is a lesson in viscosity. If the wax is too hot, it becomes too thin and will run off the paper; if it is too cool, it will clump and trap air bubbles, ruining the structural integrity of the seal.
5. The Hand-Stitched Pen Wrap
Cut a strip of vegetable-tanned leather and use a stitching pony to hold it while you thread waxed linen through pre-punched holes. This protects your writing instruments from oxidation and physical impact.
Mastery Tip: Waxed linen thread is used because of its high tensile strength and friction-lock properties. The wax coating prevents the thread from fraying as it passes through the abrasive leather pores.
6. Ink-Well Coasters
Cut 4-inch circles from heavy cork or felt. These prevent ink spills from staining your desk and provide a stable base for your glass ink bottles.
Mastery Tip: This involves vibration dampening. A soft, porous base absorbs the micro-vibrations of your hand and the pen, preventing the ink bottle from shifting or "walking" across a slick studio surface.
7. The Blotting Card
Layer three sheets of highly absorbent, uncoated blotting paper and bind them with a brass eyelet. This is used to lift excess ink from the page without smearing the crisp lines of your script.
Mastery Tip: This relies on capillary action. The large interstitial spaces between the loose fibers of the blotting paper pull the liquid ink upward through surface tension, leaving the dried pigment behind on the stationery.
THE TECHNICAL LEDGER
Maintenance & Longevity: Keep your brass seals clean by brushing them with a soft-bristled toothbrush after every use. If wax builds up in the grooves, freeze the seal for ten minutes; the wax will contract and pop right out.
Material Variations: For a sustainable twist, use seed paper for the stationery. It has a lower tensile strength but adds a beautiful, organic texture. For premium sets, use parchment (animal skin), which requires a specific pH-balanced ink to prevent corrosion over time.
The Correction:
- Wax Sticking: If the seal won't release, your stamp is too hot. Solution: Rest the stamp on an ice pack between seals to maintain a thermal differential.
- Ink Feathering: If ink bleeds into the paper, the surface is too porous. Solution: Apply a light dusting of gum sandarac to the paper to "size" it before writing.
- Cracking Folds: If the paper snaps when folded, the humidity is too low. Solution: Use a bone folder to compress the fibers slowly, or lightly mist the air near your workspace.
Studio Organization: Store your Sincere Letter Writing Sets in a cedar wood box or a pH-neutral archival folder. Avoid plastic bins, as they can trap moisture and lead to foxing (brown spots caused by fungal growth on paper fibers).
THE FINAL REVEAL
There is an incredible rush when you finally assemble all seven pieces. You are looking at a kit that is functionally superior to anything mass-produced. The weight of the leather, the snap of the wax, and the toothy grit of the paper all work in a physical harmony that makes the act of writing feel like a high-stakes ceremony. You have built a set that turns a simple note into a physical artifact. It is smart, it is sophisticated, and it is scientifically sound. Now, go melt some wax and leave your mark.
STUDIO QUESTIONS
What is the best paper weight for sincere letter writing sets?
A weight of 100 to 120 GSM is ideal. It provides enough density to handle heavy ink flow without ghosting while remaining flexible enough for crisp, clean folds using a bone folder.
Why does my wax seal keep breaking?
Your wax likely lacks plasticizers. Traditional sealing wax is brittle by design, but modern "flexible" wax contains resins that allow the seal to survive the mechanical sorting machines used by the postal service without shattering.
Can I use a regular candle for the wax?
No, candle wax is paraffin-based and too oily. It will not adhere to the paper fibers and will leave a translucent grease stain. Proper sealing wax is a mix of resin, shellac, and inorganic pigments.
How do I prevent my fountain pen from skipping?
Ensure your paper has the correct surface sizing. If the paper is too absorbent, it pulls ink too fast; if it is too coated, the ink beads up. Use a 100% cotton-rag paper for the best results.