
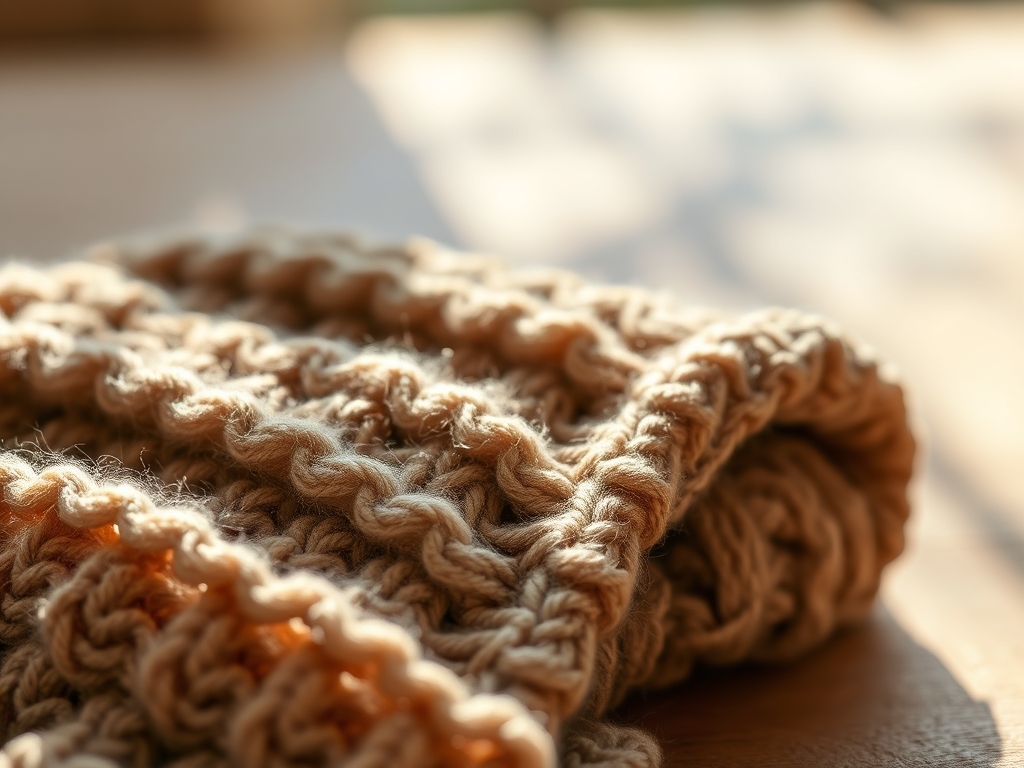
Imagine the sharp, biting chill of a January morning meeting the dense, buttery warmth of a hand-knitted masterpiece. There is a specific kind of alchemy that happens when raw wool fibers are transformed into Personalized Knitted Scarves through the rhythmic mechanical action of needles. We are not just talking about basic accessories; we are discussing structural engineering for the neck. When you select a high-loft yarn with a significant crimp, you are essentially building a thermal trap. This creates a microclimate between the fibers that locks in kinetic body heat while allowing moisture vapor to escape. As we dive into these six chunky textures, remember that every stitch is a choice in tensile strength and aesthetic density. We are going to manipulate the surface area of the yarn to create shadows, ridges, and valleys that catch the winter light. Grab your favorite mug of tea because we are about to turn a simple skein into a high-performance garment that feels like a hug from a cloud.
THE STUDIO KIT
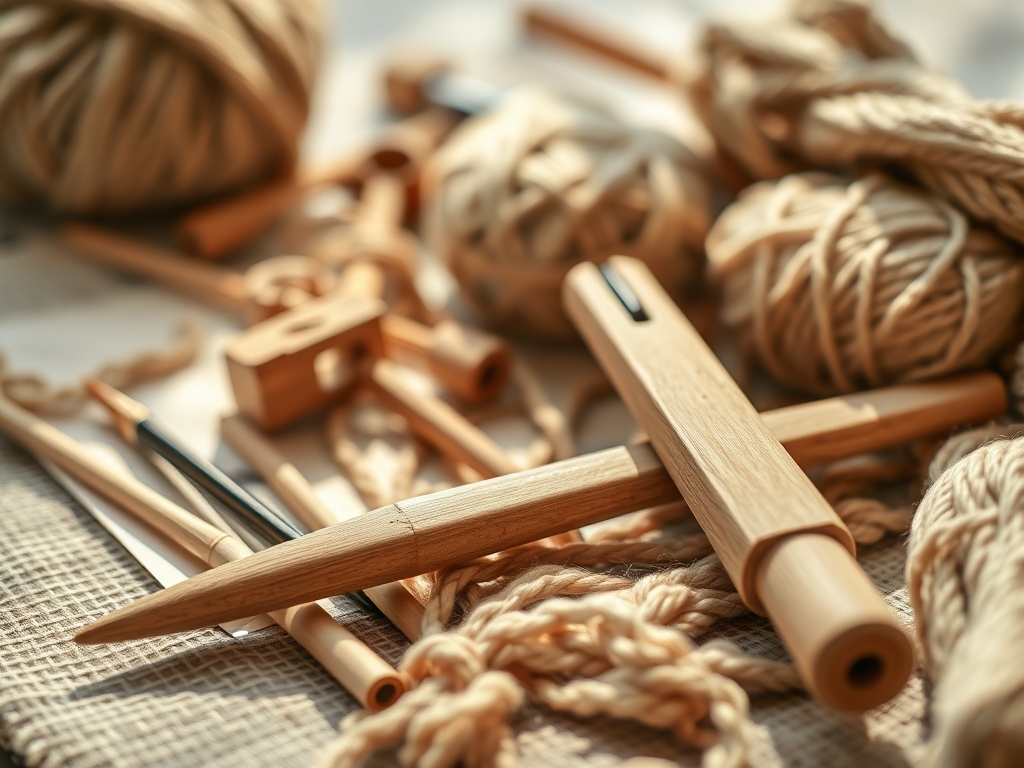
To engineer the perfect scarf, you need more than just yarn; you need a precision toolkit. Start with Size 15 (10mm) circular needles made of bamboo or polished birch. Wood provides the necessary friction to prevent slippery chunky yarns from dropping stitches, a common issue when dealing with high-gauge projects. You will also need a digital caliper to measure your yarn diameter if the label is missing; consistency in ply thickness is vital for structural symmetry.
For the material, look for a Super Bulky Roving or a Wool-Alpaca blend. Alpaca fibers lack scales, which provides a silky drape, while wool offers the memory and elasticity needed to prevent the scarf from stretching out over time. If you are sensitive to animal fibers, a Material Substitution would be a high-quality tubular cotton or a chenille-style polyester. These synthetic options offer high durability and are hypoallergenic, though they lack the natural thermal regulation of protein-based fibers. Keep a large-eye tapestry needle and a pair of ergonomic spring-action snips nearby for finishing your ends with surgical precision.
THE TEMPO
The "Maker's Rhythm" is a psychological state where the repetitive motion of the needles aligns with your heart rate, but let us look at the hard data. For a standard six-foot chunky scarf, expect a total production time of six to eight hours. The Casting-On Phase takes roughly fifteen minutes; this is where you set the foundation and determine the width. The Body Construction Phase is the bulk of the work, requiring about five hours of consistent tension. Finally, the Finishing Phase, which includes binding off and weaving in ends, takes thirty minutes. Because chunky yarn has a high volume-to-weight ratio, progress is visible almost instantly, providing a dopamine hit that keeps your momentum high.
THE CORE METHOD
1. The Architectural Rib
Start with a classic 2×2 ribbing. This creates a series of vertical columns that allow the fabric to expand and contract like an accordion. This elasticity is due to the alternating tension of knit and purl stitches, which pulls the fabric inward.
Mastery Tip: This technique relies on Structural Integrity. By maintaining a consistent gauge, you ensure the ribbing does not "flare" at the ends. Use a knitting gauge tool to check that your stitches per inch remain constant throughout the project.
2. The Oversized Moss Stitch
By alternating knit and purl stitches every row, you create a pebbled texture that is incredibly dense. This texture increases the surface area of the scarf, which significantly improves its wind-resistance capabilities.
Mastery Tip: This works because of Surface Tension. The staggered alignment of the stitches prevents the yarn from settling flat, creating a three-dimensional barrier against the elements.
3. The Braided Cable
Cables are created by physically crossing groups of stitches over one another using a cable needle. This creates a literal rope of yarn that adds immense thickness and weight to the piece.
Mastery Tip: Cables utilize Fiber Torque. When you cross the stitches, you are putting a slight amount of stress on the yarn ply. Ensure your yarn has at least a three-ply construction to handle this directional tension without fraying.
4. The Honeycomb Lattice
This is a variation of cabling that creates a hexagonal grid across the fabric. It is one of the most sophisticated textures for Personalized Knitted Scarves because it traps pockets of air within the "cells" of the honeycomb.
Mastery Tip: This is a lesson in Thermal Mass. The more air you can trap within the structure of the knit, the higher the insulation value of the finished garment.
5. The Twisted Column
By knitting into the back loop of a stitch, you create a "twisted" stitch that stands out in sharp relief against the background. This creates a crisp, architectural line that looks professional and polished.
Mastery Tip: This technique alters the Elastic Modulus of the fabric. A twisted stitch is less stretchy than a standard knit stitch, providing a sturdy "spine" to the scarf that prevents sagging.
6. The Fisherman's Brioche
Brioche involves "tucking" stitches from the row below, creating a fabric that is twice as thick as a standard knit. It is incredibly soft and has a squishy, marshmallow-like hand feel.
Mastery Tip: This relies on Capillary Action. The hollow spaces created by the tucked stitches allow the fibers to breathe while simultaneously wicking moisture away from the skin.
THE TECHNICAL LEDGER
Maintenance & Longevity: To preserve the molecular structure of the wool, never wring your scarf. Submerge it in cool water with a pH-neutral wool wash, then roll it in a towel to extract moisture. Lay it flat on a blocking mat to dry, using T-pins to maintain the desired dimensions.
Material Variations: For a sustainable approach, look for GOTS-certified organic wool or recycled cashmere. If you want a premium finish, a Quiviut or Vicuna blend offers unparalleled softness and heat retention, though at a significantly higher price point.
The Correction:
- Dropped Stitch: Use a crochet hook to "ladder up" the stitch, ensuring you do not twist the orientation.
- Split Yarn: If your needle pierces the ply, back out the stitch immediately. Pierced fibers lose their Tensile Strength and will eventually break.
- Uneven Edges: Always slip the first stitch of every row purl-wise to create a neat, braided "selvedge" edge.
Studio Organization: Store your chunky yarn in airtight, opaque bins to prevent UV degradation and moth infestations. Use cedar blocks or lavender sachets as a natural deterrent to protect your investment.
THE FINAL REVEAL
There is nothing quite like the moment you bind off that last stitch and drape your creation around your neck. The weight of the chunky yarn feels substantial and protective, a literal shield against the winter elements. Your Personalized Knitted Scarves are now ready for the world. They are not just fashion statements; they are functional pieces of fiber art that showcase your technical mastery and creative flair. Go ahead, take that winter walk and feel the difference that high-density texture makes!
STUDIO QUESTIONS
What is the best yarn for chunky scarves?
A wool and alpaca blend is ideal. Wool provides the necessary structural memory and elasticity, while alpaca adds a luxurious drape and superior thermal insulation. This combination ensures the scarf holds its shape over years of heavy winter use.
How do I prevent my scarf from pilling?
Pilling occurs when short fibers migrate to the surface. Choose a "high-twist" yarn to lock fibers in place. If pilling occurs, use a motorized fabric shaver or a specialized wool comb to gently remove the pills without damaging the structural integrity.
Can I use circular needles for a flat scarf?
Yes, circular needles are excellent for flat projects. They distribute the weight of the heavy chunky yarn across the cable rather than your wrists. This ergonomic setup prevents repetitive strain injuries during long sessions of making Personalized Knitted Scarves.
How many skeins do I need for a chunky scarf?
For a standard six-foot scarf using super bulky yarn, you typically need 200 to 300 yards. This usually equates to three or four large skeins. Always check the yardage on the label rather than relying on the weight alone.
Why is my scarf curling at the edges?
Curling is a natural property of stockinette stitch due to the unbalanced tension between knits and purls. To fix this, add a border of garter stitch or seed stitch, which creates a neutral tension that keeps the fabric lying flat.

