
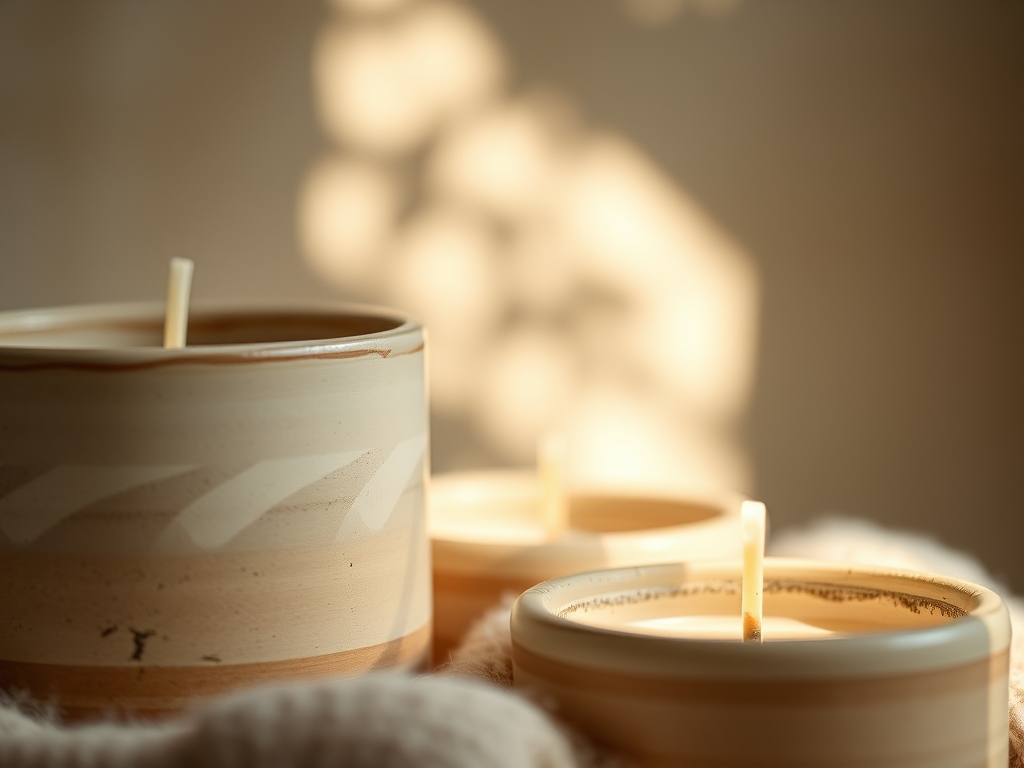
The cold, grey sludge of wet stoneware sliding between your palms is the ultimate sensory reset. There is a specific, gritty resistance in the clay that tells you exactly how much moisture is left in the cellular structure before it reaches its breaking point. When we talk about Hand Thrown Candle Vessels, we are not just making pretty pots; we are engineering thermal chambers designed to withstand the violent expansion of heat and the steady draw of a wood wick. You can feel the tension in the material as it spins on the wheel head. It is a dance of centripetal force and friction where your hands act as the primary stabilizers. We are looking for that perfect balance between a thin, elegant wall and the structural integrity needed to prevent thermal shock. If the base is too thick, the heat differential will crack the ceramic. If it is too thin, the vessel will become a ticking time bomb of hot wax. We are aiming for a refined, tactile experience that feels heavy enough to be expensive but light enough to breathe.
THE STUDIO KIT
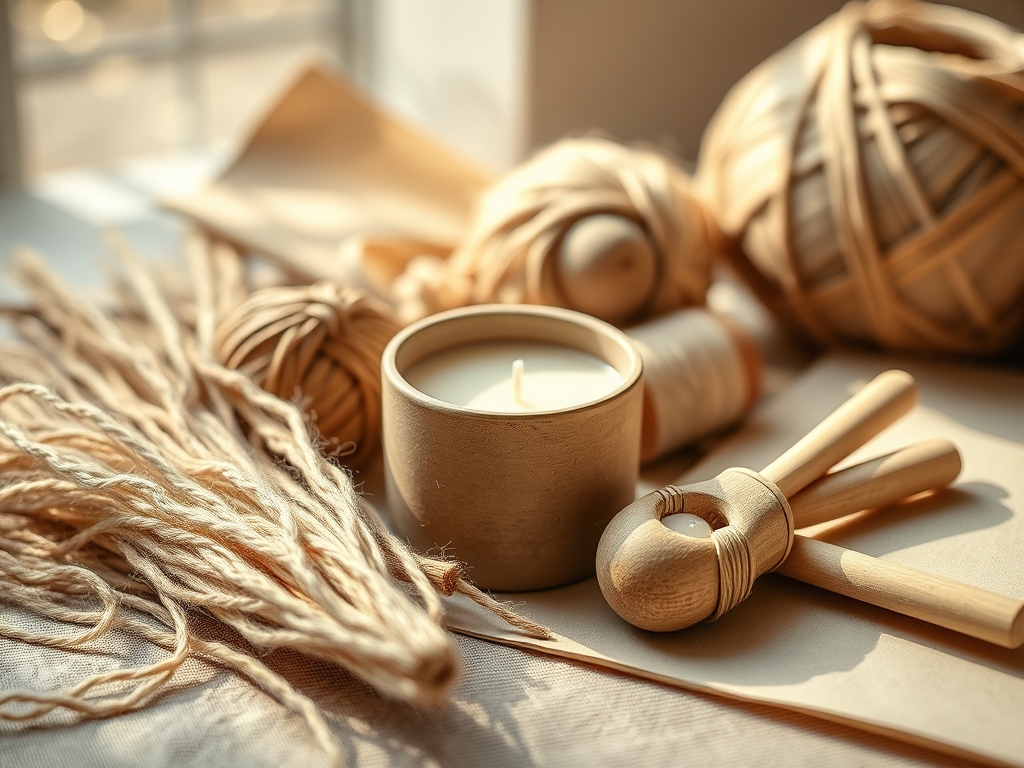
To master these forms, your workbench needs to look like a high-end laboratory. We start with mid-fire stoneware clay, specifically a body with a high grog content to reduce shrinkage and warping during the firing process. You will need a high-torque pottery wheel and a set of stainless steel calipers to ensure the diameter of your vessels remains consistent for lid fitting. A wire clay cutter with a high tensile strength is essential for a clean release from the bat. For the finishing touches, keep a serrated metal rib for scoring and a flexible rubber kidney for the final burnish.
Material Substitutions: If you cannot find stoneware, a porcelain-stoneware hybrid offers a smoother finish but requires a more delicate touch due to its lower green strength. For those without a kiln, high-fire air-dry clays can work for decorative pieces, but they lack the vitrification necessary to hold molten wax safely. Always prioritize porous materials that have been properly glazed to prevent wax seepage through the ceramic walls.
THE TEMPO
The Maker's Rhythm is a three-day cycle of hydration and dehydration. Day one is the Centering Phase, taking roughly 2 to 3 hours for a batch of nine vessels. This is where you fight the clay into submission. Day two is the Leather-Hard Phase, which lasts 24 hours depending on the humidity of your studio. This is the sweet spot for trimming the foot and refining the ergonomic grip. Day three is the Final Curing, where the pieces sit under plastic to ensure even drying. Total active labor is about 6 hours, but the physics of evaporation dictates the true timeline. You cannot rush the molecular bonding of the clay particles without risking a structural failure in the kiln.
THE CORE METHOD
1. The Conical Taper
Start by throwing a tall, narrow cylinder and slowly widening the base while keeping the rim tight. This form creates a chimney effect, concentrating the heat from the wood wick to ensure a full melt pool.
Mastery Tip: This form relies on compressive strength. By keeping the rim thicker than the walls, you prevent the clay from collapsing outward under its own weight as it spins.
2. The Low-Profile Bowl
This form is wide and shallow, perfect for double-wick setups. Use your wooden modeling tool to create a sharp interior angle where the wall meets the floor.
Mastery Tip: Surface tension is your enemy here. A flat floor can sag, so throw a slight interior dome to compensate for the natural shrinkage that occurs during vitrification.
3. The Hourglass Curve
Create a centered constriction in the middle of the vessel. This provides a natural grip for the user and acts as a heat sink for the lower half of the candle.
Mastery Tip: The tensile stress is highest at the waist of the vessel. Use a metal rib to burnish the exterior, aligning the clay platelets to increase the wall's density.
4. The Brutalist Square
Throw a standard cylinder and then use a batten to slap the sides into a square profile while the clay is still soft.
Mastery Tip: Square forms are prone to "corner cracking." Ensure the interior corners are rounded to distribute thermal expansion evenly when the candle is lit.
5. The Fluted Cylinder
Use an awl or a carving tool to create vertical grooves down the side of a straight-walled vessel.
Mastery Tip: These grooves increase the surface area of the exterior, allowing the vessel to dissipate heat faster through convective cooling, making it safer to touch.
6. The Pedestal Chalice
Throw the bowl and the base as two separate pieces, then join them at the leather-hard stage using slip and score techniques.
Mastery Tip: The join point is a structural weak spot. Ensure both pieces have the same moisture content to prevent the base from shearing off during the bisque fire.
7. The Inverted Rim
Throw a standard jar but pull the rim inward at a 45-degree angle. This traps the scent throw and protects the wood wick from drafts.
Mastery Tip: This form utilizes arch physics. The inward lean supports itself, but if the rim is too heavy, the "shoulder" will slump. Keep the upper wall thin.
8. The Textured Orb
Use a sponge or a chamois to create a perfectly round exterior, then use a stamp to add a repetitive geometric pattern.
Mastery Tip: Deep textures can create "stress risers." Keep your carvings shallow to ensure the structural integrity of the vessel remains uniform throughout the wall.
9. The Lidded Cocoon
Throw a vessel with a recessed gallery to hold a matching ceramic lid. This is the ultimate luxury form for Hand Thrown Candle Vessels.
Mastery Tip: Use your calipers to measure the gallery precisely. Remember that the lid and the vessel will shrink by approximately 12 percent; fire them together to ensure a perfect fit.
THE TECHNICAL LEDGER
Maintenance & Longevity: To keep your vessels in top shape, avoid rapid temperature changes. Never place a hot vessel directly on a cold marble surface, as the thermal shock can cause a hairline fracture. Wash with mild soap and avoid abrasive scrubbers that can mar the glaze fit.
Material Variations: For a premium feel, incorporate manganese dioxide into your clay body for a metallic, speckled finish. If you are aiming for sustainability, reclaim your "slop" clay by drying it on a plaster bat; this recycled material often has a unique plasticity that is superior to fresh bags.
The Correction:
- S-Cracks in the base: These happen due to uneven drying. Fix this by compressing the floor of the vessel with a wooden rib multiple times during the throwing process.
- Glaze Shivering: If the glaze flakes off, the coefficient of thermal expansion is mismatched. Switch to a glaze with a higher silica content.
- Wobbling: If the vessel is off-center, your centripetal alignment was off. Use a needle tool to trim the rim level before you finish the pull.
Studio Organization: Store your damp pieces in a wet box lined with plaster. This maintains a 100 percent humidity environment, preventing the edges from drying faster than the base and ensuring the molecular structure remains stable until you are ready to trim.
THE FINAL REVEAL
There is nothing quite like the moment you pull a finished vessel out of the kiln and hear that tiny, high-pitched "ping" of the glaze settling. Your Hand Thrown Candle Vessels are now transformed from humble mud into a sophisticated piece of functional art. The wood wick will crackle against the smooth, vitrified walls, creating a multisensory experience that is both grounded and elevated. You have mastered the physics of the wheel and the chemistry of the kiln. Now, fill them with your favorite soy wax blend and let the glow highlight those perfect throwing lines.
STUDIO QUESTIONS
What is the best clay for candle vessels?
Stoneware with high grog content is ideal. It provides the necessary thermal shock resistance and structural integrity to handle the heat of a wood wick without cracking or warping during the firing process.
How thick should the walls be?
Aim for a consistent thickness of one-quarter inch. Walls that are too thin may crack under heat, while walls that are too thick can retain too much heat, potentially causing the wax to overheat.
Can I use wood wicks in ceramic?
Yes, wood wicks work beautifully in Hand Thrown Candle Vessels. They provide a wide, horizontal flame that helps create a full melt pool, which is essential for preventing "tunneling" in deep ceramic forms.
Why did my vessel crack during the first burn?
This is usually caused by thermal shock or an "S-crack" that was invisible before firing. Ensure your clay is properly compressed during throwing and that your glaze has a compatible expansion coefficient.
Do I need to seal the interior?
Absolutely. You must use a food-safe glaze to vitrify the interior. Without a proper seal, the porous nature of the ceramic will absorb the wax, creating a fire hazard and ruining the vessel's exterior.

