
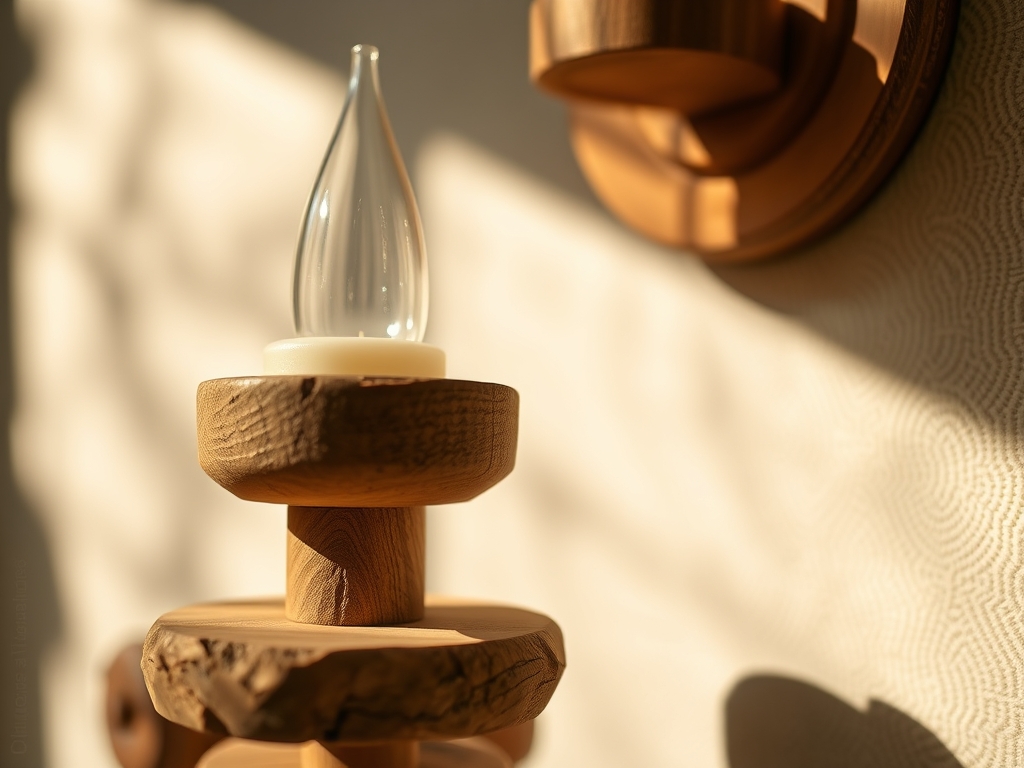
Imagine the scent of freshly planed black walnut meeting the sharp, ozone tang of a high speed drill bit. It is a sensory collision that defines the weekend for those of us obsessed with the grain. When you decide to elevate a dim corridor, nothing matches the architectural weight of Custom Wood Candle Sconces. We are talking about more than just boards on a wall; we are discussing the manipulation of cellulose fibers to cradle light. The wood feels dense and cool in your palm before the friction of sanding warms the lignin, releasing those deep, earthy aromatics. It is a tactile transformation where raw lumber becomes a vessel for flickering warmth, turning a transitional hallway into a gallery of shadow and texture.
THE STUDIO KIT
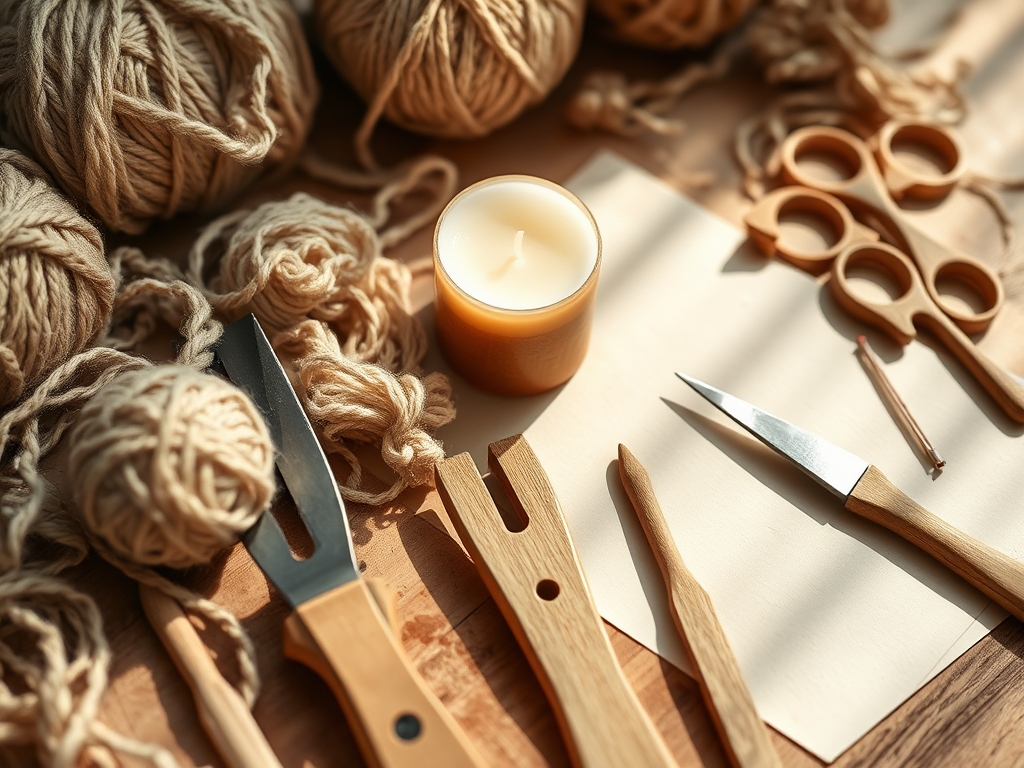
To execute these elegant forms, your workbench needs more than just a hammer. You must respect the tensile strength of your species. Start with a high quality Japanese pull saw for surgical crosscuts that do not crush the wood cells. You will need digital calipers to ensure your joinery is accurate to the tenth of a millimeter, especially when creating recessed pockets for glass hurricane inserts. An oscillating tool is your best friend for plunging clean rectangular mortises, while a tungsten carbide burr allows for organic, hand carved detailing.
For materials, look for hardwoods with a high Janka hardness rating like white oak or cherry. These woods possess a tight pore structure that takes a finish without becoming blotchy. If you are looking for Material Substitutions, consider reclaimed heart pine for a rustic grit or even high density bamboo ply for a modern, linear aesthetic. Just remember that bamboo has a different shearing modulus than traditional timber; it requires sharper blades to prevent splintering along the laminated layers. Always keep a burnishing tool or a smooth bone folder nearby to compress the end grain fibers after sanding; this prevents the wood from soaking up too much oil and turning dark and muddy.
THE TEMPO
The "Maker's Rhythm" is not about rushing to the finish line; it is about synchronizing with the drying times of your adhesives and finishes. You should allocate approximately six to eight hours of active shop time spread over a weekend. The first phase is the Milling Pulse, taking about two hours to dimension your stock and cut your primary angles. This is followed by the Detailing Drift, a three hour window where you refine the edges and carve your specific forms.
Finally, you enter the Curing Lull. This is the mandatory downtime where wood glue sets its molecular bond and your chosen oil polymerizes. Do not fight the clock here. If you apply a second coat of finish before the first has fully outgassed, you will trap moisture and end up with a cloudy, tacky surface. Respect the chemistry of the process, and the wood will reward you with a lifetime of structural integrity.
THE CORE METHOD
1. The Architectural Taper
Begin by marking a severe, elegant taper on your vertical backplate using a marking awl for precision. This form draws the eye upward, making short hallways feel cavernous. Use a jointer or a hand plane to shave the sides down to a crisp edge.
Mastery Tip: Understand the grain direction before you plane. If you stroke against the grain, you will cause "tear out," which ruins the surface. Always plane in the direction the fibers are laying down to maintain a smooth, reflective surface that requires less sanding.
2. The Floating Cantilever
Create a horizontal shelf using a blind mortise and tenon joint. This makes the candle platform appear to grow directly out of the backplate without visible screws. Use your calipers to ensure the tenon is exactly 0.05mm larger than the mortise for a "friction fit" that is incredibly strong.
Mastery Tip: This relies on compressive strength. When you force the slightly oversized tenon into the mortise with a drop of glue, the wood fibers compress and then expand, creating a mechanical lock that is often stronger than the wood itself.
3. The Recessed Vessel
Use a Forstner bit to create a shallow circular depression on the shelf. This pocket serves as a safety feature, ensuring the glass candle holder cannot slide off the edge if the wall is bumped.
Mastery Tip: This step manages lateral stability. By lowering the center of gravity of the candle holder within the wood form, you reduce the leverage applied to the joint, preventing the shelf from sagging over years of use.
4. The Radius Refinement
Soften the harsh corners of your forms using a spokeshave or a series of sanding blocks. A slight radius makes the piece more ergonomic to the eye and prevents the finish from chipping off sharp, brittle edges.
Mastery Tip: This involves surface tension. A rounded edge allows the liquid finish to flow evenly over the corner rather than pulling away. This ensures a consistent protective film that prevents the wood from cracking during seasonal humidity shifts.
THE TECHNICAL LEDGER
Maintenance & Longevity: To keep your Custom Wood Candle Sconces in peak condition, avoid aerosol dusters. Use a microfiber cloth dampened with a tiny amount of mineral oil every six months. This replenishes the lipids in the wood and prevents the fibers from becoming brittle in dry hallway environments.
Material Variations: For a sustainable twist, use thermally modified ash. This wood has been "cooked" in an oxygen free kiln, changing its molecular structure to be nearly impervious to rot and moisture. If you want a premium look, go for figured maple; the "chatoyancy" or 3D shimmering effect in the grain adds a luxury layer that standard boards lack.
The Correction:
- The Gap: If your joint has a visible line, mix fine sawdust from the same board with wood glue to create a matching filler.
- The Wobble: If the backplate is not flush against the wall, use a cabinet scraper to remove high spots on the rear surface.
- The Blotches: If the stain looks uneven, you likely missed a spot during sanding. Strip it with a chemical solvent and re-sand through the grits (80, 120, 180, 220) before reapplying.
Studio Organization: Store your unfinished wood flat and elevated on "stickers" (thin strips of wood). This allows air to circulate on all sides, preventing the boards from bowing or cupping due to uneven moisture loss.
THE FINAL REVEAL
There is a specific kind of magic that happens when you hang the final piece and strike a match. The way the flame interacts with the polished grain of your Custom Wood Candle Sconces creates a rhythmic dance of light and shadow. You have taken raw, static organic matter and engineered it into a functional piece of art. The hallway is no longer just a path from the kitchen to the bedroom; it is a curated experience defined by your craftsmanship. The finish should have a soft, satiny luster that begs to be touched, proving that high end design is as much about the physics of the material as it is about the vision of the maker.
STUDIO QUESTIONS
What is the best wood for candle sconces?
Dense hardwoods like Walnut, White Oak, or Cherry are ideal. They possess the structural integrity to hold joinery and the thermal resistance to handle the proximity of a candle flame without warping or losing their luster over time.
How do I prevent the wood from scorching?
Always use a glass hurricane or metal insert to create a thermal barrier. This ensures the heat from the flame does not directly contact the wood fibers, preventing pyrolysis, which is the chemical decomposition of organic material by heat.
Can I use reclaimed wood for this project?
Yes, but check for hidden metal with a magnet first. Reclaimed timber often has a lower moisture content, making it very stable, but it can be brittle. Use sharp tools to avoid shattering the aged, dehydrated fibers.
What finish provides the best glow?
A hand rubbed tung oil or Danish oil penetrates the pores and enhances the natural chatoyancy of the grain. Unlike thick polyurethane, these oils do not sit on top of the wood, allowing the natural texture to remain tactile.
How do I mount these securely to drywall?
Use a French cleat or heavy duty keyhole hangers. This distributes the weight across a larger surface area, ensuring the sconce remains level and secure even if the hallway experiences heavy foot traffic or vibrations.

