
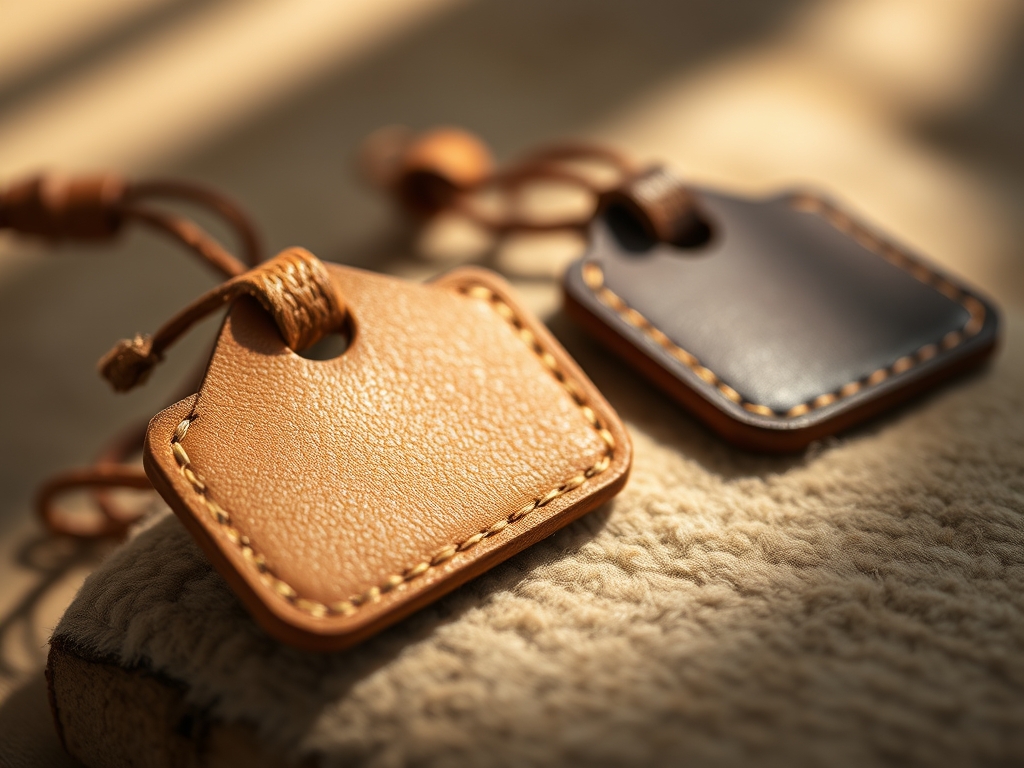
The scent of vegetable tanned hide is the first thing that hits you when you walk into the studio; it is earthy, sweet, and undeniably sturdy. You can feel the density of the grain under your fingertips as you run them across the surface. This is not just about aesthetics. When we talk about Hand Stitched Leather Tags, we are discussing the intersection of high fashion and extreme durability. Your luggage is going to be tossed, dragged, and exposed to varying humidity levels, so we need a material with high tensile strength to ensure those straps never snap. Leather is a complex network of collagen fibers, and when we stitch through it, we are essentially reinforcing a natural lattice. Imagine the satisfaction of pulling a waxed linen thread through a perfectly punched hole. It is tactile, it is rhythmic, and by the time we are done, you will have a piece of gear that looks like it belongs in a high end boutique but performs like industrial equipment.
THE STUDIO KIT
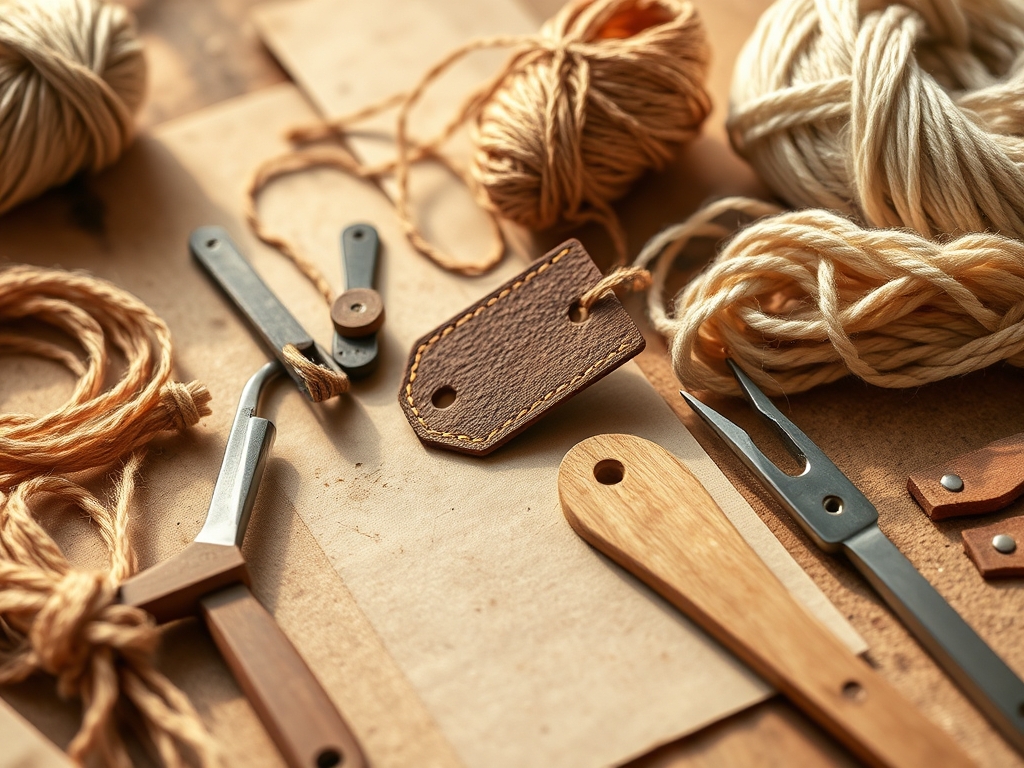
To master Hand Stitched Leather Tags, you need a kit that respects the physics of the hide. Start with Full Grain Vegetable Tanned Leather, ideally between 4oz and 6oz weight. This thickness provides the necessary rigidity without being impossible to turn. You will need a pair of stitching chisels (also called irons) to create consistent spacing; this ensures the load is distributed evenly across the seam. Your thread choice is vital. Use poly-braided waxed thread (0.6mm to 0.8mm gauge) because the wax acts as a lubricant during the stitch and a sealant once the thread is seated.
You will also need a scratch awl for marking, a rotary cutter for clean linear edges, and a bone folder to compress the fibers during the folding process. For the finish, grab a wood burnisher and some Tokonole or beeswax. If you cannot find traditional leather, a high density cork fabric or a recycled leather composite can serve as a material substitution, though they lack the same internal fiber interlocking properties of genuine hide. Always keep a pair of digital calipers nearby to measure thickness consistency across your project.
THE TEMPO
The Maker's Rhythm is all about managing the moisture and the muscle memory of the craft. Expect to spend about 30 minutes on the initial layout and cutting phase. Precision here prevents structural failure later. The punching phase takes roughly 15 minutes; it requires a steady hand and a heavy mallet to ensure the chisels penetrate the porous leather layers cleanly. The actual stitching is the longest phase, taking about 45 to 60 minutes depending on the complexity of your tag. This is where you find your flow. Finally, the burnishing and finishing stage takes 20 minutes. Total time for a professional grade tag is roughly two hours. Do not rush the burnishing; the heat generated by friction is what fuses the fibers together for a waterproof edge.
THE CORE METHOD
1. Template Calibration and Cutting
Use your calipers to mark a rectangle roughly 3 inches by 5 inches. Use a rotary cutter against a steel ruler to ensure the edges are perfectly perpendicular.
Mastery Tip: Always cut with the grain of the leather to maximize tensile strength. If you cut against the grain, the tag may stretch and distort over time when subjected to the tension of a heavy suitcase.
2. Edge Beveling and Skiving
Take a beveling tool and remove the sharp 90 degree angle from the edges of your leather. If you are folding the leather over a buckle, use a skiving knife to thin the leather at the fold point.
Mastery Tip: Skiving reduces bulk while maintaining the integrity of the top grain. By reducing the thickness at the pivot point, you prevent the leather from cracking under repeated mechanical stress.
3. The Stitching Groove
Use a wing divider or a stitching groover to create a slight recessed track around the perimeter. This track protects the thread from abrasion.
Mastery Tip: Creating a groove utilizes surface tension to seat the thread below the leather surface. This prevents the thread from being "shaved" off when the tag rubs against other luggage surfaces.
4. Punching the Lead Holes
Align your stitching chisels in the groove and strike them with a poly mallet. Ensure the tool is perfectly vertical to keep the exit holes aligned on the back.
Mastery Tip: The spacing between holes dictates the structural integrity of the seam. Holes placed too close together can act like a perforated line, causing the leather to tear under heavy loads.
5. The Saddle Stitch Execution
Thread two needles on opposite ends of a single length of waxed thread. Pass them through the same hole from opposite sides, creating an interlocking "X" pattern inside the leather.
Mastery Tip: The saddle stitch is superior to a machine lockstitch because if one thread breaks, the other remains secure. This relies on the friction coefficient of the waxed thread against the leather fibers.
6. Burnishing the Edges
Apply a small amount of burnishing gum to the edges and rub vigorously with a wooden burnisher until the edge turns dark and glossy.
Mastery Tip: This process uses friction to create heat, which melts the natural lignins and waxes in the leather. This creates a hydrophobic barrier that prevents moisture from delaminating the leather layers.
THE TECHNICAL LEDGER
Maintenance & Longevity: To keep your tags in peak condition, apply a light coat of neatsfoot oil every six months. This replenishes the natural oils lost to evaporation and prevents the collagen fibers from becoming brittle.
Material Variations:
- Sustainable: Pineapple leather (Piñatex) offers great texture but lower tear resistance.
- Recycled: Bonded leather is cost effective but lacks the long chain fibers of full grain.
- Premium: Shell Cordovan is the gold standard for density and luster, though it is difficult to pierce.
The Correction:
- Mistake: Thread bunching at the start. Fix: Use a "backstitch" for the first two holes to anchor the tension.
- Mistake: Crooked stitch line. Fix: Use a guide wing divider to "score" the line before punching.
- Mistake: Fuzzy edges. Fix: Sand the edges with 400 grit sandpaper before applying burnishing compound.
Studio Organization: Store your leather flat in a climate controlled environment. Avoid plastic bins which can trap moisture and lead to mold. Use breathable cotton wraps to prevent the leather from "sweating" and losing its temper.
THE FINAL REVEAL
There is nothing quite like the moment you pull that final stitch tight and see the geometric perfection of your work. Your Hand Stitched Leather Tags are now more than just labels; they are engineered accessories designed to survive the cargo hold of an airplane. The edges are glassy and smooth, the thread is recessed and protected, and the leather has a weight that feels substantial in your hand. As you attach it to your bag, notice how the hardware sits flush against the skived leather. This is the hallmark of a master maker. You have successfully blended physics and craft into a piece of gear that will age beautifully, developing a rich patina that tells the story of every mile traveled.
STUDIO QUESTIONS
What is the best thread for leather tags?
Poly-braided waxed thread is the industry standard. The wax provides lubrication during the stitching process and seals the hole against moisture. It has high tensile strength and will not rot like cotton thread when exposed to the elements over time.
Can I use a regular sewing machine?
Most domestic machines cannot handle the density of 6oz leather. They lack the torque to pierce the grain and the "walking foot" mechanism needed to move the material evenly. Hand stitching is significantly more durable due to the interlocking saddle stitch.
How do I prevent the leather from stretching?
Always cut your main strap pieces along the "spine" of the hide where the fiber density is highest. This orientation offers the least amount of mechanical stretch, ensuring your tag stays securely fastened to your luggage during rough transit.
What if my leather is too stiff to stitch?
You can lightly dampen the stitch line with a sponge to soften the fibers. This reduces the force required to punch holes. However, wait for the leather to dry completely before applying any oils or waxes to ensure proper absorption.

