
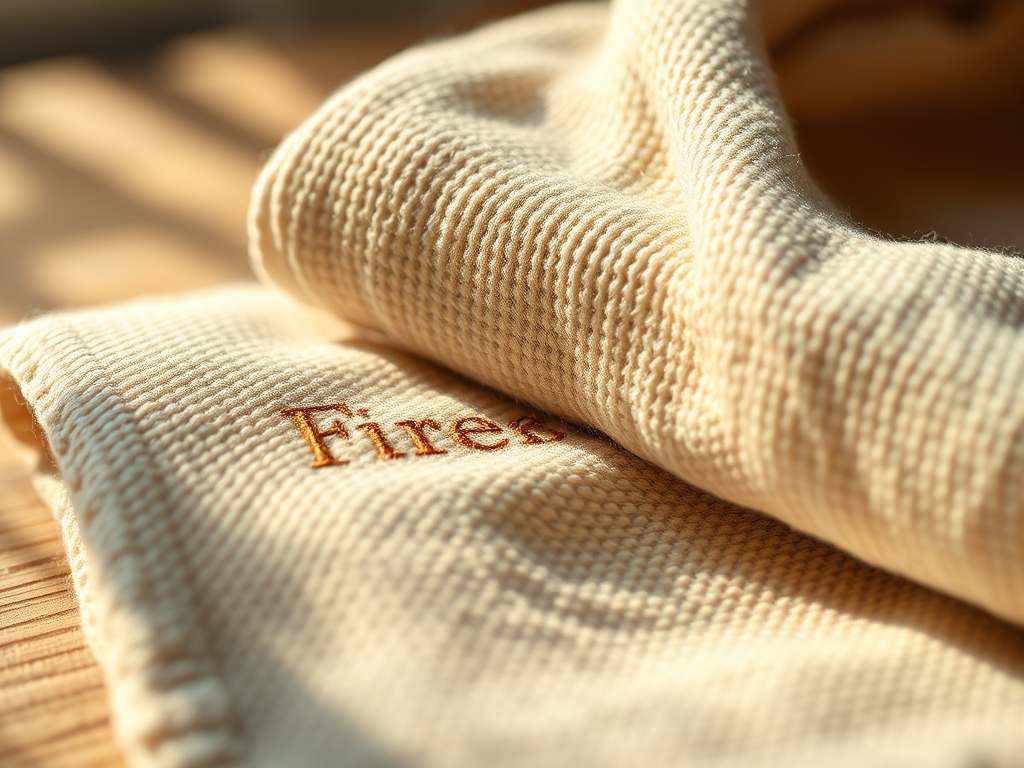
The scent of fresh cotton is intoxicating; it has that crisp, earthy aroma that signals a clean slate for your creativity. When you run your hand over high-quality terry cloth, you are feeling thousands of tiny loops designed to maximize surface area for moisture absorption. This is the foundation for your next obsession: Personalized Embroidered Towels. We are not just talking about basic stitching here. We are diving into the physics of fiber tension and the way a needle interacts with a high-pile substrate. To get that perfect guest room aesthetic, you need to understand how the tensile strength of your embroidery thread competes with the stretch of the knit or woven base. If the tension is off, the fabric puckers; if it is right, the monogram sits proudly atop the loops like a crown. We are going to master five distinct styles that turn a standard bathroom essential into a curated piece of textile art that feels as expensive as it looks.
THE STUDIO KIT
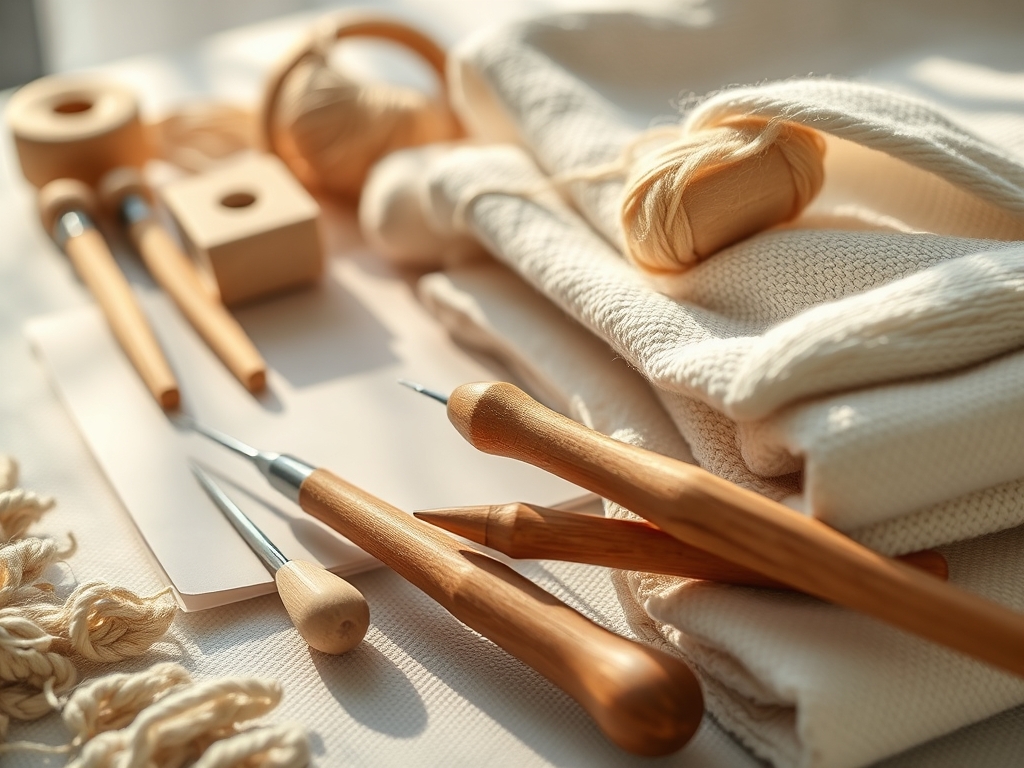
To execute these styles with professional precision, your toolkit needs to go beyond a basic needle and thread. You need a rotary cutter with a fresh 45mm blade for clean stabilizer edges and a pair of high-carbon steel snips for flush thread trimming. The star of the show is the water-soluble stabilizer (WSS); this transparent film prevents your stitches from sinking into the terry loops, ensuring the monogram remains visible and crisp. For the base, look for towels with a high GSM (Grams per Square Meter), ideally between 600 and 900, to ensure a dense "canvas" for your work.
Material Substitutions: If you cannot find high-end WSS, a lightweight heat-away film works, though it requires more caution with iron temperatures to avoid scorching the cotton. For threads, while rayon offers a high-luster sheen, polyester embroidery thread is superior for towels because it resists bleaching and has a higher breaking tenacity, meaning it will survive a thousand laundry cycles without fraying.
THE TEMPO
The "Maker's Rhythm" for this project is a three-act play: Preparation, Execution, and Finishing. Expect to spend approximately 20 minutes on the Calibration Phase, where you test your stitch density on a scrap piece of similar material. The Stitching Phase varies by complexity; a simple minimalist initial takes about 15 minutes, while a dense, interlocking crest can take up to 45 minutes of active machine time or several hours if you are working by hand with a hoop and awl. Finally, the Curing Phase takes 10 minutes to dissolve stabilizers and air-dry. Do not rush the drying; the fibers need to settle back into their natural orientation after being compressed by the hoop.
THE CORE METHOD
1. The Architectural Block Monogram
This style uses heavy, sans-serif lettering that relies on satin stitching to create a 3D effect. You must align the grain of the towel vertically before hooping. Use a caliper to ensure the letter is perfectly centered between the side hems.
Mastery Tip: Understand displacement. When the needle enters the fabric, it pushes fibers aside. By using a heavy underlay stitch, you create a foundation that prevents the top satin stitches from shifting, maintaining the structural integrity of the sharp corners.
2. The Delicate Script Vine
This style mimics organic growth, with thin lines and floral flourishes. It requires a finer gauge needle, typically a 75/11, to minimize the "punching" effect on the base fabric.
Mastery Tip: This style relies on capillary action during the wash-away process. If you leave too much stabilizer residue, the delicate threads will feel stiff. Rinse in lukewarm water to ensure every polymer chain of the WSS is dissolved, leaving only the soft thread behind.
3. The Shadow Box Inlay
Instead of stitching a solid letter, you stitch a geometric border and leave the letter as "negative space" or fill it with a contrasting ply of thread.
Mastery Tip: This technique tests lateral tension. Because you are stitching a large perimeter, the fabric in the center wants to "bubble." You must use a heavy-duty "cut-away" stabilizer on the back to lock the fabric's weave in place and prevent distortion.
4. The Vintage Varsity Applique
This involves layering a secondary fabric, like linen or felt, onto the towel and stitching around the edges. It adds a tactile, multi-dimensional layer that is incredibly durable.
Mastery Tip: Watch the coefficient of friction. Different fabrics move through the machine at different rates. Use a "walking foot" or increase your presser foot pressure to ensure the two layers do not slide against each other, which would cause the monogram to skew.
5. The Minimalist Micro-Mark
Small, 1-inch monograms placed in the bottom right corner. This style is all about precision and "white space."
Mastery Tip: Small designs have high stitch density in a tiny area. To prevent the needle from "drilling" a hole in the towel, reduce your machine speed by 50 percent. This allows the fibers to recover between needle penetrations, preserving the fabric's density.
THE TECHNICAL LEDGER
Maintenance & Longevity: To keep your Personalized Embroidered Towels looking sharp, always wash them in cool water. High heat can cause the polyester thread to shrink at a different rate than the cotton base, leading to the dreaded "puckered monogram" look. Air drying is preferred, but if you must tumble dry, use a low-heat setting.
Material Variations: For a sustainable twist, use bamboo-derived rayon threads on organic hemp towels. Bamboo fibers have a natural antimicrobial property, while hemp offers a higher tensile strength than cotton, making the towel nearly indestructible over time.
The Correction:
- Puckering: This happens when your hoop is too loose. Fix it by using a "hoop shield" or a layer of temporary spray adhesive to bond the towel to the stabilizer.
- Bird Nesting: Thread tangles under the fabric usually mean the top tension is too light. Re-thread the machine with the presser foot up to ensure the thread seats in the tension disks.
- Sinking Stitches: If the monogram looks "eaten" by the towel, your WSS was too thin. Double up the film on top next time to create a firmer bridge over the loops.
Studio Organization: Store your embroidery supplies in a climate-controlled environment. Thread can become brittle if exposed to UV light or extreme humidity. Use clear, airtight bins and organize by thread weight and color family to keep your workflow efficient.
THE FINAL REVEAL
There is nothing quite like the moment you peel away the final layer of stabilizer to reveal a perfectly executed monogram. The way the light hits the satin stitches, contrasting against the matte texture of the terry cloth, creates a visual depth that defines luxury. Your guest room is no longer just a place for visitors to sleep; it is a curated experience. These Personalized Embroidered Towels serve as a testament to your technical skill and your eye for detail. They are soft, they are functional, and they carry the weight of a professional "maker" who knows exactly how to manipulate fiber and physics to create beauty.
STUDIO QUESTIONS
What is the best stabilizer for thick towels?
A heavy-weight "cut-away" stabilizer on the bottom provides the best structural support, while a "water-soluble" film on top prevents stitches from sinking. This dual-layer approach ensures the monogram remains crisp and prevents the fabric from shifting during high-density stitching.
Can I embroider towels without an embroidery machine?
Yes, you can use a traditional hoop and hand-stitch using a "stem stitch" or "chain stitch." Use a water-soluble marking pen to draw your design first and ensure you maintain consistent thread tension to avoid distorting the towel's natural weave.
Why does my embroidery look wrinkled after washing?
Wrinkling, or puckering, usually occurs because the stabilizer was not strong enough or the thread tension was too tight. As the cotton fibers relax in water, the overly tight stitches pull the fabric inward. Always use a stabilizer that matches the fabric weight.
How do I choose the right needle size?
For most Personalized Embroidered Towels, a 90/14 embroidery needle is ideal. It has a larger eye to accommodate thicker threads and a specially shaped scarf to prevent skipped stitches when moving through the thick, porous layers of terry cloth loops.

