
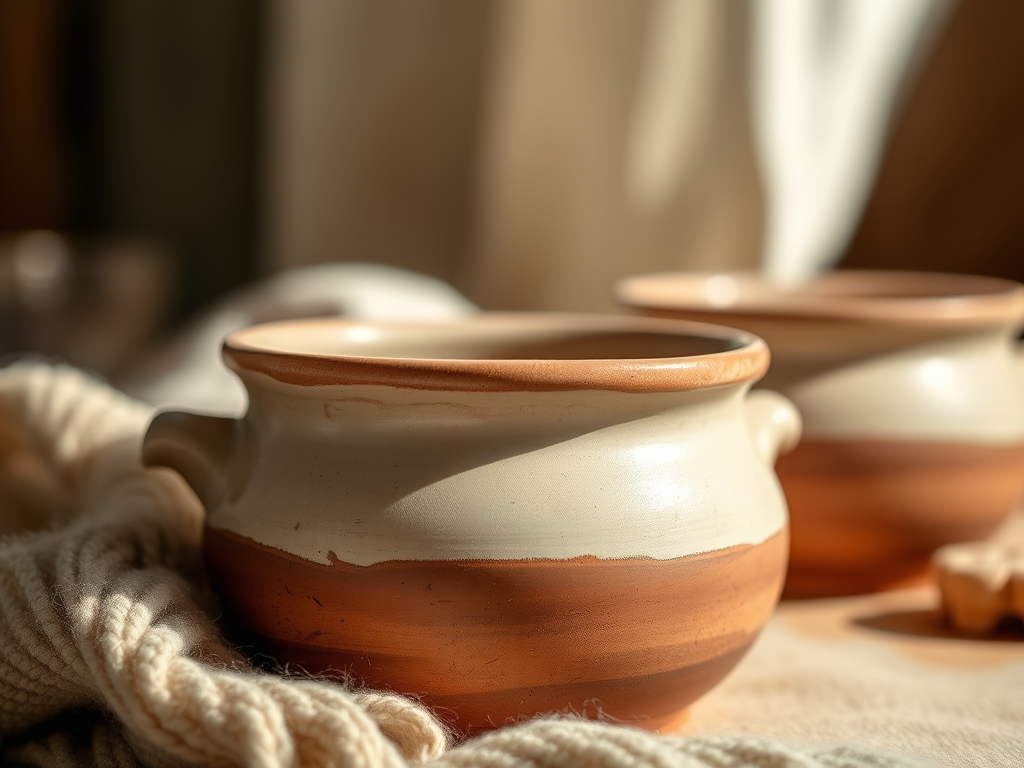
Imagine the smell of wet earth hitting a hot radiator; that is the scent of a winter studio session about to begin. There is a specific, heavy weight to a fresh bag of stoneware clay that feels like potential energy waiting to be released. When you sit at the wheel to create Hand Thrown Soup Crocks, you are not just making dishes; you are engineering thermal vessels designed to fight the January chill. The clay starts cold and stubborn against your palms, but as the wheel spins, the friction generates a micro-layer of heat that softens the silicates. You can feel the grit of the grog between your fingers, providing the necessary structural integrity to prevent the walls from collapsing under their own moisture. It is a tactile conversation between your skeletal strength and the plastic memory of the earth. We are going for high-walled, belly-heavy shapes that hug heat like a secret. By the time we are done, these crocks will feel like an extension of your hands, perfectly balanced for a heavy pour of rustic onion soup.
THE STUDIO KIT
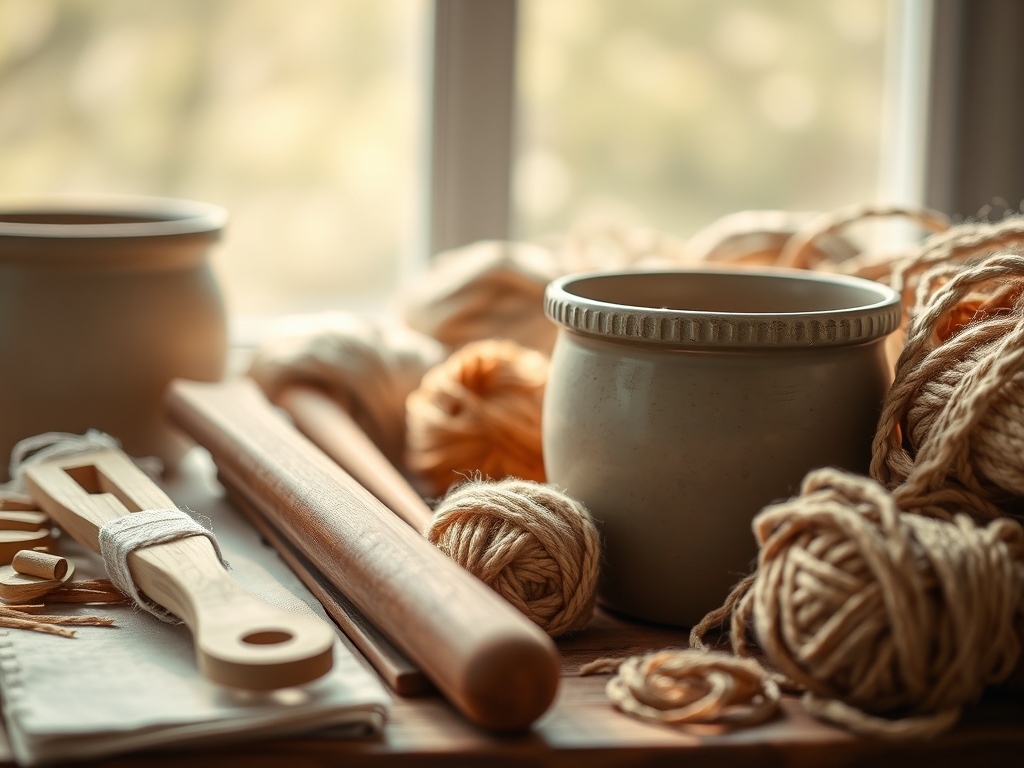
To master the architecture of a perfect soup vessel, your workbench needs more than just enthusiasm. You need a high-fire stoneware body with at least ten percent grog content to handle the thermal shock of a broiler. Your primary tool is the electric potter's wheel, but the real magic happens with the stainless steel kidney rib for compressing the floor and the calipers to ensure your lids or rim diameters remain consistent across the set of seven. You will also need a wire clay cutter with a high tensile strength to slice the finished crock from the bat without warping the base. For the handles, keep a loop tool and a serrated rib nearby for scoring and slipping.
Material Substitutions: If you cannot find a high-grog stoneware, you can wedge in a small amount of fine fireclay to increase the refractory properties of your medium. In a pinch, a stiff rubber spatula can replace a professional rib, though it lacks the precise flex needed for a perfect interior curve. For those without a specialized kiln, ensure your clay body is rated for the specific cone temperature of your local community studio to avoid a "meltdown" in the literal sense.
THE TEMPO
The maker's rhythm is dictated by the evaporation rate of water. You cannot rush a crock. The initial throwing phase takes about twenty minutes per piece, but then you enter the "waiting game" of the leather-hard stage, which usually spans twelve to twenty-four hours depending on your studio's humidity. Trimming the foot and attaching handles requires another fifteen minutes of focused precision. The real endurance test is the drying phase; these thick-walled beauties need a slow, five-day cure under plastic to prevent the handles from pulling away due to uneven shrinkage. Finally, the two-stage firing process (bisque and glaze) adds another forty-eight hours of kiln time. Respect the clock, or the clay will crack.
THE CORE METHOD
1. Centering the Mass
Before you can pull walls, you must achieve a state of perfect equilibrium. Use your body weight, not just your arm strength, to force the clay into the center of the spinning bat. You are fighting centrifugal force here. Mastery Tip: This relies on Newtonian physics; by keeping your elbows locked against your hips, you become a fixed point that the clay must conform to, ensuring the molecular structure is aligned for maximum tensile strength.
2. Opening the Well
Press your thumbs into the center of the mound to create a floor that is exactly half an inch thick. Use your calipers to check this depth. A floor that is too thin will crack during the final glaze fire, while one that is too thick will retain moisture and potentially explode. Mastery Tip: The capillary action of the clay means water will pool in the center; always use a sponge to clear excess slurry to prevent the base from softening and losing its structural integrity.
3. Pulling the Walls
With one hand inside and one outside, squeeze the clay and lift it upward in a smooth, controlled motion. For soup crocks, aim for a slightly tapered "belly" shape that narrows at the rim to trap steam. Mastery Tip: This is where you manage hoop stress. By keeping the rim slightly thicker and more compressed than the walls, you provide a structural "ring" that prevents the vessel from warping into an oval shape as it dries.
4. Refining the Profile with a Rib
Use a metal or wooden rib to smooth the exterior and compress the clay particles. This creates a dense, less porous surface that will take glaze more evenly. Mastery Tip: This process involves surface tension; by removing the "slop" or excess water from the exterior, you are tightening the clay's skin, which reduces the risk of S-cracks forming in the base during the cooling cycle.
5. Throwing the Lug Handles
Instead of pulled handles, we are creating "lug" handles by throwing a small ring of clay and bisecting it. These are more ergonomic for heavy crocks. Mastery Tip: When attaching, ensure the moisture content of the handle matches the body of the crock. If one is drier than the other, the differential shrinkage rates will cause the joint to fail with surgical precision.
6. Trimming the Foot Ring
Once the crock is leather-hard, flip it over and use a sharp loop tool to carve a recessed foot. This reduces the mass of the base and allows for more even heat distribution in the oven. Mastery Tip: A well-trimmed foot creates a thermal break, preventing the hot soup from leaching its temperature too quickly into the tabletop through direct conduction.
7. The Final Burnish
Take a smooth stone or the back of a spoon and rub the rim until it shines. This aligns the finest particles on the surface for a buttery-smooth mouthfeel. Mastery Tip: Burnishing reduces the surface area of the clay, making it less likely to snag on a sponge during cleaning and increasing the overall durability of the rim against mechanical impact.
THE TECHNICAL LEDGER
Maintenance & Longevity: To keep your hand thrown soup crocks in peak condition, avoid extreme thermal shock. Never take a crock directly from the freezer and place it into a preheated 450-degree oven. The coefficient of thermal expansion in the glaze must match the clay body to prevent "crazing," which are tiny cracks that can harbor bacteria. Hand washing is preferred to prevent the harsh salts in dishwashers from dulling the glaze over time.
Material Variations: For a premium feel, use a porcelain-stoneware blend. It offers the whiteness and translucency of porcelain with the throwing ease of stoneware. For a sustainable twist, save your "slop" (the watery clay run-off) and dehydrate it on a plaster bat to create a recycled clay body with a unique, variegated texture.
The Correction:
- The S-Crack: If a crack appears in the bottom, it is usually from uneven drying. Fix it by compressing the floor more aggressively with a rib during the throwing stage.
- The Slumping Handle: If handles sag, you attached them when they were too wet. Use a heat gun to stiffen them slightly before joining.
- Glaze Shivering: If the glaze flakes off, the glaze and clay are not compatible. Increase the silica content in your glaze to better match the clay's shrinkage.
Studio Organization: Store your damp crocks in a "wet box" (a plastic bin with a layer of wet plaster at the bottom). This maintains a 100 percent humidity environment, allowing the moisture to equalize across the entire piece and preventing the thin rims from drying faster than the thick bases.
THE FINAL REVEAL
There is nothing quite like pulling a set of seven matching soup crocks out of the kiln. When the door opens and that first gust of heat hits you, the colors of the glaze—deep forest greens, toasted oats, or midnight blues—finally come to life. These vessels are heavy, substantial, and radiating with the energy you put into the wheel. They feel balanced in the hand; the lug handles provide a secure grip even when you are wearing oven mitts. When you fill them with a steaming bisque, the stoneware retains the heat for nearly an hour, making them the undisputed stars of any winter gathering. You have turned raw earth into a functional masterpiece.
STUDIO QUESTIONS
What is the best clay for soup crocks?
A high-fire stoneware with grog is best. It provides the thermal shock resistance needed for oven use and is durable enough for daily handling. Always ensure the clay is vitrified to prevent moisture absorption and potential cracking.
Why do my handles always fall off?
This usually happens because of differential shrinkage. If the handle is wetter or drier than the pot, they will pull apart. Ensure both pieces are at a similar leather-hard stage and use plenty of slip and scoring.
Can I use these in the microwave?
Yes, provided your glaze does not contain metallic oxides like manganese or iron in high concentrations. Most stoneware glazes are microwave-safe, but always test one piece first to ensure it does not overheat or spark.
How do I prevent the bottom from cracking?
Compress the floor of the crock firmly with a wooden rib while throwing. This aligns the clay particles and removes excess water, which prevents the dreaded "S-crack" from forming during the drying or firing process.

