
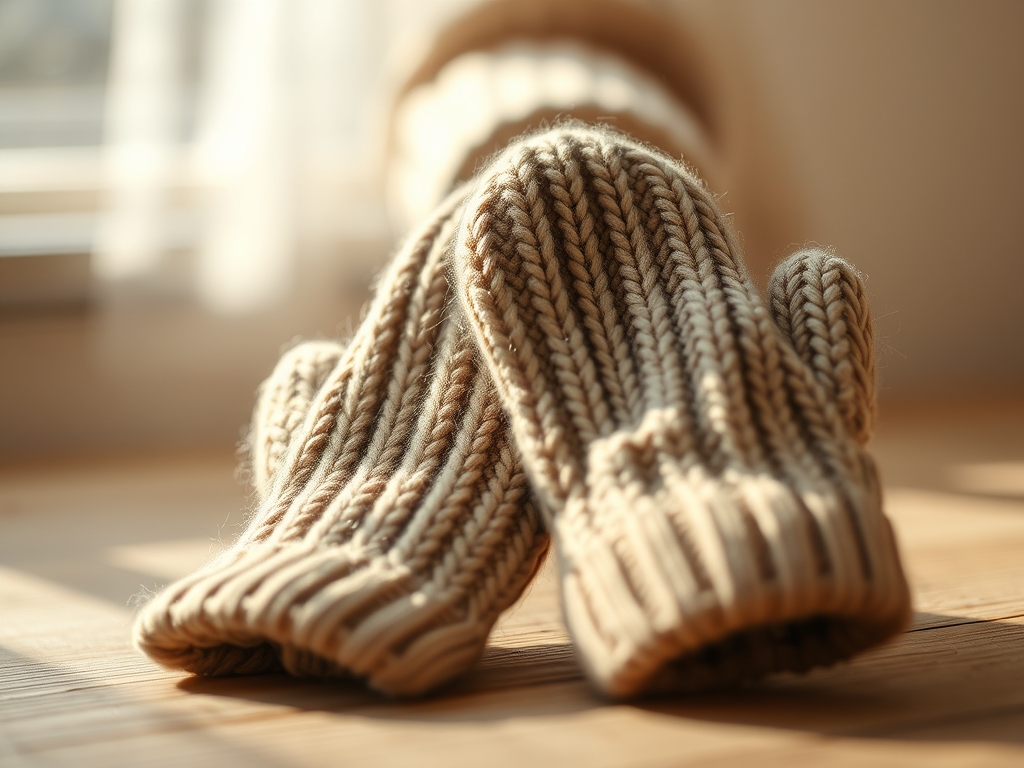
Imagine the scent of raw wool hitting the steam of a hot kettle while the wind howls against the windowpane. There is a specific, high-frequency thrill in selecting the perfect skein for your next project. When you create Personalized Knitted Mittens, you are not just following a pattern; you are engineering a thermal barrier against the elements. The tactile feedback of a high-twist yarn sliding over polished needles provides a sensory anchor. We are talking about the intersection of cozy aesthetics and serious material science. To get that professional finish, we must respect the fiber density and the way light interacts with the pigments in the wool. Every stitch is a structural unit, and every color choice is a mood. Whether you are aiming for a rustic heather or a vibrant jewel tone, the goal is a garment that feels like a second skin. Let us dive into the workshop and master the physics of the perfect winter accessory.
THE STUDIO KIT
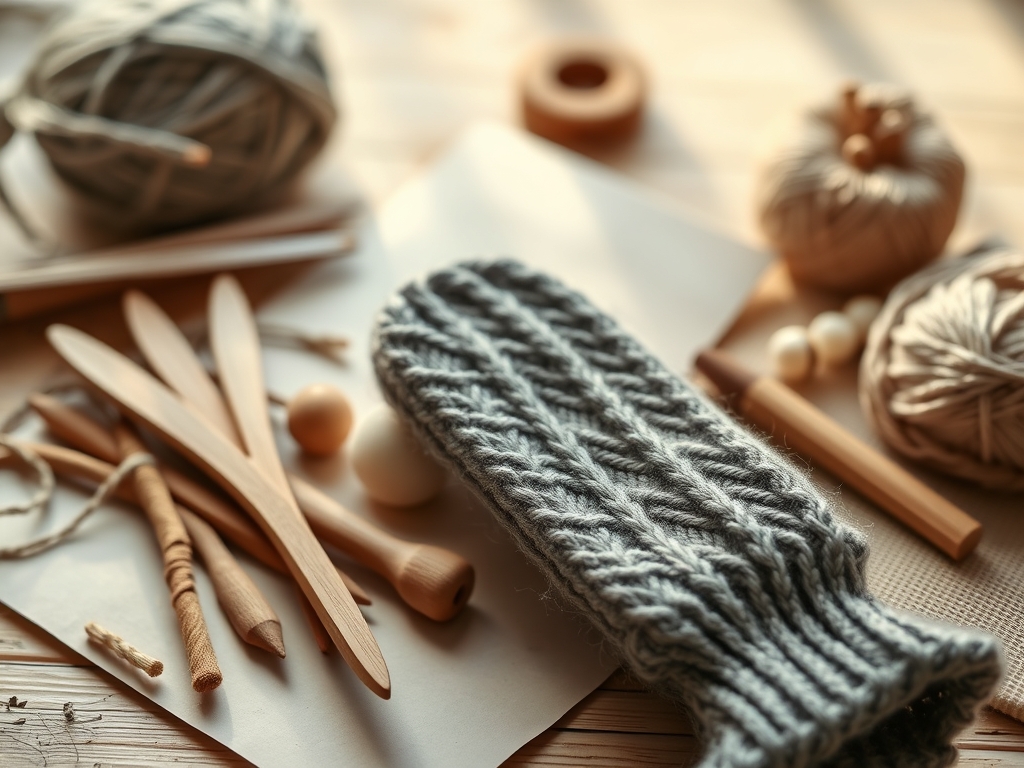
To execute Personalized Knitted Mittens with precision, your toolkit must be as sharp as your wit. You will need a set of stainless steel double-pointed needles (DPNs) or a long circular needle for the Magic Loop method. Steel offers a lower coefficient of friction than bamboo, allowing for faster transitions. Use a digital caliper to check your yarn diameter if the label is missing; consistency in the WPI (Wraps Per Inch) is non-negotiable for structural integrity.
Your primary material should be a worsted weight wool with at least a three-ply construction. The ply count determines the roundness of the strand, which directly impacts stitch definition. For those with sensitivities, a Material Substitution of alpaca blended with silk provides incredible thermal retention without the scales of sheep wool that cause itching. You will also need a blunt-tipped tapestry needle for weaving in ends and a retractable measuring tape to ensure the ergonomic fit matches your hand's unique geometry.
THE TEMPO
The "Maker's Rhythm" is a state of flow where your muscle memory takes over the repetitive motions of the knit stitch. For a pair of Personalized Knitted Mittens, expect to invest roughly eight to twelve hours of active labor. The Cuff Phase is the sprint; it takes about an hour per mitten to establish the ribbing. The Hand Expansion is the marathon, requiring four hours of steady tension control as you navigate the thumb gusset.
The final Finishing Phase is where the science of blocking comes into play. This is not just drying the wool; it is a molecular reset. By submerging the mittens in lukewarm water, you allow the fibers to relax and redistribute tension across the entire fabric. This stage takes thirty minutes of active work and twenty-four hours of passive drying time. Respect the clock, and the wool will respect you.
THE CORE METHOD
1. Establishing the Foundation
Begin by casting on using the Long-Tail Cast-On method. This creates a sturdy yet elastic edge that can handle the tensile stress of being pulled over the hand repeatedly. Ensure your stitches are not strangled; the yarn needs room to breathe.
Mastery Tip: Observe the surface tension of your yarn. If you pull too tight, you compress the air pockets within the fiber, significantly reducing the insulation value of the finished mitten.
2. The Ribbed Architecture
Work in a two-by-two ribbing pattern for the cuff. This creates a series of vertical columns that act like micro-springs. The mechanical stretch of ribbing is essential for a snug fit at the wrist, preventing convective heat loss by sealing the gap between your coat and your hand.
Mastery Tip: Use a needle one size smaller for the cuff than the main body. This increases the stitch density, ensuring the ribbing does not lose its "memory" and become baggy over time.
3. Engineering the Thumb Gusset
The gusset is a triangular expansion of fabric that allows for the thumb's range of motion. Use M1L (Make One Left) and M1R (Make One Right) increases to create a seamless transition. This prevents the formation of holes that would compromise the thermal barrier.
Mastery Tip: This step relies on structural geometry. By placing increases on either side of a central stitch, you are redirecting the grain of the fabric to follow the natural abduction of the human thumb.
4. Navigating the Palm
Once the thumb stitches are placed on a holder, continue knitting the hand in a circular Stockinette stitch. This is where your color choice truly shines. Ensure you are maintaining a consistent gauge; even a slight deviation in tension will result in one mitten being larger than the other.
Mastery Tip: Check your work against a knitting gauge tool. If your stitches per inch vary, your hand's heat will escape through the looser gaps via capillary action if the mittens become damp.
5. Closing the Apex
The top of the mitten requires a series of SSK (Slip, Slip, Knit) and K2tog (Knit Two Together) decreases. This creates a tapered finish that mirrors the fingertips. Use the Kitchener Stitch for a seamless grafting of the final stitches to avoid a bulky ridge inside the mitten.
Mastery Tip: Grafting creates a continuous loop of yarn that mimics a row of knitting. This maintains the tensile strength of the fabric at its most vulnerable point: the tips of the fingers.
THE TECHNICAL LEDGER
To ensure the longevity of your Personalized Knitted Mittens, you must understand the chemistry of protein fibers. Wool is naturally antimicrobial, but it is susceptible to pilling and felting. Avoid high-heat drying at all costs, as this causes the microscopic scales on the hair shafts to lock together permanently.
Material Variations:
- Sustainable: Organic Merino sourced from non-mulesed sheep.
- Recycled: Reclaimed cashmere provides unparalleled softness with a lower carbon footprint.
- Premium: Qiviut (muskox wool) is eight times warmer than sheep wool and does not shrink in water.
The Correction:
- The Gap at the Thumb: If a hole appears at the gusset join, use a duplicate stitch to reinforce the area.
- Uneven Tension: If one mitten is tighter, use steam blocking to gently stretch the fibers into alignment.
- Dropped Stitches: Use a small crochet hook to "ladder up" the stitch, restoring the structural integrity of the column.
Studio Organization: Store your yarn in airtight containers with cedar blocks. Natural fibers are a food source for moths; preventing biological degradation is just as important as the knitting itself.
THE FINAL REVEAL
There is nothing quite like the moment you pull on a finished pair of Personalized Knitted Mittens and feel the immediate warmth of your own labor. The colors you chose are now a functional piece of art, ready to catch snowflakes and grip a hot thermos. You have successfully navigated the physics of fiber, the geometry of the hand, and the discipline of the craft. These mittens are not just accessories; they are a testament to your technical mastery and your eye for style. Now, get out there and show them off against the white winter landscape.
STUDIO QUESTIONS
What is the best yarn for beginners?
A wool and nylon blend is ideal. The wool provides thermal insulation, while the nylon adds tensile strength and durability, making it easier to handle during the learning process without the yarn snapping or fraying.
How do I fix a hole in my mitten?
Use a tapestry needle and matching yarn to perform a duplicate stitch. This reinforces the weakened area by mimicking the original stitch path, effectively doubling the fiber density and restoring the structural integrity of the fabric.
Can I use acrylic yarn for mittens?
You can, but acrylic lacks the wicking properties of natural wool. While it is budget-friendly, it will not keep your hands as dry or warm because it cannot absorb moisture into its core like protein fibers.
Why is blocking so important?
Blocking uses moisture to relax the hydrogen bonds in the wool fibers. This allows the stitches to settle into a uniform grid, improving the overall drape, fit, and professional appearance of your Personalized Knitted Mittens.
How do I measure my hand for mittens?
Use a flexible measuring tape to find the circumference of your palm at the widest point, excluding the thumb. This linear measurement ensures you cast on the correct number of stitches for an ergonomic, comfortable fit.

