
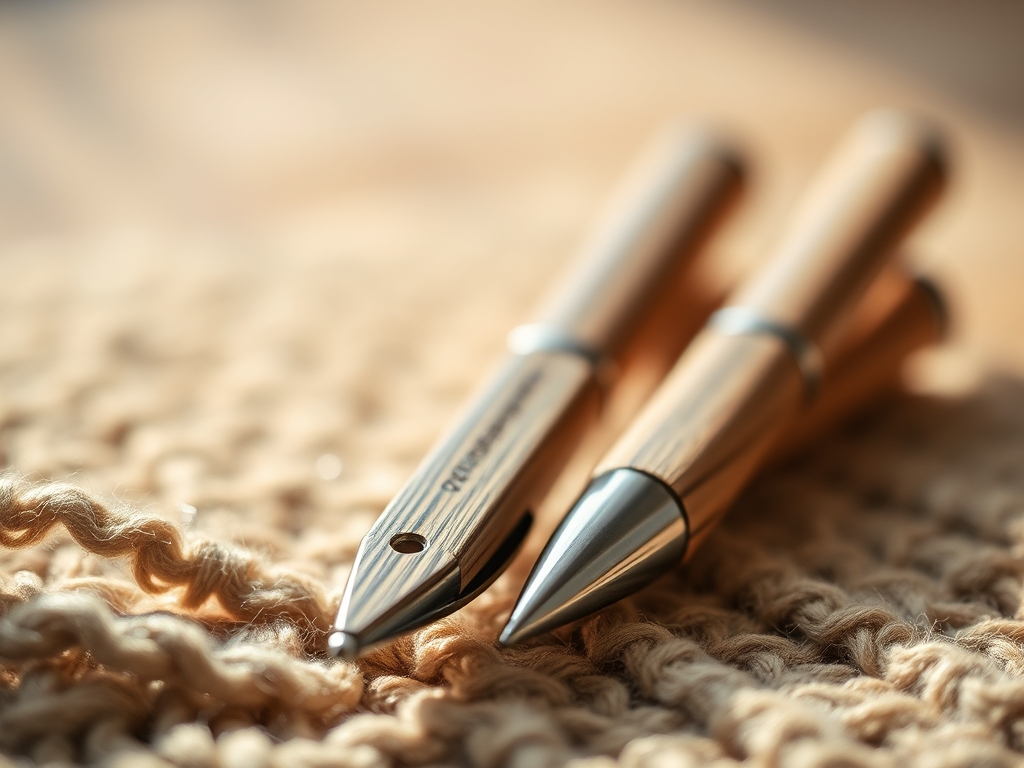
Picture the moment you walk into that brand new office. You sit down; the desk is pristine; the air smells like fresh potential and expensive espresso. You reach into your pocket and pull out a masterpiece. Custom Wood Engraved Pens are not just writing instruments; they are tactile anchors for your professional identity. When you grip a well finished pen, you feel the density of the grain and the subtle warmth of the cellulose fibers responding to your skin temperature. It is a physical manifestation of "I have arrived." We are talking about the perfect balance of weight and friction that makes every signature feel like a legal decree. The physics of a high end pen finish involves managing the porosity of the wood while ensuring the laser engraved grooves remain crisp and legible. We are going to dive deep into the molecular bond between organic fibers and industrial sealants to ensure your new job gear looks as sharp as your resume. Grab your safety goggles; we are turning raw timber into a professional legacy.
THE STUDIO KIT
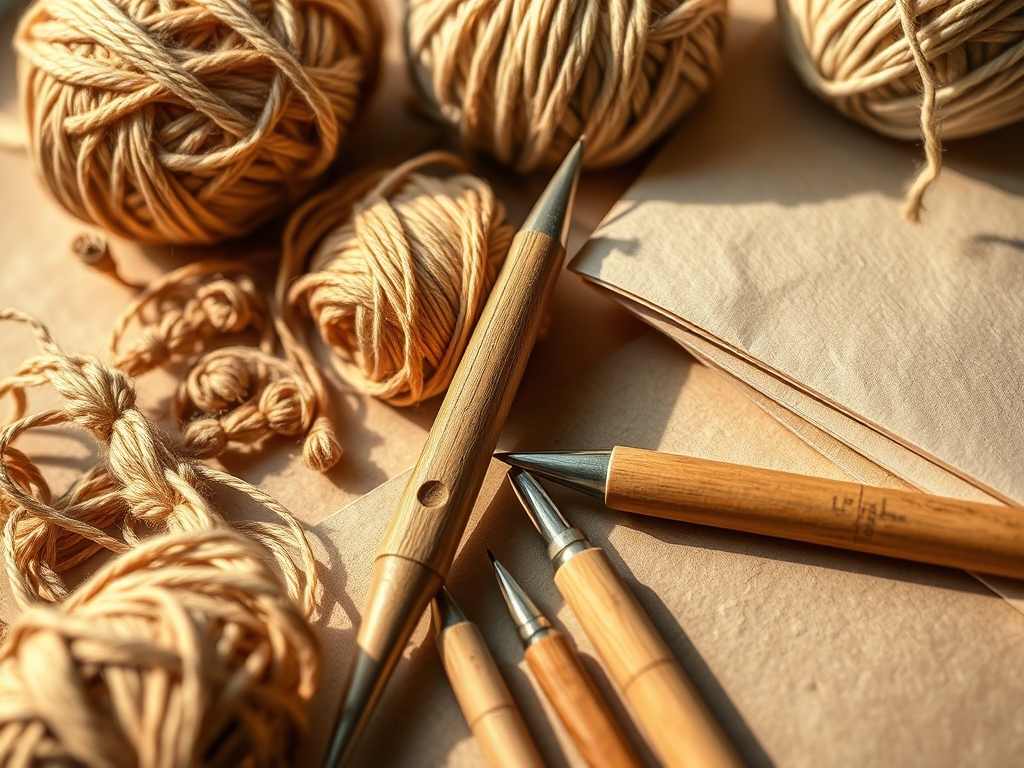
To achieve a gallery grade finish, you need more than just a bottle of glue. You need to understand the tensile strength of your wood species. For these Custom Wood Engraved Pens, I recommend starting with hardwoods like Cocobolo or African Blackwood because their high natural oil content provides a built in defense against moisture. Your kit must include digital calipers to measure the barrel diameter to within a thousandth of an inch. You will also need a high speed lathe, a set of micro mesh sanding pads ranging from 1,500 to 12,000 grit, and a buffing wheel charged with Tripoli compound.
For the finish itself, we are looking at Cyanoacrylate (CA) glue, friction polish, and carnauba wax. If you cannot find high grade carnauba, a solid Material Substitution is beeswax mixed with a hint of mineral oil; though it lacks the high melting point of carnauba, it offers a superior organic scent. You will also need a burnishing tool to compress the wood fibers after engraving. This prevents the ink from bleeding into the grain through capillary action. Every tool in this list serves a specific mechanical purpose in the transformation of raw cellulose into a polished artifact.
THE TEMPO
The "Maker's Rhythm" is all about respecting the cure times. You cannot rush a chemical bond. The initial shaping on the lathe takes about twenty minutes of focused, high RPM work. The engraving phase is the quickest, usually lasting only three to five minutes depending on the complexity of your logo or name. However, the finishing stage is a slow dance. You will spend roughly forty five minutes layering thin coats of sealant, allowing each to flash off its solvents before the next application.
Think of it as a metabolic process for the wood. You apply, you wait, you buff. Total production time for a single high quality pen is approximately ninety minutes. If you try to compress this timeline, you risk "clouding," where moisture gets trapped under the finish, ruining the clarity of your Custom Wood Engraved Pens. Patience is the most technical tool in your workshop.
THE CORE METHOD
1. The Precision Sanding Sequence
Before the engraving even happens, you must prepare the surface to a mirror sheen. Start with 400 grit sandpaper and work your way up to the micro mesh pads. Mastery Tip: Always sand with the lathe running at a lower RPM to prevent friction burn. Friction burns can alter the lignin structure of the wood, making it brittle and prone to cracking during the engraving process.
2. The Laser Depth Calibration
When engraving your Custom Wood Engraved Pens, you must calculate the exact wattage needed to vaporize the wood without charring the surrounding fibers. We are looking for a depth of 0.005 inches. Mastery Tip: Use a focal lens with a shorter distance to achieve a tighter beam diameter. This increases the power density, ensuring the edges of your letters are sharp enough to withstand the subsequent filling or polishing steps.
3. The Cyanoacrylate Shield
This is the "Glass Finish." Apply thin layers of CA glue while the pen is spinning slowly. This creates a hard, acrylic shell that protects the wood from hand oils and acidic sweat. Mastery Tip: Use an aerosol activator to trigger a polymerization reaction instantly. This prevents the glue from soaking too deeply into the grain, which can cause "starving" of the finish where the wood looks dry despite multiple coats.
4. The Metallic Inlay Fill
If you want your engraving to pop, fill the laser grooves with a metallic powder mixed with thin resin. This creates a stunning contrast against dark woods like Walnut. Mastery Tip: Use a vacuum chamber if possible to pull air bubbles out of the resin. This ensures the structural integrity of the inlay, preventing it from flaking out over years of heavy use.
5. The Friction Polish Burnish
For a more natural feel, use a shellac based friction polish. Apply it with a lint free cloth and increase the lathe speed to generate heat. Mastery Tip: The heat causes the shellac to undergo a phase transition, flowing into the microscopic pores of the wood and then hardening into a resilient, glossy film as it cools.
6. The Carnauba Wax Cap
The final step is a high speed buffing with carnauba wax. This provides the "slip" that makes the pen feel ergonomic in the hand. Mastery Tip: Carnauba has a very high melting point compared to other waxes. The kinetic energy from the buffing wheel melts the wax into the finish, creating a hydrophobic barrier that repels water and ink stains.
THE TECHNICAL LEDGER
Maintenance & Longevity
To keep your Custom Wood Engraved Pens in peak condition, avoid extreme temperature fluctuations. Wood is a hygroscopic material, meaning it absorbs and releases moisture from the air. Rapid changes can cause the wood to expand against the metal internal components, leading to stress fractures. A light buffing with a microfiber cloth once a week is usually sufficient to maintain the luster.
Material Variations
For a sustainable approach, use "stabilized" reclaimed wood. This process involves placing the wood in a vacuum with liquid resin, replacing the air in the cells with plastic. This creates a hybrid material with the beauty of wood and the dimensional stability of acrylic. For a premium feel, look for "Burl" woods, which feature chaotic grain patterns caused by tree trauma; they are harder to turn but offer unparalleled visual depth.
The Correction
- The Foggy Finish: If your CA finish looks cloudy, it is likely due to high humidity during application. Fix this by sanding back to the wood and reapplying in a climate controlled environment.
- The Bleeding Ink: If your engraving looks blurry, the wood fibers were too thirsty. Fix this by applying a "sanding sealer" before you engrave to plug the capillary tubes.
- The Cracked Barrel: This usually happens if the fit between the wood and the brass tube is too tight. Use a barrel trimmer to ensure the ends are perfectly square and the pressure is distributed evenly.
Studio Organization
Store your pen blanks and finished pieces in a "dry box" with silica gel packets. This prevents the wood from "moving" (warping or shrinking) before it is fully sealed. Keep your lathes and engraving lenses clean; even a microscopic speck of dust can deflect a laser beam or create a scratch in a high gloss finish.
THE FINAL REVEAL
There it is. You have just engineered a piece of professional equipment that bridges the gap between art and utility. When you hold these Custom Wood Engraved Pens, you are feeling the result of precise thermal management, chemical bonding, and mechanical friction. The way the light catches the engraving, the way the weight sits perfectly in the web of your hand; it is pure satisfaction. You are not just ready for the new job; you are equipped to dominate it. Now, go sign that first big contract with something that reflects your absolute mastery of the craft.
STUDIO QUESTIONS
What is the best wood for engraving?
Hardwoods with tight grain like Maple, Cherry, or Walnut are best. Their high fiber density allows for clean laser cuts without excessive charring, ensuring your Custom Wood Engraved Pens look professional and sharp.
How do I prevent the wood from cracking?
Ensure the wood is properly seasoned to a moisture content of 6 to 8 percent. Using a sharp gouge and light passes on the lathe reduces mechanical stress on the cellular walls of the timber.
Can I use regular super glue for the finish?
While standard CA glue works, "Thin" and "Medium" viscosity glues designed for woodturning are superior. They are formulated to handle the vibrational stress and heat generated during the high speed polishing process.
Why does my engraving look burnt?
This is usually caused by a laser speed that is too slow. The excess thermal energy lingers in the wood, causing the lignin to carbonize. Increase your travel speed and decrease power for a cleaner mark.
How often should I re-wax my pen?
For a pen used daily at a new job, a fresh coat of carnauba wax every six months will maintain the hydrophobic seal. This protects the wood from natural skin oils that can eventually soften the finish.

