
Grab your safety glasses and clear the workbench because we are about to manipulate some serious metal. There is nothing quite like the cold, clinical weight of a high quality sterling blank resting in your palm before it meets the hammer. We are diving deep into the physics of Custom Silver Bangle Sets today. You can feel the density of the metal; it is non ferrous and remarkably ductile, yet it possesses a molecular memory that resists clumsy strikes. When we talk about custom silver bangle sets, we are not just making jewelry; we are performing controlled deformation of a precious alloy to lock in a specific vibration of motivation. The air in the studio smells like polishing compound and ozone, a sharp contrast to the soft, buttery finish we are aiming for. As we prep the surface, remember that silver has a high thermal conductivity, which means even the heat from your grip starts to change the way the metal responds to the stamp. We are looking for that perfect balance between tensile strength and artistic fluidity.
THE STUDIO KIT
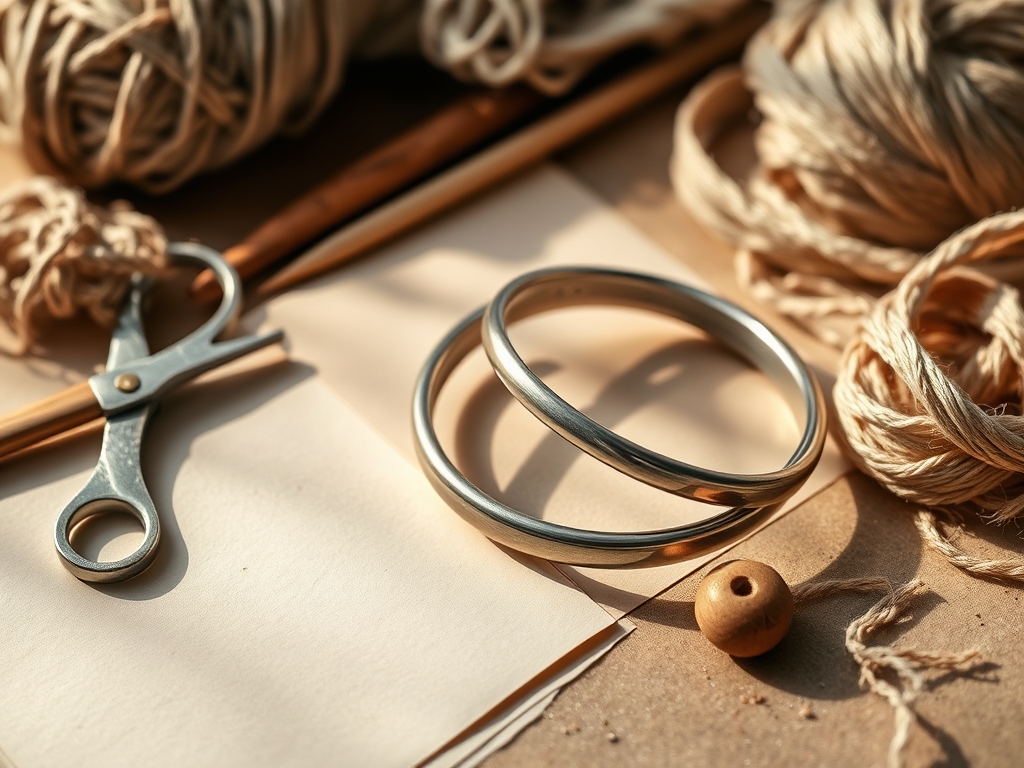
To execute these pieces with professional precision, your inventory must be calibrated for impact. You will need a high carbon steel bench block to provide a zero bounce surface; this ensures that 100 percent of the kinetic energy from your hammer is transferred directly into the metal. For the bangles themselves, we are utilizing 14 gauge dead soft sterling silver wire or flat strip. The gauge is critical here; 14 gauge offers the structural integrity to withstand daily wear without losing its circular profile. You will also need a brass mallet, which is softer than steel stamps and prevents the tool from mushrooming over time.
For the marking process, grab your digital calipers to ensure equidistant spacing between your characters. You will also need a bangle mandrel for shaping and a rawhide mallet for rounding without marring the surface.
Material Substitutions: If sterling is outside the current budget, alkeme or aluminum blanks are excellent alternatives. They are softer on the Mohs scale, meaning they require less striking force, but they lack the prestigious heft and patina potential of true silver. If you want a golden hue without the price tag of 14k, red brass is a fantastic high tensile substitute that polishes to a mirror finish.
THE TEMPO
The "Maker's Rhythm" is a psychological state where your pulse aligns with the strike of the hammer. For a set of three bangles, expect a total studio time of roughly 120 minutes. The Preparation Phase takes 20 minutes; this involves annealing the metal if it has become work hardened and measuring the circumference. The Stamping Phase is the most intense, requiring 40 minutes of deep focus to maintain character alignment. Finally, the Finishing Phase takes 60 minutes. This is where you sand, burnish, and polish. Do not rush the finishing; the way light refracts off a well polished edge is what separates a hobbyist project from a gallery quality piece.
THE CORE METHOD
1. Annealing for Ductility
Before we even think about a hammer, we must ensure the metal is "dead soft." Use a butane torch to heat the silver until it reaches a dull cherry red glow. This process resets the crystalline structure of the metal, making it incredibly easy to stamp.
Mastery Tip: This is all about thermal dynamics. By heating the silver, you are allowing the atoms to migrate to a more stable, lower energy state, which removes the internal stresses caused by the manufacturing process.
2. Precision Layout with Calipers
Use your digital calipers to find the exact center of your silver strip. Lightly scribe a guide line using a steel awl. This line acts as a visual rail for your stamps, ensuring your motivational quotes do not "drift" upward or downward as you progress.
Mastery Tip: This utilizes linear alignment physics. By creating a physical groove, you are providing a micro-shelf for the stamp to sit on, reducing the margin of error for vertical displacement.
3. The Single Strike Technique
Place your stamp on the metal, tilt it slightly to feel the edges engage, and then bring it to a perfectly vertical position. Deliver one firm, decisive blow with your brass mallet. Never strike twice; if the stamp moves even a fraction of a millimeter between hits, you will get a "ghosting" effect.
Mastery Tip: This relies on force distribution. A single, heavy strike ensures the displacement of the metal is uniform across the entire face of the character, maintaining the structural integrity of the surrounding silver.
4. Forming the Radius
Wrap your stamped strip around the bangle mandrel. Use a rawhide mallet to gently coax the metal into a curve. Start from the ends and work toward the middle to ensure the tension is distributed evenly across the diameter.
Mastery Tip: We are working with compressive and tensile stress. The outer edge of the bangle is being stretched (tension), while the inner edge is being squeezed (compression). The rawhide mallet prevents "work hardening" the surface too quickly.
5. Achieving the Mirror Burnish
Start with 400 grit sandpaper to remove any deep scratches, moving progressively up to 2000 grit. Finish with a stainless steel shot in a rotary tumbler or a handheld burnishing tool to compress the surface molecules for a high shine.
Mastery Tip: Surface tension and friction are your friends here. Burnishing does not remove metal like sanding does; instead, it flattens the microscopic peaks of the silver, creating a surface so smooth that light reflects back in a coherent beam.
THE TECHNICAL LEDGER
Maintenance & Longevity: Sterling silver reacts with sulfur in the air to create silver sulfide (tarnish). To maintain the brilliance of your custom silver bangle sets, store them in airtight polyethylene bags with anti tarnish strips. Avoid wearing them in chlorinated pools, as chlorine can cause "stress corrosion cracking" in silver alloys.
Material Variations: For a sustainable approach, source EcoSilver, which is 100 percent recycled traceably. It possesses the same chemical properties as mined silver but with a significantly lower environmental footprint. For a premium feel, 935 Argentium silver offers superior tarnish resistance due to the addition of germanium.
The Correction:
- Ghosted Letters: If a letter is blurry, you cannot "restamp" it. Use a file to level the surface, sand it smooth, and re stamp. This will make the metal slightly thinner, so use it sparingly.
- Kinked Metal: If the bangle has a flat spot, return it to the mandrel and use a plastic dead blow hammer to reshaped the curve without thinning the gauge.
- Over-Annealing: If the metal becomes too soft and "mushy," work harden it by lightly tapping the entire surface with a flat faced chasing hammer.
Studio Organization: Organize your steel stamps in a wooden block with labeled holes. Storing them in a pile causes the hardened steel to chip against itself. Keep your silver strips flat in a lined drawer to prevent "work hardening" from accidental bending before you are ready to create.
THE FINAL REVEAL
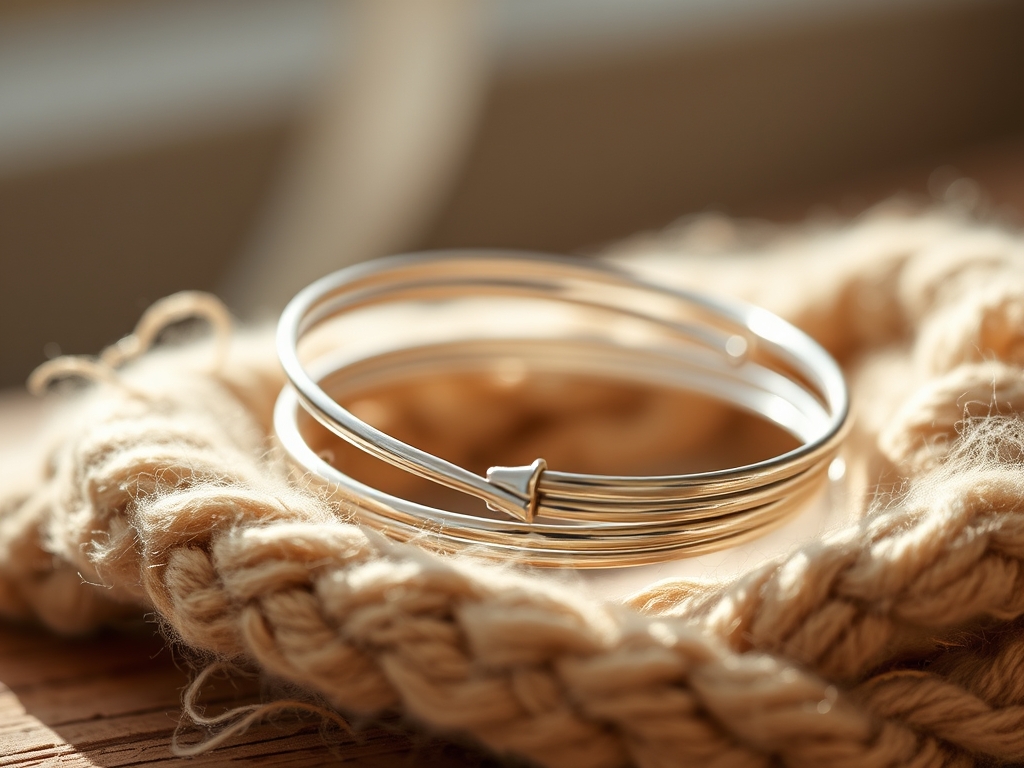
There it is! Look at that crisp, deep impression against the radiant glow of the sterling. Your custom silver bangle sets are now more than just metal; they are wearable anchors. When you slide these onto your wrist, the weight feels intentional and the sound of them clinking together is a percussive reminder of the effort you put into the craft. The quotes are perfectly centered, the edges are silky smooth to the touch, and the high polish finish reflects everything in the room. You have successfully mastered the physics of silver, turning a raw industrial strip into a sophisticated set of motivational armor.
STUDIO QUESTIONS
What is the best gauge for custom silver bangle sets?
14 gauge is the industry standard for durability. It provides enough thickness for a deep stamp impression without making the bangle feel overly heavy or cumbersome on the wrist during daily movement.
How do I make the stamped letters stand out?
Apply a liver of sulfur solution or a black enamel marker into the indentations. Wipe away the excess from the surface with a polishing cloth, leaving the dark pigment trapped in the recessed areas for high contrast.
Can I stamp on both sides of the silver?
It is not recommended. Stamping the reverse side will often "bruise" the finish on the front, flattening your previously stamped letters and compromising the overall structural integrity and aesthetic clarity of the piece.
Why did my silver crack when I bent it?
The metal likely became work hardened. If you manipulate silver too much without re annealing it, the molecular structure becomes brittle. Always anneal the metal if it starts to feel resistant to shaping.
What hammer is best for beginners?
A one pound brass mallet is the gold standard. It provides enough weight to move the metal with one strike but is soft enough that it won't damage your expensive steel stamps over time.

