

Picture the scent of fresh grosgrain and the tactile resistance of a sharp needle piercing through high-density polyester. There is a specific, satisfying friction that occurs when you pull a waxed thread through a tight weave. We are diving deep into the world of hand stitched ribbon wreaths today; a project that balances structural engineering with high-end aesthetic flair. You can feel the tensile strength of the ribbon as you tension each loop. It is not just about decor. It is about the physics of drape and the way light interacts with the bias of the fabric. When you master the tension of your stitches, the entire wreath gains a structural integrity that resists gravity and wind. We are going to transform simple spools into architectural masterpieces for your front door. Grab your favorite beverage and clear your workbench. We are about to manipulate fiber density and color theory to create something truly spectacular.
THE STUDIO KIT
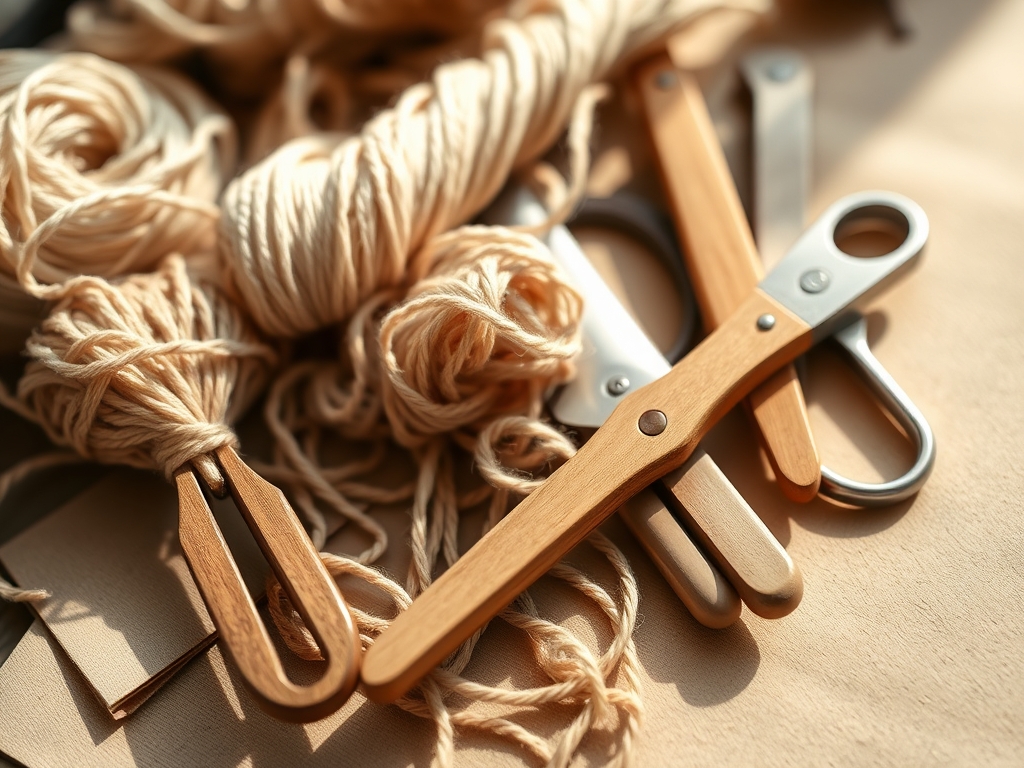
To execute these hand stitched ribbon wreaths with professional precision, your toolkit must go beyond the basic junk drawer. You need a rotary cutter with a fresh carbide blade to ensure clean, cauterized edges on synthetic ribbons. Use a bone folder to crisp your pleats; this tool utilizes mechanical pressure to break down the internal starch fibers of the ribbon for a permanent set. For the stitching, select a size 7 embroidery needle which offers the perfect gauge to pass through multiple plies without creating unsightly punctures. Your thread should be a high-tensile upholstery grade polyester to prevent snapping under the pressure of the cinching process.
Material Substitutions: If you cannot find high-density grosgrain, you can substitute with a heavy-weight satin acetate, though you must account for its lower friction coefficient by adding an extra knot at each anchor point. For a rustic variation, use a jute webbing, but be prepared for higher lint shedding which may require a light coat of aerosolized starch to stabilize the fibers.
THE TEMPO
Creating a professional-grade wreath is a marathon of repetitive precision. The "Maker's Rhythm" is a psychological state where your muscle memory takes over the needlework. Expect to spend approximately sixty minutes on the material preparation phase, which includes measuring and cutting all segments to precise lengths using a caliper for consistency. The stitching phase is the most labor-intensive, requiring three to five hours depending on the complexity of your chosen pattern. Finally, the assembly and tensioning phase takes about forty-five minutes. This is where you adjust the radial symmetry of the loops to ensure the center of gravity remains perfectly aligned with the hanging hardware.
THE CORE METHOD
1. The Radial Foundation
Begin by securing your primary ribbon to the inner ring of a wire frame using a clove hitch knot. This provides a non-slip anchor point that distributes the load evenly across the metal substrate.
Mastery Tip: This step relies on static friction. By increasing the surface area contact between the ribbon and the frame, you prevent the entire design from rotating once it is hung vertically.
2. The Accordion Pleat
Fold your ribbon in alternating three-quarter inch increments. Use your bone folder to burnish each edge. This creates a mechanical memory in the fabric fibers, allowing the ribbon to "spring" back into shape even after being compressed by wind.
Mastery Tip: The science here is plastic deformation. You are permanently rearranging the molecular structure of the ribbon's stiffening agents to hold a specific geometric form.
3. The Structural Stitch
Pass your needle through the center of the pleat stack. Ensure you are catching every ply of the ribbon to prevent "sagging" over time. Use a thimble to apply consistent force, reducing hand fatigue and ensuring the needle exits at a perfect ninety-degree angle.
Mastery Tip: This involves load-bearing distribution. A single central stitch acts as a fulcrum; if it is off-center, the ribbon will tilt, ruining the radial symmetry of your hand stitched ribbon wreaths.
4. The Loop Tensioning
Pull the thread taut to cinch the pleats into a "flower" shape. Do not over-tension, as this can cause the thread to cut through the delicate fibers of the ribbon. Secure with a surgeon's knot for maximum security.
Mastery Tip: Observe the tensile limit of your thread. If the thread begins to "sing" or vibrate when plucked, you have reached maximum tension and should lock the stitch immediately.
5. The Final Calibration
Once all ribbon elements are attached, use a stiff-bristled brush to fluff the loops. This introduces air between the layers, increasing the perceived volume without adding mass.
Mastery Tip: This utilizes aerodynamic loft. By separating the fibers, you allow the wreath to catch the light from multiple angles, enhancing the visual depth and color saturation.
THE TECHNICAL LEDGER
Maintenance & Longevity: To preserve the vibrant hues of your hand stitched ribbon wreaths, apply a thin layer of UV-resistant fabric spray. This creates a microscopic barrier that reflects ultraviolet radiation, preventing the breakdown of chemical dyes. Store the wreath in a breathable polypropylene bag to prevent moisture buildup and mold growth in the porous ribbon fibers.
Material Variations: For a sustainable approach, utilize recycled PET ribbon made from post-consumer plastics. It offers incredible weather resistance and a high melting point. For a premium look, use double-faced silk velvet, though you must use a micro-fine needle to avoid snagging the delicate pile.
The Correction:
- The Droop: If loops are sagging, your stitch tension was too low. Fix this by "bridging" the loops with a hidden monofilament line.
- The Fray: If edges are unraveling, use a heat sealing tool or a tiny amount of cyanoacrylate adhesive on the tips.
- The Bias Shift: If the wreath looks lopsided, your pleats were not uniform. Use a spacer tool to re-measure and re-pin the sections before final stitching.
Studio Organization: Store your ribbons on a tension-controlled rack to prevent unspooling. Keep your needles in a magnetic dish to avoid loss, and always label your thread weights to ensure you are using the correct gauge for each specific ribbon density.
THE FINAL REVEAL
Look at that masterpiece! Your hand stitched ribbon wreaths are now ready to dominate any entryway with their structural perfection and vibrant color play. The way the light hits those crisp pleats is pure magic. You have successfully navigated the complexities of fiber tension and mechanical assembly. This is not just a craft; it is an engineering feat that looks stunning. Your door is about to become the most sophisticated focal point on the block. The crispness of the grosgrain against the sturdy frame creates a professional finish that store-bought versions simply cannot replicate.
STUDIO QUESTIONS
What is the best ribbon for outdoor wreaths?
High-density polyester grosgrain is superior due to its hydrophobic properties and high tensile strength. It resists fading and maintains its structural integrity despite humidity or temperature fluctuations, ensuring your hand stitched ribbon wreaths last for multiple seasons.
How do I prevent my thread from tangling?
Run your thread through a beeswax block before stitching. This coats the fibers, reducing the friction coefficient and preventing static buildup. It also adds a layer of moisture resistance to the internal structural stitches of the wreath.
Can I use a sewing machine for this?
While possible, a machine lacks the tactile feedback required to manage the varying thickness of multiple ribbon plies. Hand stitching allows for precise tension control and the ability to navigate tight radial corners that a presser foot cannot reach.
How do I clean a dusty ribbon wreath?
Use a canister of compressed air to blow out particulates from the pleats. For deeper cleaning, a soft-bristled brush can agitate dust without disturbing the fiber alignment. Avoid water, as it can collapse the starch-based "memory" of the ribbon folds.

