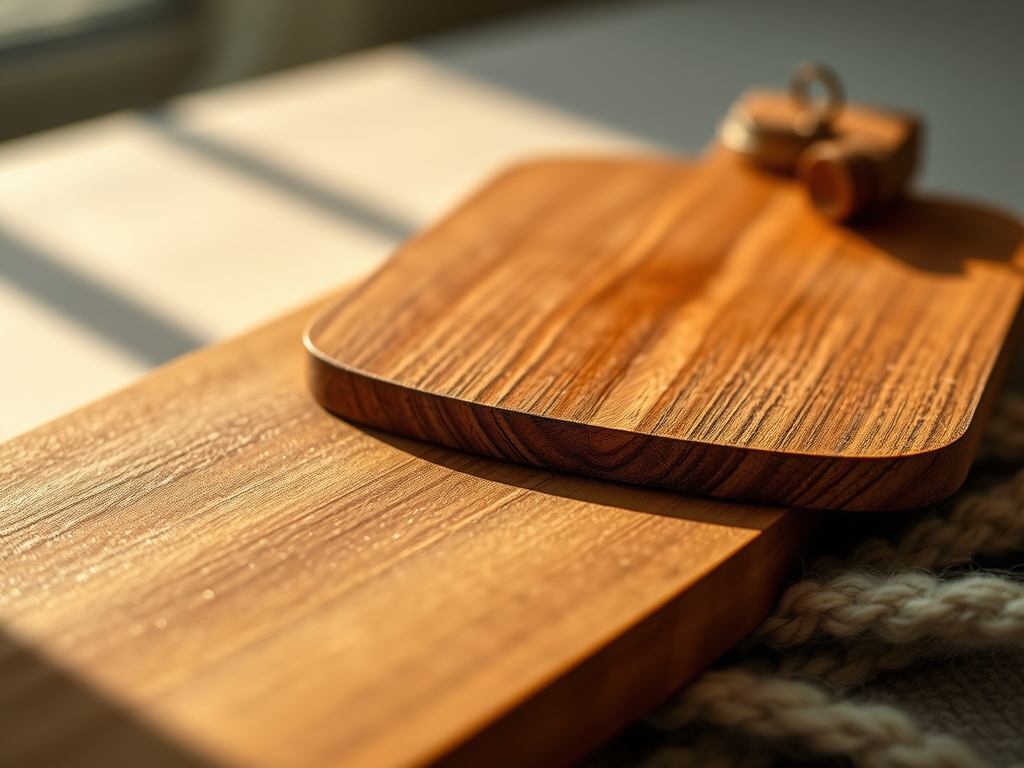
Close your eyes and listen to the high-pitched hum of a laser tube or the rhythmic scrape of a hand chisel against a dense slab of heartwood. There is a specific, intoxicating scent that fills the studio when you begin working on Custom Engraved Wood Boards; it is a mixture of toasted cellulose and raw, earthy tannins. When you run your thumb across a freshly sanded surface, you are not just feeling wood. You are feeling a complex network of longitudinal tracheids and fibers that have been cured to a specific moisture content, usually between six and eight percent for optimal stability. We are not just making kitchenware here. We are engineering a tactile legacy. Every board starts as a silent witness to decades of growth, and our job is to use thermal energy or mechanical force to etch a story into its grain. It is about the resistance of the material against your tools and the way the light catches the depth of a deep burnish. We are going to transform a raw plank into a centerpiece that feels heavy, intentional, and permanent.
THE STUDIO KIT
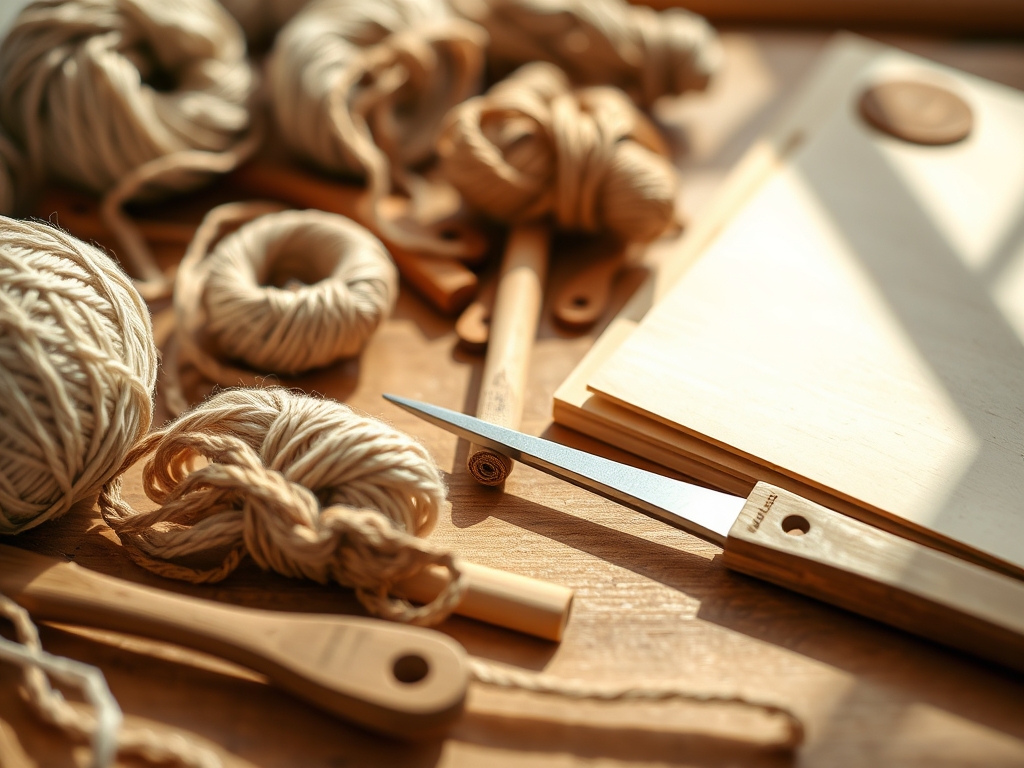
To master this craft, your workbench needs more than just a piece of timber. You must start with a digital caliper to measure the exact thickness of your board; even a millimeter of variance can throw off your focal length if you are using a laser engraver. For the wood itself, look for species with a high Janka hardness rating like Hard Maple or Black Walnut. These dense hardwoods offer superior tensile strength and won't splinter under high-heat engraving. You will also need a set of tungsten carbide burrs if you are carving by hand, or a high-wattage CO2 laser for precision work. Do not forget the food-grade mineral oil and organic beeswax for the final seal; this prevents the wood from becoming overly porous and absorbing bacteria. If you cannot find premium hardwoods, a high-quality bamboo ply is a viable material substitution, though you must account for its unique "grass" structure which burns much faster than traditional timber. Keep an awl nearby for marking your center points and a bone folder to smooth out any vinyl stencils if you are opting for a chemical etch.
THE TEMPO
The "Maker's Rhythm" is all about managing heat and friction. You cannot rush the grain. The initial preparation phase, which includes grain raising and sanding through 400 grit, takes about forty-five minutes of focused labor. The engraving itself is the "High Tempo" phase; depending on the complexity of your vector file or the depth of your manual carve, this can last anywhere from twenty minutes to two hours. Finally, the "Curing Phase" is the most overlooked. After applying your finish, the wood needs at least twenty-four hours to fully undergo capillary action, drawing the oils deep into the cellular structure. If you rush this, the surface will feel tacky rather than silky. Respect the clock, and the wood will respect your design.
THE CORE METHOD
1. The Topographic Map
Start by mapping out your design based on the specific grain direction of your board. If you are engraving a family name, align the text horizontally across the longitudinal fibers to minimize "bleeding" of the burn. Using your calipers, find the dead center of the piece.
Mastery Tip: Always account for surface tension. If you apply a heavy engraving to only one side of a thin board, the loss of material can cause the wood to "cup" or warp. Keep your designs balanced to maintain structural integrity.
2. The Thermal Etch
Whether you are using a professional laser or a pyrography pen, the goal is controlled carbonization. Set your power levels to achieve a deep chocolate brown rather than a charred black. This ensures the fibers are cauterized but not obliterated, preserving the tactile quality of the engraving.
Mastery Tip: Wood is a natural polymer. When you apply heat, you are essentially "melting" the lignin. If you move too slowly, the heat will travel through the fibers via thermal conductivity, causing a blurry edge. High speed and precise power are your best friends.
3. The Grain Raise
After engraving, the wood fibers around the edges of your design will be slightly agitated. Lightly mist the board with distilled water. This causes the loose fibers to stand up as they absorb moisture. Once dry, sand them off with a fine-grit block.
Mastery Tip: This process utilizes hygroscopy. By forcing the grain to rise and then shearing it off, you ensure that the board stays perfectly smooth even after the new homeowner washes it for the first time.
4. The Deep Burnish
Once sanded, use a clean cloth to rub the engraved areas vigorously. This friction creates a slight heat that smooths out the charred valleys of your design, giving the engraving a polished, professional sheen.
Mastery Tip: This is mechanical burnishing. It compresses the surface cells, making the engraved area less likely to trap food particles or moisture, which is vital for kitchen-safe longevity.
5. The Lipid Saturation
Flood the board with food-grade mineral oil. Watch as the wood "drinks" the liquid. The oil replaces the air in the porous cells, creating a hydrophobic barrier that prevents juice or water from penetrating the heartwood.
Mastery Tip: Use the science of capillary action. Gravity helps, but time is the real worker here. Let the oil sit until the board can no longer absorb any more, then buff away the excess to reveal the rich, saturated color.
6. The Wax Armor
Apply a final coat of beeswax and carnauba wax. This creates a hard, protective film over the oil, locking in the moisture and providing a subtle, citrusy scent that screams "luxury handmade gift."
Mastery Tip: The wax molecules are larger than the oil molecules. They sit on the surface to provide an ergonomic grip and a sacrificial layer that protects the wood from knife marks and environmental humidity shifts.
THE TECHNICAL LEDGER
To maintain these boards, tell your recipient to never submerge them in water. Wood is a living material; extreme hydration followed by rapid drying will cause the tensile bonds to snap, leading to cracks. For material variations, consider reclaimed white oak for a rustic look or "Tiger Maple" for a chatoyant effect that seems to move under the light.
The Correction:
- The Scorched Halo: If you see yellow staining around your engraving, it is due to resin outgassing. Fix this by using masking tape over the wood before you engrave.
- The Fuzzy Text: If the engraving looks blurry, your wood is too damp. Use a moisture meter to ensure it is below 10%.
- The Uneven Depth: This happens when the board is not perfectly flat. Use a jointer or a planer to ensure the surface is gauge accurate before you begin.
For studio organization, store your wood slabs vertically in a climate-controlled rack. This prevents the weight of the stack from trapping moisture between the boards, which leads to mold or "blue stain" fungus.
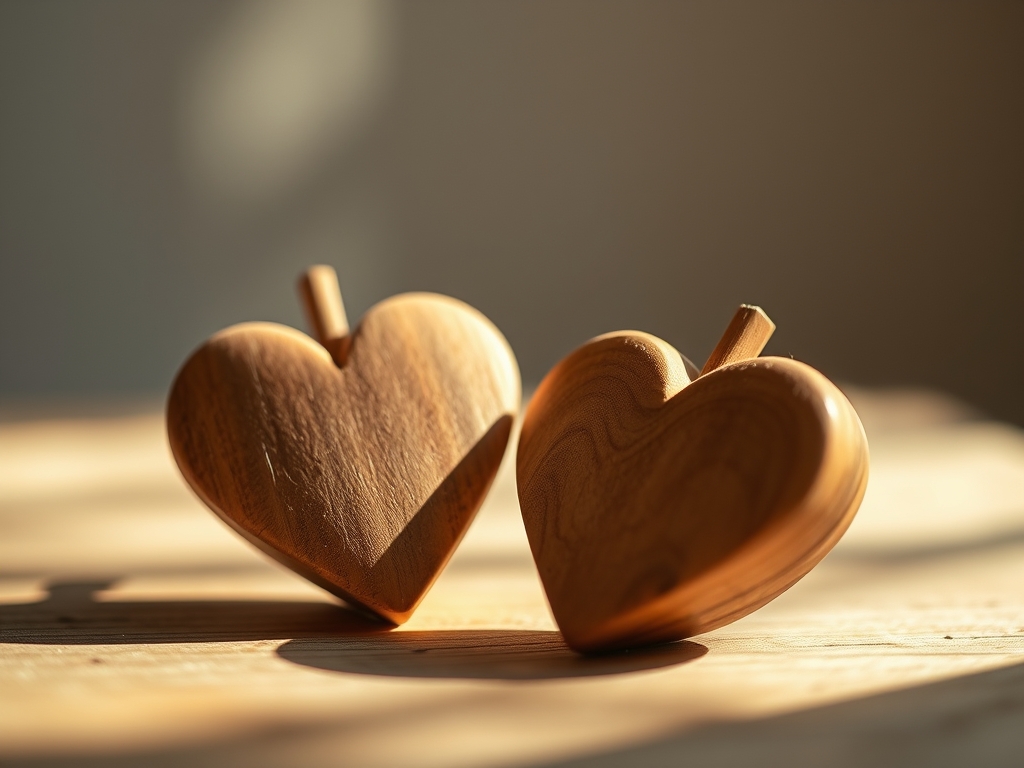
THE FINAL REVEAL
There is nothing quite like the moment you buff away the final layer of wax and see the grain pop against your custom design. These Custom Engraved Wood Boards are more than just gifts; they are heavy, fragrant pieces of functional art. The contrast between the dark, charred engraving and the warm, honey-toned wood creates a visual weight that commands attention on any countertop. When you hand this over at a housewarming, the recipient will immediately feel the quality. They will feel the smoothness of your 400-grit finish and the depth of the etch. You have successfully turned a piece of a tree into a family heirloom.
STUDIO QUESTIONS
What is the best wood for custom engraved wood boards?
Hardwoods like Maple, Walnut, and Cherry are superior. They have a high Janka rating and tight grain structures, which allow for crisp, clean engraving lines without excessive splintering or "bleeding" of the burn marks.
How do you make an engraving food safe?
Ensure you use only food-grade mineral oil and natural waxes. Avoid any "stains" or "varnishes" that contain heavy metals or toxic drying agents. The heat of the engraving itself cauterizes the wood, making it naturally resistant to bacteria.
Why did my wood board warp after engraving?
Warping occurs due to an imbalance in internal tension. If you engrave deeply on one side, you remove structural material. To prevent this, ensure your wood is properly seasoned and consider engraving a smaller design or using a thicker slab.
Can I fix a mistake in the engraving?
Small errors can be sanded out if the etch is shallow. For deeper mistakes, you may need to plane the entire surface down and start over. Always test your settings on a scrap piece of the same wood first.