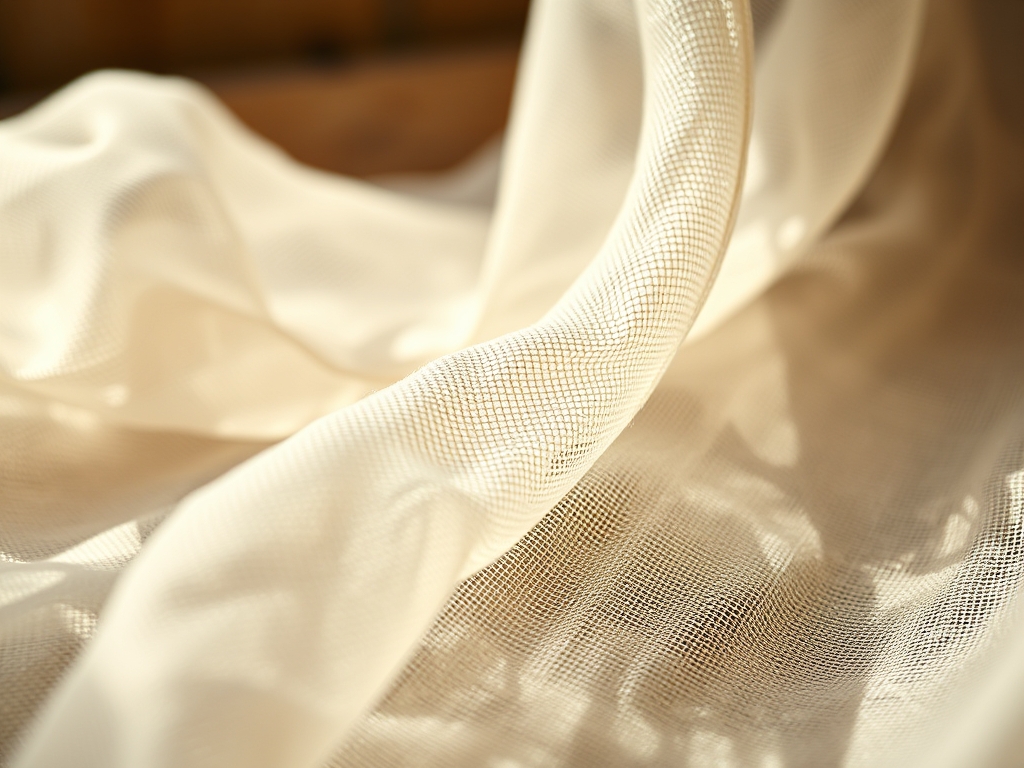
Close your eyes and run your fingertips over a spool of silk tulle. It is not just fabric; it is a high performance polymer lattice designed to catch the light while maintaining an impossible weight to strength ratio. When we talk about Hand Stitched Wedding Veils, we are discussing the intersection of structural engineering and high fashion. You are not just sewing; you are managing tension, gravity, and the molecular friction of fine fibers. The modern bride demands a silhouette that looks effortless but possesses the structural integrity to survive a windy cathedral walk or a crowded reception. Every stitch you place acts as a microscopic anchor, securing delicate lace motifs to a base that is essentially ninety percent air. We are looking for that perfect "hand," the way the fabric drapes and recovers after being compressed. It is about the visceral snap of the needle piercing the mesh and the way the thread seats itself into the weave. Grab your favorite espresso; we are about to dive deep into the physics of beauty.
THE STUDIO KIT
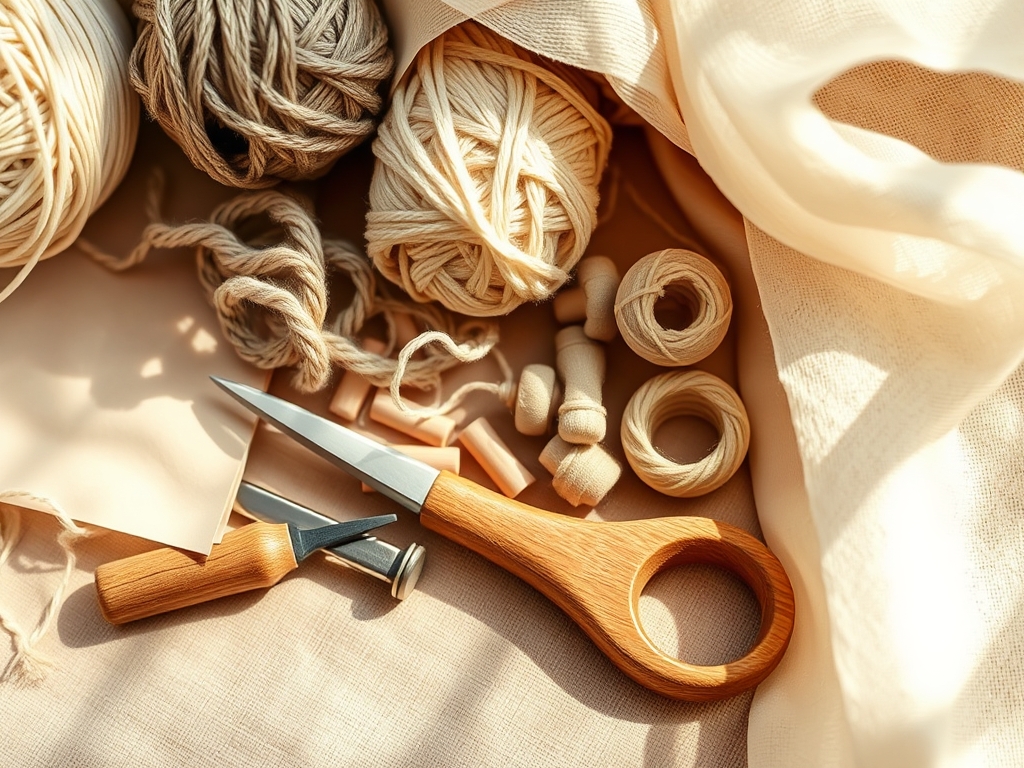
To master Hand Stitched Wedding Veils, your toolkit must prioritize precision over power. You will need size 10 or 12 sharps needles, which have a slim profile to minimize the diameter of the puncture hole in the tulle. Use 100 percent silk thread for its high tensile strength and natural luster; it glides through the mesh without the static friction associated with polyester. A rotary cutter with a 28mm blade is essential for tight curves, as it provides a cleaner edge than shears by applying vertical pressure rather than a shearing force that can distort the grain. You also need a weighted glass pattern weight to keep the slippery tulle from shifting during the layout phase.
For material substitutions, if silk tulle is outside the budget, look for soft nylon hexagonal mesh. Avoid the stiff "diamond" net found in craft stores; it lacks the fluid drape required for high end millinery. If you cannot find silk thread, a 60 weight cotton mercerized thread offers a similar low profile. Always keep a magnetic pin cushion nearby to manage your steel pins, as a single dropped pin can snag and ruin meters of delicate material.
THE TEMPO
Creating a masterpiece requires an understanding of the Maker's Rhythm. This is not a project you rush. The initial layout and calibration phase takes roughly three to four hours. This involves mapping the lace motifs to ensure bilateral symmetry across the central axis of the veil. The tacking phase, where you secure the lace with temporary stitches, requires another two hours of focused work.
The bulk of your time is spent in the permanent attachment phase. Depending on the complexity of the lace, expect to spend between twenty and forty hours on hand stitching. This is where you enter a flow state, managing the ergonomic alignment of your posture to prevent fatigue. Finally, the finishing and steaming phase takes about two hours. You must allow the fibers to "relax" into their new shape after the tension of stitching is removed.
THE CORE METHOD
1. Stabilizing the Foundation
Before the first stitch, you must secure your tulle to a padded sewing surface. This prevents the mesh from stretching unevenly, which would cause the finished veil to pucker. Use T-pins to anchor the perimeter, ensuring the grain line is perfectly straight.
Mastery Tip: This step manages dimensional stability. By securing the fabric, you ensure that the weight of the lace does not exceed the elastic limit of the tulle fibers, preventing permanent distortion of the mesh.
2. Fussy Cutting the Lace Motifs
Use your precision embroidery scissors to cut around the edges of your lace. You want to remove the excess "net" backing of the lace without severing the connecting gimp thread that gives the lace its definition.
Mastery Tip: This is about structural integrity. Leaving a microscopic "fringe" of the lace backing allows the thread to grab more surface area, distributing the load of the lace across multiple cells of the tulle foundation.
3. The Invisible Applique Stitch
Thread your needle with a single ply of silk. Use a tiny whipstitch or a "point de Paris" to catch the very edge of the lace and loop it through the tulle. Your stitches should be spaced roughly 2mm apart to ensure a seamless bond.
Mastery Tip: This technique utilizes capillary action in reverse; by using a thread of similar density and fiber type to the base, the light refracts off the stitch in the same way it does the fabric, making the connection invisible to the naked eye.
4. Managing the Edge Tension
As you work around the curves of the veil, you must slightly "ease" the lace onto the tulle. This means providing a tiny bit of slack so the lace can move with the tulle as it drapes.
Mastery Tip: This accounts for the coefficient of expansion. Lace and tulle react differently to humidity and gravity; easing the lace prevents the tulle from "bubbling" when the bride moves.
5. The Final Burnish and Press
Once stitching is complete, use a bone folder or the smooth side of a silver spoon to gently flatten the seams. Follow this with a low temperature steam iron, using a silk organza press cloth to protect the fibers.
Mastery Tip: Heat and pressure reset the hydrogen bonds in the fibers. This "sets" the stitches into the fabric, effectively fusing the two layers into a single, cohesive textile.
THE TECHNICAL LEDGER
Maintenance & Longevity: Hand Stitched Wedding Veils should never be hung for long periods, as the weight of the lace will eventually cause the tulle to elongate. Store them flat in acid free tissue paper within a pH neutral box.
Material Variations: For a sustainable approach, look for recycled PET tulle, which offers surprising softness. For a premium feel, Alencon lace with its corded outlines provides the best tactile feedback during the stitching process.
The Correction:
- The Snag: If you snag the tulle, use a fine gauge needle to gently "massage" the displaced threads back into their hexagonal grid.
- The Pucker: If the lace is pulling, snip the offending stitches and re-sew with more "ease" in the lace.
- The Oil Spot: If skin oils transfer to the silk, use a dry microfiber cloth and a tiny bit of cornstarch to absorb the lipids before brushing it away.
Studio Organization: Keep your tulle in a dust proof garment bag until the moment of use. Use calipers to measure the thickness of your lace motifs to ensure consistency across the design.
THE FINAL REVEAL
There is nothing quite like the moment you lift a completed veil from the worktable. Because you focused on the physics of the materials, the lace appears to float on the bride's hair like sea foam. The light transmission through the silk tulle is unparalleled, creating a soft focus effect that photographers adore. You have created more than an accessory; you have engineered a legacy piece that balances the delicate nature of lace with the rigorous demands of a wedding day. It is a triumph of handcraft over mass production.
STUDIO QUESTIONS
Which lace is best for beginners?
Chantilly lace is excellent because it is lightweight and flat. It has a low mass per square inch, making it easier to stitch onto delicate tulle without causing the base fabric to sag or distort during the sewing process.
How do I prevent my thread from tangling?
Run your silk thread through a bit of natural beeswax. This coats the fibers, reducing static electricity and smoothing the surface friction, which prevents the thread from twisting into "birds nests" while you work on intricate sections.
Can I use a sewing machine for the lace?
While possible, a machine lacks the tactile feedback needed to manage the variable tension of tulle. Hand stitching allows you to adjust the "give" of every individual stitch, ensuring the veil remains fluid and moves naturally.
What is the best way to cut the tulle?
Use a rotary cutter on a self healing mat. This provides a clean, vertical cut that does not fray. Unlike scissors, it avoids the "lifting" of the fabric, which can cause geometric inaccuracies in the veil's final shape.