

Imagine the scent of aged cedar and the dry, metallic tang of cold steel needles resting against a bolt of sun-bleached linen. There is a specific, electric thrill in the friction of a sharp needle piercing through centuries-old fibers. We are not just making accessories; we are archiving history through the art of hand stitched pincushions. When you handle vintage textiles, you are managing the structural integrity of degraded organic polymers that have survived decades of oxidation. The tactile resistance of the fabric tells you everything about its history. A dense weave offers high tensile strength, while a loose, open grain allows for effortless needle penetration. This project is about more than aesthetics; it is a study in material physics. By choosing the right vintage fabric, you create a functional tool that maintains the sharpness of your pins while providing a sturdy, weighted anchor for your sewing station. Let us dive into the technical alchemy of transforming heirloom scraps into professional-grade studio equipment.
THE STUDIO KIT
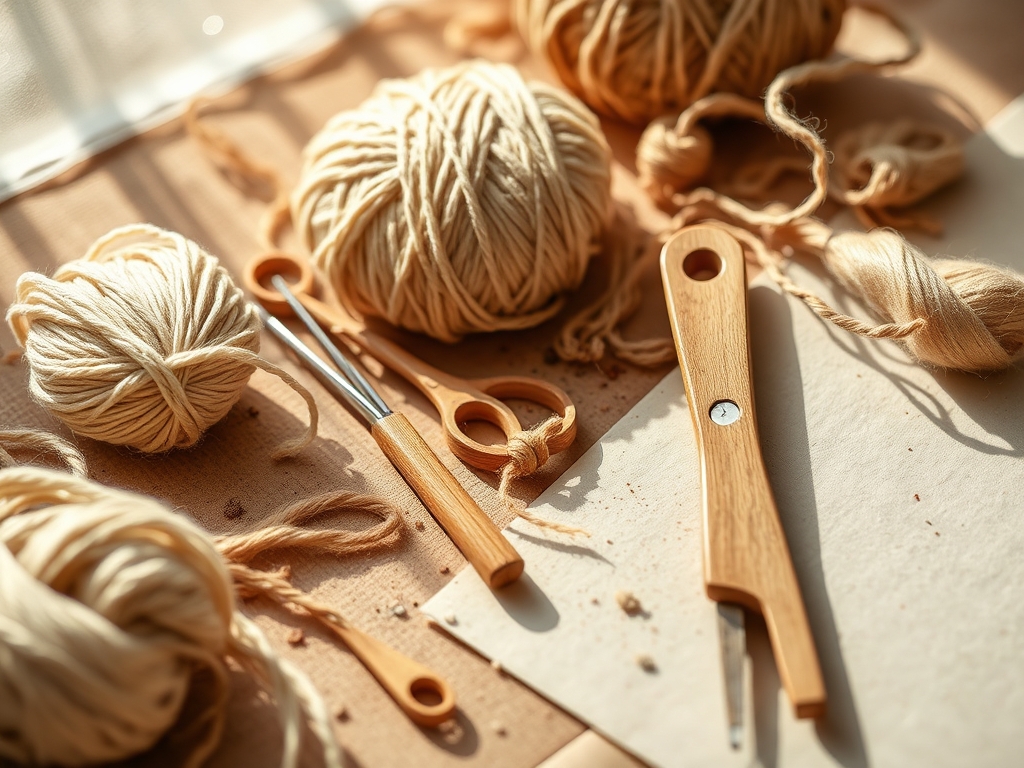
To execute professional hand stitched pincushions, you must curate a kit that respects the delicate nature of vintage fibers. You will need a high-carbon steel milliners needle, which offers a slim profile to minimize hole diameter in fragile weaves. For the thread, select a long-staple mercerized cotton or a silk twist; these provide superior tensile strength without the abrasive qualities of polyester. Your cutting tool should be a precision rotary cutter with a 28mm blade for tight curves, or a pair of micro-serrated shears to prevent fabric slippage. A bone folder is essential for burnishing seams and ensuring crisp structural edges.
For the filling, ignore the standard polyester fiberfill. To achieve the necessary weight and needle-sharpening properties, use crushed walnut shells or emery sand. These materials provide a high-density core that prevents the cushion from shifting during use. If you are looking for material substitutions, you can swap walnut shells for clean, dry sawdust or even wool roving, though wool lacks the abrasive cleaning power of mineral-based fills. Always use a digital caliper to measure the thickness of your fabric layers, ensuring your seam allowance accounts for the bulk of vintage weaves.
THE TEMPO
The rhythm of creating hand stitched pincushions is dictated by the porosity and weight of your chosen textile. Expect a total production time of approximately three hours per unit. The initial phase, which includes textile stabilization and precision cutting, requires forty-five minutes of focused, high-accuracy labor. The assembly phase is where the "Maker's Rhythm" truly takes over. This is a meditative state where the repetitive motion of the needle becomes a consistent mechanical pulse. Hand stitching the perimeter will take about ninety minutes, depending on the complexity of your stitch gauge. The final thirty minutes are dedicated to the high-pressure task of filling and closing the seam using a ladder stitch to ensure a seamless, invisible finish. This tempo allows the fibers to settle and adjust to the new tension of the seams without snapping.
THE CORE METHOD
1. Textile Stabilization and Mapping
Before the first cut, you must assess the grainline of your vintage fabric. Vintage materials often suffer from "grain creep," where the horizontal and vertical threads are no longer perfectly perpendicular. Use a clear acrylic ruler to align your pattern pieces with the warp of the fabric. If the fabric is particularly fragile, apply a lightweight, acid-free fusible interfacing to the reverse side. This increases the structural integrity of the piece without compromising the external hand-feel.
Mastery Tip: Understanding capillary action is vital here. If you use a liquid fray-check, the fluid will travel along the fibers beyond your intended line. Always test a scrap first to ensure the chemical does not cause permanent staining or fiber contraction.
2. The Precision Perimeter Stitch
Align your fabric faces with the "right sides" together. Use a running backstitch for the perimeter. This specific stitch combines the speed of a running stitch with the locking power of a backstitch, creating a seam that can withstand the internal pressure of a dense filling. Keep your stitch length consistent at approximately 2mm to ensure a tight seal that prevents fine-grain fillings from leaking.
Mastery Tip: This step relies on surface tension. By maintaining a consistent tension on your thread, you prevent the fabric from puckering. If the thread is too tight, the vintage fibers will shear; too loose, and the filling will escape through the gaps.
3. Structural Turning and Burnishing
Once the perimeter is stitched, leave a small 1-inch aperture. Clip your corners at a 45-degree angle to reduce bulk, then turn the pincushion right-side out. Use your bone folder to push out the seams from the inside. This mechanical pressure redistributes the fibers and "sets" the shape of the cushion.
Mastery Tip: The science of friction is at play. Burnishing the seams generates a small amount of heat and pressure that helps the vintage fibers mold into their new geometry, ensuring the edges remain sharp rather than rounded and sloppy.
4. High-Density Filling
Insert a small funnel into the aperture and begin pouring your crushed walnut shells. You must pack the cushion tighter than you think is necessary. As you add the fill, use a blunt dowel to compress the material into the corners. A well-packed pincushion should feel solid, almost like a stone, providing a stable base for your needles.
Mastery Tip: This is a lesson in compaction physics. As you pack the filling, you are removing the "void ratio" between the particles. A lower void ratio means the cushion will not lose its shape over time as the filling settles.
5. The Invisible Closure
To close the aperture, employ a ladder stitch (also known as a slip stitch). This technique allows you to pull the two edges together so the thread remains entirely hidden within the fold of the fabric. Once the gap is closed, knot the thread and bury the tail deep within the filling before clipping.
Mastery Tip: This closure relies on mechanical interlocking. By crossing the thread back and forth between the folds, you create a tension bridge that is just as strong as the machine-sewn portions of the cushion.
THE TECHNICAL LEDGER
To ensure the longevity of your hand stitched pincushions, avoid exposing them to direct UV light, which can accelerate the degradation of vintage dyes and natural fibers. If the fabric becomes dusty, use a soft-bristled brush or a low-suction vacuum with a mesh screen; never submerge vintage cushions in water, as the internal filling may expand or mold.
For material variations, consider using recycled hemp for a rugged, sustainable base, or premium velvet for a luxury aesthetic. If you encounter a "blown seam" (a common mistake), do not simply stitch over it. You must unpick the area, reinforce the fabric with a small patch of silk organza on the interior, and re-stitch using a tighter gauge.
To prevent degradation in the studio, store your finished pieces in a breathable cotton bag or a wooden drawer. Avoid plastic containers, which can trap moisture and lead to the "off-gassing" of synthetic fibers, potentially damaging your vintage textiles.
THE FINAL REVEAL
Behold the transformation! Your finished hand stitched pincushions are no longer just scraps of old cloth; they are engineered tools of the trade. The weight of the walnut shells gives the piece a satisfying, professional heft, while the vintage fabric provides a soft, aesthetic warmth that modern synthetics simply cannot replicate. When you slide a needle into the cushion, you will feel a crisp, clean resistance—the hallmark of a perfectly executed build. These pieces serve as a bridge between the craftsmanship of the past and the precision of your modern studio.
STUDIO QUESTIONS
What is the best vintage fabric for durability?
Heavyweight linen or cotton ticking is ideal. These fabrics possess a high thread count and dense weave, providing the necessary tensile strength to hold heavy fillings without stretching or tearing over years of repeated needle insertions.
Can I use polyester stuffing for vintage cushions?
You can, but it is not recommended for professional tools. Polyester lacks the mass and density required to keep the cushion stable. It also fails to provide the abrasive cleaning action that mineral fillings offer to keep needles sharp.
How do I prevent vintage silk from shredding?
Apply a lightweight silk organza backing or a fine fusible stabilizer before stitching. This distributes the stress of the seams across a secondary layer, preventing the delicate vintage silk fibers from pulling apart under tension.
Why is my pincushion leaking fine dust?
This usually indicates your stitch gauge is too wide. For fine fillings like emery sand, stitches must be no more than 1.5mm apart. To fix this, add an internal muslin liner to contain the particles before the final assembly.
How do I clean a vintage pincushion?
Use a dry cleaning sponge or a soft brush to lift surface debris. Avoid moisture, as it can cause vintage dyes to bleed and organic fillings to swell, which may permanently distort the structural shape of your hand stitched pincushions.

