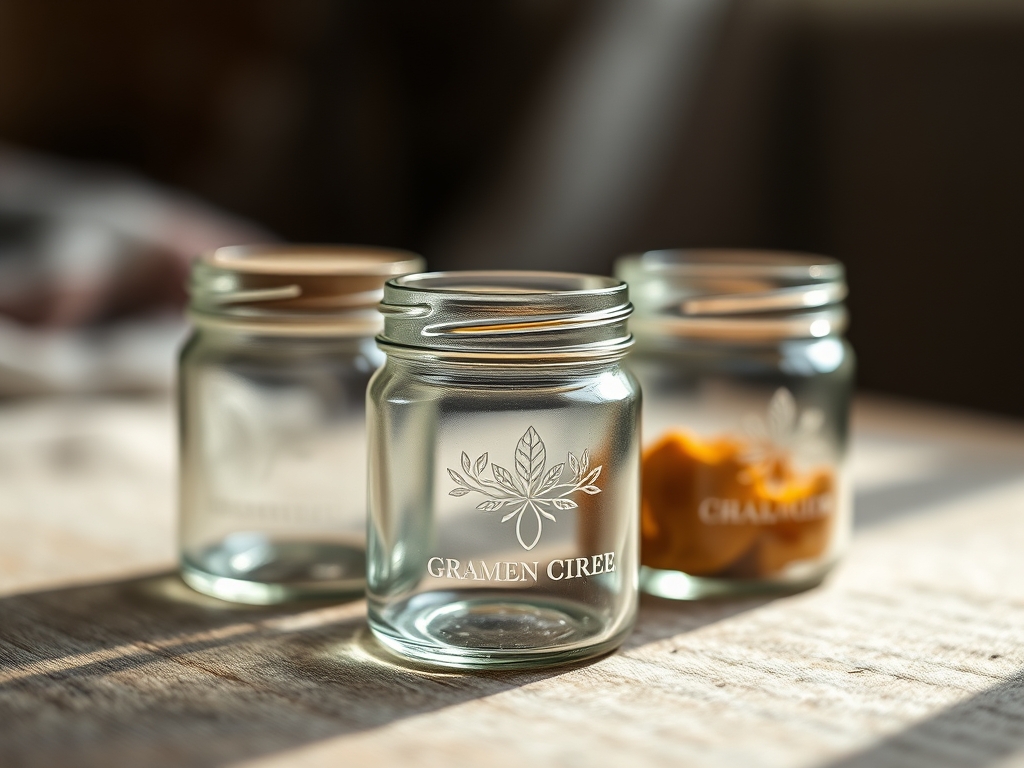
The scent of crisp pine and warm vanilla is already swirling through the air; but before we can fill our kitchens with peppermint bark; we need to talk about the vessel. There is something deeply satisfying about the weight of a heavy glass canister in your hand. When you create Custom Glass Etched Jars; you are not just making a gift; you are manipulating the surface chemistry of silica to create a permanent; frosted masterpiece. The tactile contrast between the smooth; cold glass and the velvety; matte texture of an etched design is pure sensory magic. We are going to dive deep into the molecular grit of this process; ensuring your holiday treats are housed in something as sophisticated as a high end boutique find. Grab your safety goggles; because we are about to turn basic pantry staples into heirloom quality art using nothing but science and a little bit of creative friction.
THE STUDIO KIT
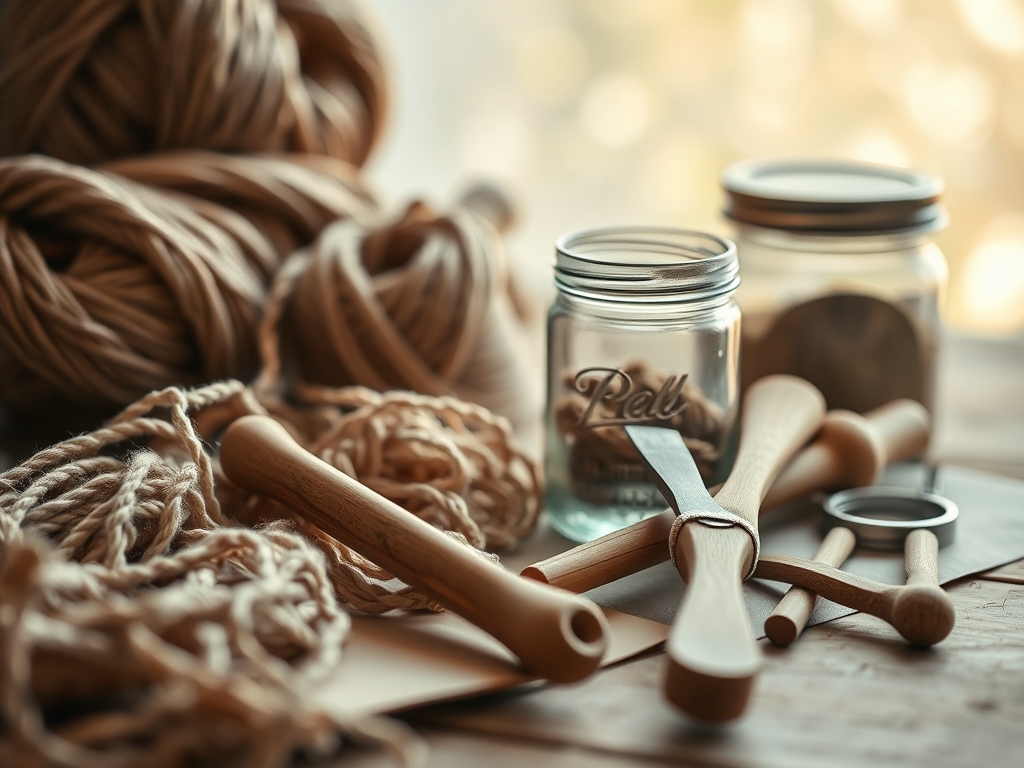
To master Custom Glass Etched Jars; you need a kit that respects the structural integrity of the medium. Your primary agent is an etching cream containing ammonium bifluoride; a compound that microscopically eats into the glass surface to create that signature diffusion of light. You will need high quality glass jars with a high borosilicate content if they are meant for temperature changes; though standard soda lime glass works beautifully for room temperature treats.
Essential tools include a precision craft knife with a fresh #11 blade for crisp stencil edges and a vinyl squeegee to ensure zero air pockets. Use a caliper to measure the circumference of your jar; ensuring your design wrap is mathematically perfect. For cleaning; 91 percent isopropyl alcohol is non negotiable to remove lipids and fingerprints that interfere with the chemical reaction.
Material Substitutions: If you cannot find adhesive vinyl; you can use high density painter's tape; though the tensile strength is lower and it may bleed. For a mechanical alternative to chemical etching; a rotary tool with a diamond burr bit allows for hand carved depth; though it requires a steady hand to manage the vibration.
THE TEMPO
The Maker's Rhythm is all about the "Wait and Weight." Total project time for a single jar is approximately 45 minutes; excluding design time. The Prep Phase takes 15 minutes; this is where you degrease the surface and apply your stencil with surgical precision. The Reaction Phase is the heart of the project; requiring 5 to 10 minutes of active chemical dwell time. Finally; the Recovery Phase involves a 20 minute window for rinsing; drying; and polishing. Do not rush the dwell time; the chemical reaction follows a linear curve; and pulling the cream too early results in a patchy; translucent finish rather than a solid frost.
THE CORE METHOD
1. Surface Decontamination
Start by saturating a lint free cloth with isopropyl alcohol and wiping the glass surface. This removes the "invisible barrier" of skin oils and factory residues.
Mastery Tip: This step addresses surface tension. If oils remain; the etching cream will bead up rather than laying flat; leading to an uneven "orange peel" texture in your final design.
2. Stencil Calibration and Application
Measure your jar with your calipers and cut your vinyl stencil. Peel the backing and apply the center of the design first; working outward to the edges. Use a bone folder or squeegee to burnish the edges of the vinyl against the glass.
Mastery Tip: Proper burnishing creates a mechanical seal. If the seal is weak; capillary action will pull the etching cream under the stencil; ruining your sharp lines with "fuzzy" edges.
3. Perimeter Shielding
Apply a wide border of painter's tape around your stencil. This acts as a fail safe against stray drips of the etching compound.
Mastery Tip: Etching cream is non selective. Even a microscopic droplet will permanently mar the glass surface upon contact; so your shielding must be absolute.
4. Chemical Application
Using a synthetic brush; apply a thick; even layer of etching cream over the stencil. Do not "paint" it on; instead; "glob" it on so the glass is completely obscured.
Mastery Tip: The thickness of the cream ensures a consistent chemical flux. If the layer is too thin; the active ions are depleted before the etch reaches full depth; causing streaks.
5. The Agitation Cycle
Every two minutes during the waiting period; use your brush to gently move the cream around on the surface without lifting it.
Mastery Tip: This prevents gas bubbles from settling in one spot. As the acid reacts with the silica; it can create tiny bubbles that block further etching; agitation ensures fresh cream is always in contact with the glass.
6. The Neutralization Rinse
Take the jar to a stainless steel or plastic sink and rinse the cream away with lukewarm water. Do not use a porcelain sink; as the cream can dull the finish over time.
Mastery Tip: Water acts as a quenching agent; instantly stopping the chemical reaction. Using lukewarm water prevents thermal shock; which could crack thinner glass if the water is too cold or hot.
7. Final Polish and Inspection
Peel away the vinyl and tape; then dry the jar with a microfiber cloth. The design will appear faint while wet but will pop into a bright; opaque white as it dries.
Mastery Tip: The "frosted" look is actually the result of diffuse reflection. The acid creates millions of tiny pits that scatter light in every direction; making the glass appear white to the human eye.
THE TECHNICAL LEDGER
Maintenance & Longevity: Custom Glass Etched Jars are permanent and dishwasher safe because the design is physically carved into the glass. However; avoid using abrasive scrubbers on the etched area; as they can trap debris in the microscopic pits; making the design look "dirty" over time.
Material Variations:
- Sustainable: Upcycle wine or sauce jars. Ensure you remove all adhesive residue with a citrus based solvent first.
- Premium: Use lead free crystal jars; though be aware that the higher lead content in true crystal can react differently; sometimes requiring a longer dwell time.
The Correction:
- Mistake: The etch is blotchy. Fix: You likely applied the cream too thin. You can reapply a second coat over the same area to even it out.
- Mistake: The stencil bled. Fix: Use a tiny amount of glass polishing compound and a rotary tool with a felt bob to buff out minor bleeds.
- Mistake: The glass cracked during rinsing. Fix: This is thermal stress. Always ensure your rinse water is within 10 degrees of the glass temperature.
Studio Organization: Store your etching cream in a cool; dark place. If it crystallizes; place the sealed bottle in a warm water bath to liquefy the solids. Store your vinyl flat to prevent "tunneling" of the adhesive backing.
THE FINAL REVEAL
Look at that finish! Your Custom Glass Etched Jars now possess a professional; sandblasted quality that feels incredibly high end. When you run your thumb over the design; you can feel the slight indentation where the chemistry has done its work. These jars are ready to be filled with colorful macarons; layered cookie mixes; or artisanal truffles. The way the frosted glass catches the holiday lights adds a sophisticated glow to any countertop. You have successfully navigated the world of chemical abrasion to create a gift that is both beautiful and scientifically sound.
STUDIO QUESTIONS
Can I etch pyrex or tempered glass?
Yes; but tempered glass is under high internal tensile stress. While the chemical etch is superficial and usually safe; never use mechanical engraving on tempered glass as it may cause the entire vessel to shatter instantly.
Why is my etching barely visible?
This usually happens if the glass has a high plastic coating or if the cream is old. Ensure you are using "fresh" ammonium bifluoride and that the glass is stripped of all protective factory coatings using heavy duty degreaser.
Is the etching cream toxic to food?
The cream itself is hazardous; but once it is thoroughly rinsed off; the glass is perfectly food safe. The process simply removes a layer of silica; leaving nothing toxic behind on the Custom Glass Etched Jars.
How do I get the most detail?
Use a high tack vinyl and a laser cutter for your stencils. The finer the stencil detail; the more important it is to avoid over agitation; which can accidentally push cream under the tiny edges of the design.