Imagine the smell of old vanilla and the tactile grit of flour dust settling into the grain of a heavy goatskin cover. When you hold Hand Stitched Recipe Books, you are not just holding paper; you are holding a structural engineering marvel designed to survive the chaos of a high heat kitchen. We are talking about objects that endure the constant opening and closing of daily meal prep. The physics of a kitchen is brutal. It involves humidity spikes, grease splatter, and the constant mechanical stress of being flattened on a marble countertop. To survive, your book needs more than just glue. It needs a skeletal structure that respects the grain of the paper and the tensile strength of the thread. We are going to build something that feels like a heavy, expensive tool in your hand. This is about creating a legacy object where the internal friction of the binding actually works in your favor. Let us get into the grit of the studio and build something that lasts longer than the recipes inside it.
THE STUDIO KIT
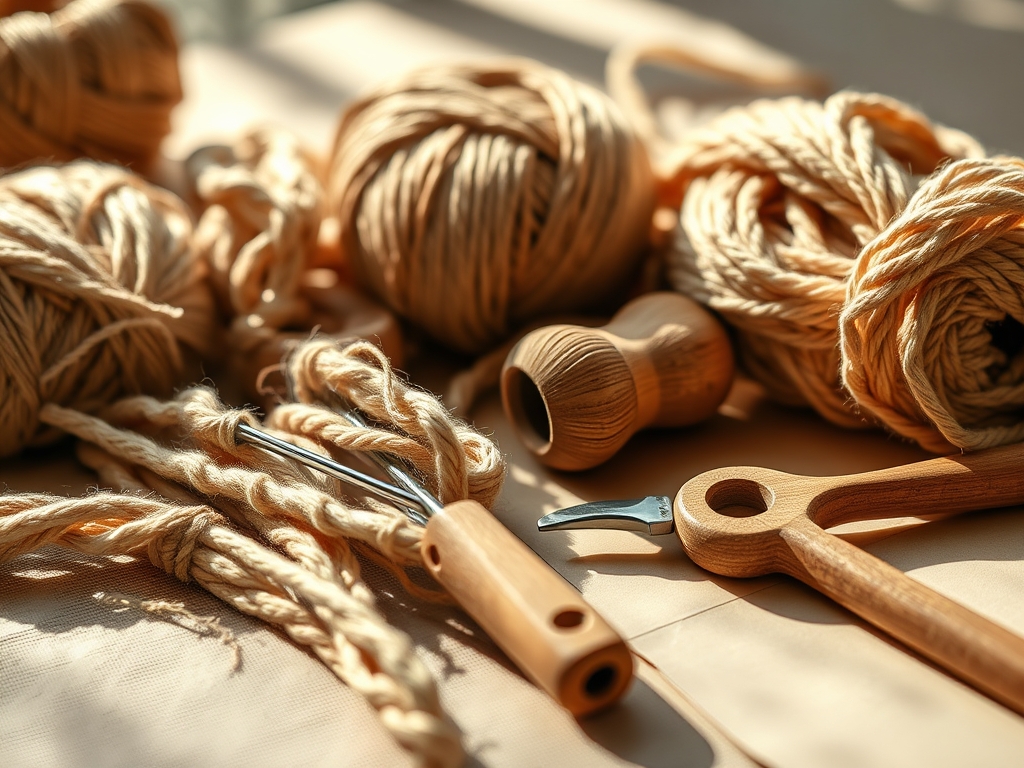
To build a professional grade binding, your kit must prioritize precision over aesthetics. You will need a heavy gauge bone folder made from genuine ox bone; the high density of the bone allows you to compress paper fibers without tearing the surface. Grab a tapered steel awl for punching clean, perpendicular holes through your signatures. For the thread, skip the craft store cotton and source waxed Irish linen thread. The wax acts as a lubricant during the sewing process and then serves as a sealant, preventing moisture from wicking into the center of your pages. You will also need a pair of precision calipers to measure the swell of your spine.
Material Substitutions: If you cannot find genuine leather, look for cork fabric or heavyweight canvas. These materials offer high tear resistance. If you lack a professional book press, two flat maple boards and a set of heavy C-clamps will provide the necessary PSI to consolidate your book block.
THE TEMPO
The "Maker's Rhythm" is all about respecting the drying times and the memory of the paper. You cannot rush the physics of fiber. Plan for a forty eight hour cycle. The first four hours are the "Active Phase," where you fold, punch, and sew. This is high energy work that requires sharp focus on your hole alignment. Then comes the "Setting Phase." Your book block needs at least twelve hours under weight to remove the air between the sheets. This compression ensures that the spine does not "fan out" over time. Finally, the "Curing Phase" lasts twenty four hours after the final glue application to the spine. This allows the adhesive to reach its maximum polymer cross-linking, ensuring the binding will not crack under the stress of a three hundred degree oven nearby.
THE CORE METHOD
1. Preparing the Signatures
Start by grouping your paper into "signatures," which are small booklets of four to five sheets folded together. Use your bone folder to burnish the crease. Always fold with the grain of the paper; if you fold against the grain, the cellulose fibers will snap, leading to a brittle spine that will eventually shed pages.
Mastery Tip: Observe the grain direction by gently bending the paper in both directions. The direction with the least resistance is the grain. Aligning the grain parallel to the spine reduces mechanical stress and allows the book to stay open flat on a counter.
2. Punching the Stations
Mark your sewing "stations" with a pencil and a ruler. For a standard six inch spine, five stations are ideal for distributing load bearing tension. Use your awl to punch through the center of the fold. Ensure your tool is perfectly vertical to avoid "stair stepping" the holes, which creates an uneven spine.
Mastery Tip: This is about structural integrity. By creating uniform apertures, you ensure that the thread tension is distributed evenly across the entire height of the book, preventing any single point of failure during heavy use.
3. The Kettle Stitch Execution
The Kettle Stitch is the gold standard for Hand Stitched Recipe Books. As you sew from one signature to the next, you loop the thread around the previous stitch. This creates a chain link fence of thread across the spine. Keep your tension firm but not so tight that you "saw" through the paper.
Mastery Tip: This technique utilizes friction-based anchoring. Each stitch locks the previous one in place, meaning that even if one thread eventually wears through, the entire binding will not unravel.
4. Squaring the Spine
Once the sewing is complete, place the book block in your press with the spine protruding slightly. Apply a thin layer of neutral pH polyvinyl acetate (PVA) glue. Use a stiff brush to work the adhesive into the gaps between the signatures. This creates a flexible, rubberized backing.
Mastery Tip: This relies on capillary action. The glue travels slightly into the crevices of the thread and paper, creating a monolithic structure that remains flexible enough to bend without snapping the dried adhesive.
5. Casing In the Covers
The final step is attaching your heavy covers to the book block. Apply glue to the "endsheets" and carefully lower the cover onto the block. Use your bone folder to press the paper into the "hinge" area. This is the most vulnerable part of the book, so it requires the most reinforcement.
Mastery Tip: The hinge acts as a pivot point. By compressing the fibers at this junction, you increase the density of the material, making it more resistant to the fatigue caused by thousands of opening cycles.
THE TECHNICAL LEDGER
To maintain the longevity of your Hand Stitched Recipe Books, keep them away from direct steam. High humidity causes paper fibers to swell, which can warp the boards. If the leather cover begins to feel dry, apply a small amount of archival grade leather conditioner to maintain its suppleness and prevent cracking at the joints.
Material Variations:
- Sustainable: Use hemp cord and recycled stone paper for a waterproof, eco-friendly version.
- Premium: Use vellum leaves and silk headbands for a luxury heirloom feel.
The Correction:
- Loose Pages: If a signature feels wobbly, your tension was too low. Fix this by "tipping in" the page with a thin bead of glue along the inner edge.
- Spine Wrinkling: This happens when you use too much glue. Use a damp cloth to wipe excess and re-press immediately.
- Cover Warping: This is caused by grain misalignment. Always ensure the grain of your cover board runs parallel to the spine.
Studio Organization: Store your completed projects vertically in a cool, dry place. Avoid stacking them under heavy weights once they are cured, as this can compress the spine "swell" and make the book difficult to open comfortably.
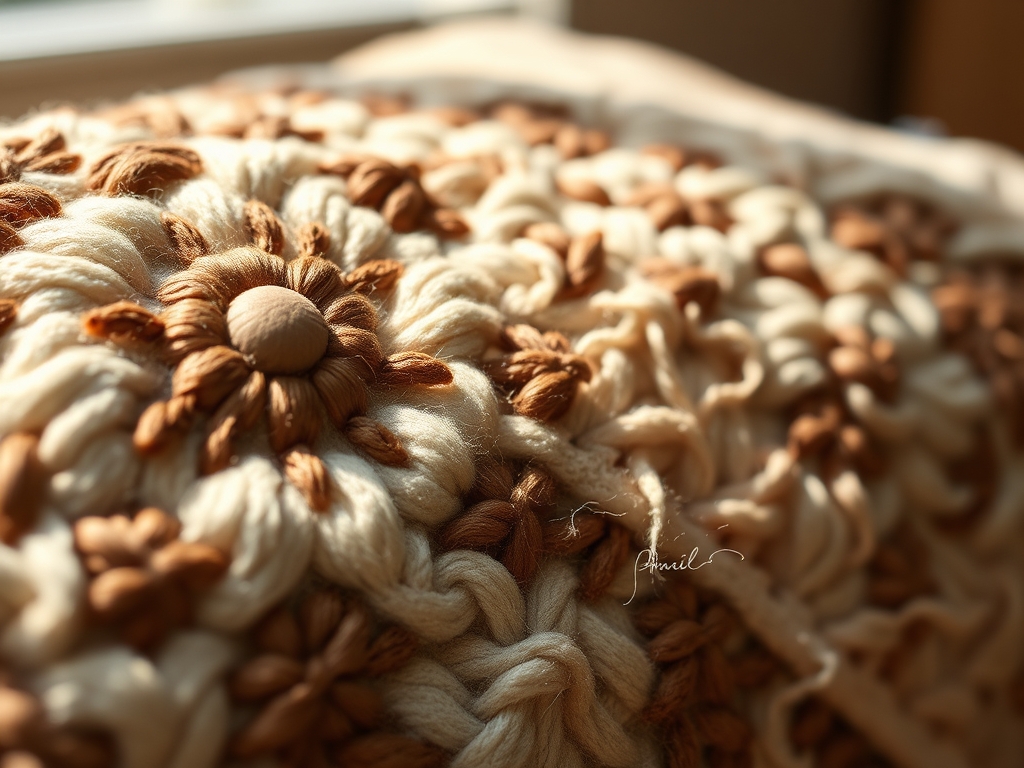
THE FINAL REVEAL
Look at that spine! The way the linen thread creates those perfect, rhythmic bumps under the leather is pure craftsmanship. When you open your Hand Stitched Recipe Books, they should lay perfectly flat, inviting you to start a roux or chop herbs without the pages flipping shut on you. There is a weight and a "thunk" to a well made book that a digital tablet can never replicate. You have just built a piece of kitchen hardware that is as durable as a cast iron skillet and twice as beautiful. It is ready for the flour, the oil, and the decades of stories to come.
STUDIO QUESTIONS
Why does my book pop open instead of staying flat?
This is usually caused by grain direction conflict. If the paper grain runs perpendicular to the spine, the fibers fight the fold. Always ensure the grain runs parallel to the binding for a natural, gravity-fed lay-flat effect.
Can I use regular sewing thread for the binding?
No, standard thread lacks the tensile strength and thickness required. Regular thread can act like a wire and slice through the paper under tension. Waxed linen thread is essential for its durability and grip.
What is the best glue for a recipe book?
Use neutral pH PVA glue. It is acid free, meaning it won't yellow or turn brittle over time. Its flexibility allows the spine to move without cracking, which is vital for books used daily in a kitchen.
How do I clean a grease stain off the cover?
If you used top grain leather, a damp cloth with a tiny drop of mild soap usually works. For fabric covers, prevention is better; apply a fabric protectant spray to create a hydrophobic barrier before using the book.