
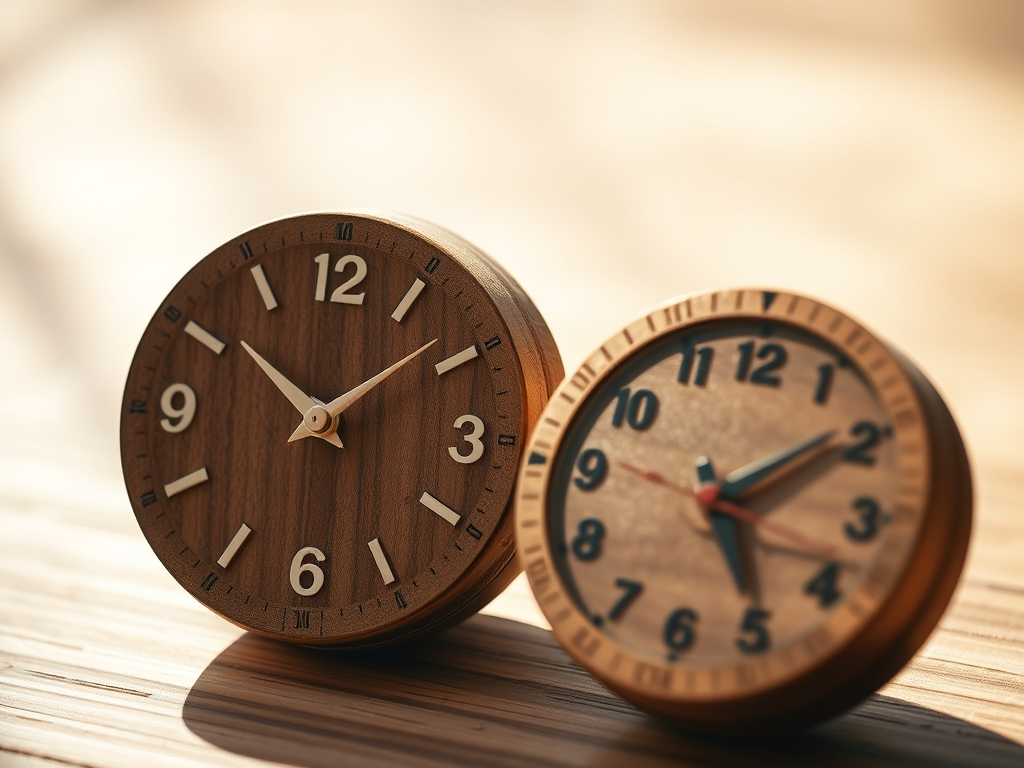
Run your fingers across the surface of a freshly sanded slab of American walnut and you will feel the micro-ridges of the grain resisting your touch. It is a tactile conversation between cellular structure and intent. When we talk about Personalized Wooden Clocks, we are not just discussing timekeepers; we are discussing the physics of moisture content and the structural integrity of timber. The kitchen is the high-traffic heart of the home, a place where humidity spikes and temperatures fluctuate. Choosing the right modern face for your clock requires an understanding of how wood behaves under environmental stress. You want a piece that commands attention while remaining dimensionally stable. We are looking for that perfect intersection of organic warmth and mathematical precision. Whether you are aiming for a minimalist Scandinavian aesthetic or a rugged live-edge statement, the material science remains the same. Grab your safety goggles and a strong espresso; we are about to transform raw lumber into a functional masterpiece that defies the warping effects of a steaming stovetop.
THE STUDIO KIT
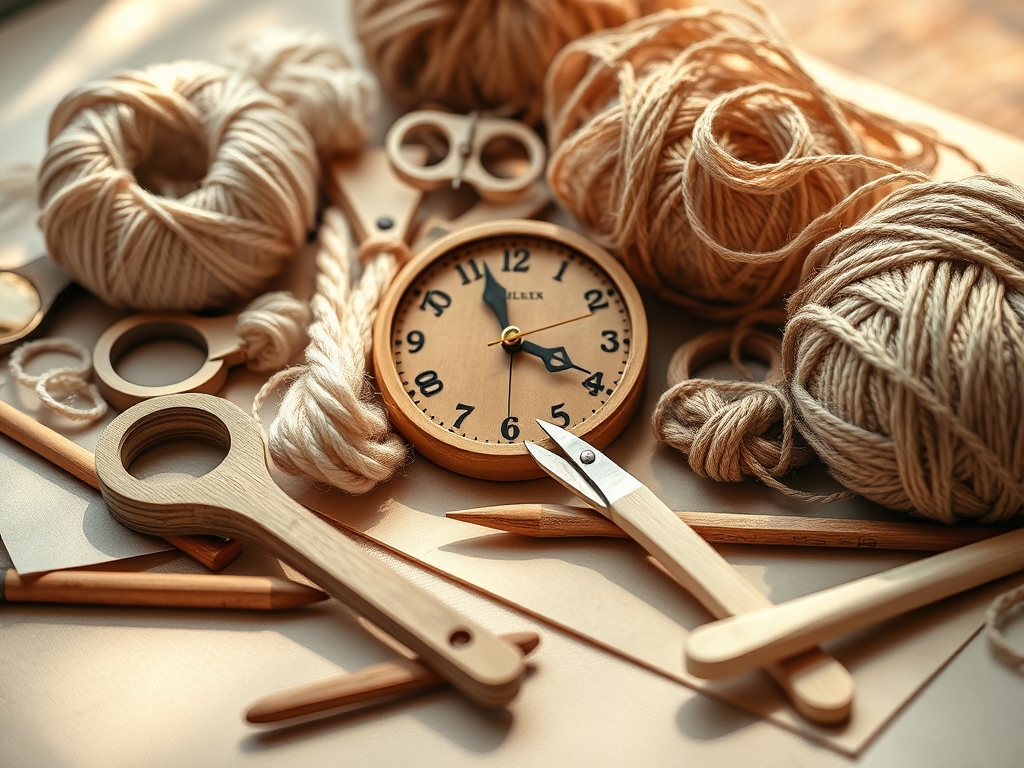
To execute these nine modern faces, your workbench needs more than just a hammer. Start with digital calipers to measure the exact thickness of your wood blanks; even a half-millimeter variance can throw off the seating of the clock motor. You will need a high-torque drill press with a Forstner bit to create clean, flat-bottomed holes for the movement housing. For the faces themselves, an oscillating spindle sander is non-negotiable for smoothing out interior curves without scorching the lignin in the wood fibers.
Your material palette should prioritize hardwoods like maple, cherry, or oak due to their high Janka hardness rating, which ensures the wood can support the weight of the hardware without compression failure. If you are looking for Material Substitutions, consider high-density fiberboard (HDF) with a premium veneer for a more budget-friendly approach that offers superior dimensional stability. For the markings, a jeweler's saw allows for intricate metal inlays, while a burnishing tool is essential for smoothing down any copper or brass accents. Always keep a moisture meter on hand; if your wood has a moisture content higher than 8 percent, your clock face will likely cup or twist once it hits the dry air of a climate-controlled kitchen.
THE TEMPO
The "Maker's Rhythm" is a sequence of tension and release. You cannot rush the curing of wood glue or the off-gassing of a polyurethane finish. Expect to spend approximately four hours on the initial shaping and machining of the face. This is followed by a mandatory 24-hour waiting period if you are laminating multiple species together to ensure the tensile strength of the bond is fully realized.
Sanding is the most meditative phase, requiring about two hours of progressive grit transitions from 80 up to 320. The final assembly, including the delicate calibration of the clock hands and the installation of the hanging bracket, takes roughly one hour. Total active project time is approximately seven hours, but the calendar duration spans three days to allow for proper chemical stabilization of the finishes. Respecting this tempo prevents the "finish sink" effect, where the wood absorbs the topcoat unevenly, leaving a patchy appearance.
THE CORE METHOD
1. The Radial Inlay Face
This design utilizes geometric precision to create a sunburst effect. Use a miter saw to cut twelve identical wedges of contrasting wood species, such as ebony and holly. Arrange them around a central point to create a 360-degree circle. The pressure must be applied evenly from the perimeter toward the center during the glue-up to prevent gaps.
Mastery Tip: Understand capillary action when applying glue to end-grain. End-grain is porous and will suck up adhesive like a straw. "Size" the joints first by applying a thin layer of diluted glue, letting it dry, and then applying the final bond to ensure a permanent hold.
2. The Negative Space Aperture
Modernism loves a void. Use a hole saw or a CNC router to cut asymmetrical circles out of a solid cherry slab. These openings allow the kitchen wall color to peek through, integrating the clock into the room's architecture. Ensure the structural integrity of the remaining wood is not compromised by leaving at least two inches of material between the holes and the edge.
Mastery Tip: When drilling large apertures, use a sacrificial "blow-out" board underneath your workpiece. This prevents the wood fibers on the exit side from splintering, a phenomenon known as "tear-out" caused by the downward pressure of the bit.
3. The Laser-Etched Topography
Personalized Wooden Clocks often feature meaningful locations. Use a laser engraver to etch the contour lines of a favorite mountain range or city grid directly into a birch plywood face. The charred edges of the laser cut provide a natural, dark contrast against the light wood.
Mastery Tip: Plywood has a cross-laminated structure that makes it incredibly stable. However, the laser can cause delamination if the heat is too high. Use multiple low-power passes rather than one high-power pass to preserve the glue layers between the veneers.
4. The Mixed-Media Resin Pour
Combine a live-edge slab of walnut with tinted epoxy resin. Secure the wood in a "river table" mold and pour the resin to create a sleek, glass-like segment. This creates a stunning visual contrast between the rugged, organic bark edge and the sharp, synthetic resin.
Mastery Tip: Watch out for exothermic reactions. If you pour epoxy too thick, it generates heat that can crack the resin or scorch the wood. Pour in thin layers, allowing the heat to dissipate between each application for a crystal-clear finish.
5. The Minimalist Dowel Face
Instead of numbers, use small brass or wooden dowels inserted into the face at the hour marks. Use a center punch and an awl to mark your drill points with absolute accuracy. The depth of each hole must be consistent to ensure the dowels sit at the same height.
Mastery Tip: Use a depth stop on your drill press. This mechanical constraint ensures that every hole is identical, maintaining the geometric symmetry required for a professional, high-end look.
6. The Charred Shou Sugi Ban Face
Embrace the Japanese art of preserving wood by charring the surface with a torch. This process carbonizes the exterior, making it resistant to the grease and moisture found in kitchens. Brush away the loose soot with a wire brush to reveal a deep, shimmering black texture.
Mastery Tip: Charring changes the surface tension of the wood. You must use a penetrating oil finish afterward to "lock in" the carbon layers, otherwise, the black soot will rub off on your walls and hands.
7. The Tiered Architectural Face
Create depth by layering three different diameters of wood discs on top of one another. This "wedding cake" style adds a 3D element to your kitchen wall. Use a compass to ensure each circle is perfectly concentric before gluing.
Mastery Tip: Wood moves across its width, not its length. When layering discs, align the grain direction of all pieces. If you cross the grains, the different expansion rates will cause the glue joints to fail over time.
8. The Floating Acrylic Sandwich
Place a thin slice of aromatic cedar between two sheets of clear acrylic. Secure the layers with stainless steel bolts at the hour positions. This protects the wood from kitchen splashes while providing a sleek, industrial aesthetic.
Mastery Tip: Acrylic has a different coefficient of thermal expansion than wood. Drill the holes in the acrylic slightly larger than the bolts to allow the wood to breathe and shift slightly without cracking the plastic.
9. The Sculptural Carved Face
Use a power carving disc on an angle grinder to create a rippled, water-like texture across the face of a heavy oak block. The shadows created by the ridges will change throughout the day as the kitchen light shifts.
Mastery Tip: Carving removes a significant amount of mass, which can cause the wood to "stress relieve" and warp. Carve both sides of the clock face equally to balance the internal tension of the wood fibers and keep the piece flat.
THE TECHNICAL LEDGER
Maintenance & Longevity: To keep your clock in peak condition, wipe it down once a month with a damp microfiber cloth. Avoid harsh chemical cleaners which can break down the molecular bonds of the wood finish. Every two years, apply a fresh coat of beeswax or mineral oil to replenish the wood's natural moisture barrier.
Material Variations:
- Sustainable: Bamboo or reclaimed pallet wood (ensure it is heat-treated, not chemically treated).
- Premium: Rare burls like Amboyna or Thuya, which offer high-density "eye" patterns.
- Recycled: Compressed sawdust boards or offcuts from local cabinetry shops.
The Correction:
- The Wobble: If the clock hands are loose, the center hole is too large. Fix: Fill with a wood plug, re-glue, and re-drill using a smaller gauge bit.
- The Ghosting: If the finish looks cloudy, moisture was trapped underneath. Fix: Lightly sand the surface and use a "blush eraser" spray to release the trapped vapor.
- The Tick-Tock Lean: If the clock hangs crooked, the center of gravity is off. Fix: Add small lead weights or washers to the back of the "light" side until the unit balances on a single point.
Studio Organization: Store your wood blanks horizontally in a cool, dry area. Vertical storage can lead to bowing over time. Use spacers (stickers) between boards to allow for airflow, preventing the growth of mold or localized "wet spots" in the timber.
THE FINAL REVEAL
Behold the transformation! What began as a static piece of lumber is now a rhythmic pulse on your kitchen wall. The interplay of the wood's natural grain with the precision of the clock movement creates a piece of functional art that is both timeless and timely. These Personalized Wooden Clocks serve as a testament to your craftsmanship and your understanding of material physics. Every time you glance up to check the time while the pasta boils, you will see the subtle shimmer of the burnished edges and the perfect alignment of the inlays. It is smart, it is sophisticated, and it is entirely yours.
STUDIO QUESTIONS
Which wood is best for a humid kitchen environment?
White Oak or Teak are superior choices. Their high tannin content and tight cellular structure provide natural resistance to moisture and rot, ensuring the clock face remains stable even near a steaming stovetop or sink.
How do I prevent the wood from splitting during drilling?
Always use a high-speed Forstner bit and decrease the feed pressure as you approach the exit point. Placing a sacrificial piece of scrap wood tightly against the back of the clock face eliminates the "exit fracture" of the wood fibers.
Can I use a battery-operated movement for heavy hands?
Standard movements struggle with heavy metal hands. You must source a high-torque movement specifically designed for larger clock faces. These have reinforced internal gears to handle the increased rotational mass and gravitational pull on the hands.
What is the best finish for a modern look?
A matte conversion varnish or a simple "rub-on" polyurethane provides a sophisticated, non-reflective surface. These finishes protect the wood without the dated, plastic-like shine of high-gloss lacquers, highlighting the natural beauty of the grain.
How do I ensure the clock is perfectly level?
Use a bubble level across the top of the clock movement housing, not just the outer frame. Since wood can be organic and irregular, the internal mechanism must be the primary reference point for horizontal alignment on the wall.

