
Wet clay is a fickle beast; it is cold and heavy against your palms until the friction of the wheel transforms it into something alive. You can feel the grit of the grog against your skin as you center the mass. We are not just making drinkware here. We are engineering history. When you dive into creating Hand Thrown Goblet Sets, you are balancing the tensile strength of the clay body against the centrifugal force of the spinning wheel. It is a dance of physics and intuition. The moisture content must be perfect. Too dry and the walls will crumble under the pressure of your thumbs; too wet and the entire structure collapses into a sad, gray puddle. We are looking for that sweet spot where the clay becomes plastic and responsive. This project requires a deep understanding of how minerals and water bond under pressure. Grab your apron and tie back your hair because we are about to turn raw earth into a medieval feast centerpiece that would make a Viking weep with envy.
THE STUDIO KIT
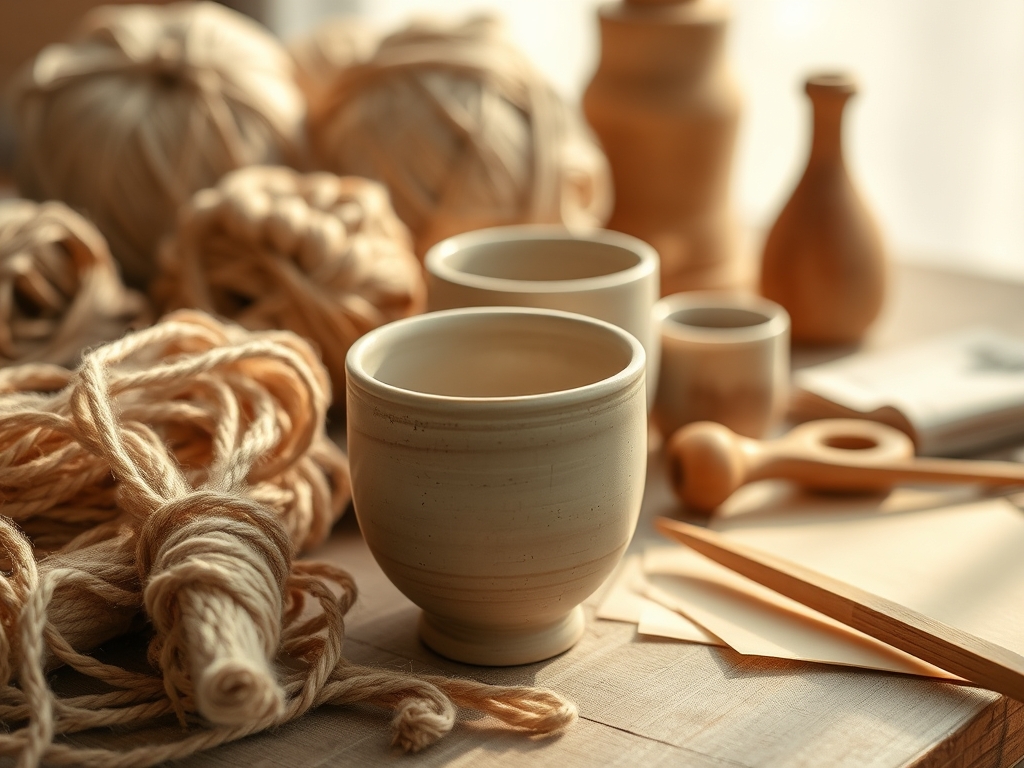
To master Hand Thrown Goblet Sets, you need more than just a wheel. You need a precision toolkit. Start with a high-fire stoneware clay; it has a higher density of alumina and silica which ensures the structural integrity of those tall, thin stems. You will need a pair of calipers to ensure every goblet in the set has a matching rim diameter. A wire toggle cutter is essential for slicing the base cleanly from the bat without inducing warping. For shaping, keep a stainless steel rib and a wooden modeling tool nearby. The rib is used to compress the clay particles, increasing the surface tension and preventing the walls from sagging.
Material Substitutions: If you cannot find high-fire stoneware, a mid-range porcelain works but be warned; porcelain has a "memory" and will slump if your wall thickness is uneven. You can substitute a traditional sponge with a piece of chamois leather for a smoother finish on the rim. If you lack a professional trimming tool, a sharpened spoon can serve as a makeshift loop tool for carving the foot ring.
THE TEMPO
The "Maker's Rhythm" is a three day cycle. Day one is the centripetal phase. This is when you spend about twenty minutes per piece centering, pulling, and shaping the bowl and the stem. You cannot rush this; the clay needs to be compressed consistently to avoid S-cracks during the firing process. Day two is the leather-hard stage. This is the most critical window, lasting about four to six hours depending on your studio's humidity. This is when the water has evaporated enough that the clay is no longer tacky but still holds enough moisture to be carved. Day three is the assembly and burnish. You will spend roughly thirty minutes per goblet joining the components and smoothing the seams. Total active labor for a set of seven is approximately eight to ten hours, excluding the weeks required for drying and kiln firing.
THE CORE METHOD
1. Centering and Opening the Mass
Start by slamming a one pound ball of clay onto the center of the bat. Use your body weight, not just your arm strength, to push the clay into a perfect dome. As the wheel spins, the centrifugal force wants to throw the clay outward; your hands must act as a stabilizer to keep it in the dead center. Once centered, press your thumbs into the middle to create a well.
Mastery Tip: Always keep your elbows tucked into your hips. This uses your skeletal structure for stability rather than relying on muscle alone, which prevents fatigue and ensures a more ergonomic workflow.
2. Pulling the Walls
Insert your fingers into the well and gently pull the clay upward. You are looking for a uniform thickness of about one quarter inch. The physics here involves capillary action; the water on your hands acts as a lubricant to prevent the clay from grabbing your skin and twisting. Use a slow, steady upward motion to create the bowl of the goblet.
Mastery Tip: Use a caliper to check the width of the rim after every pull. Consistency is the hallmark of a professional set; even a three millimeter difference will be visible to the naked eye once the pieces are grouped together.
3. Engineering the Stem
The stem is the most difficult part of Hand Thrown Goblet Sets because it must support the weight of the bowl while remaining elegant. You can throw the stem as part of the main body or throw it as a separate cylinder and join it later. A flared base is vital to lower the center of gravity, preventing the goblet from tipping over during a rowdy dinner.
Mastery Tip: If throwing the stem separately, ensure the moisture levels of the bowl and stem are identical. If one is drier than the other, they will shrink at different rates, causing the joint to fail during the vitrification process in the kiln.
4. The Join and Burnish
Once the pieces are leather-hard, use an awl or a needle tool to score the bottom of the bowl and the top of the stem. Apply a thick layer of slip (liquefied clay) to both surfaces. Press them together with a slight twisting motion to lock the particles together. Use a bone folder or a smooth stone to burnish the seam until it disappears.
Mastery Tip: The science of joining relies on the interlocking of clay platelets. By scoring the surface, you increase the surface area for these platelets to bond, creating a joint that is often stronger than the surrounding clay.
5. Carving Medieval Details
Medieval designs often feature heavy textures like "thumbprints" around the base or "faceted" sides. Use a loop tool to shave away thin ribbons of clay. This not only adds aesthetic value but also reduces the overall weight of the piece, making it more comfortable to hold.
Mastery Tip: Always carve away from the joints. The vibrations from a carving tool can cause micro-fractures in a fresh join if the clay has not yet reached a stable tensile strength.
6. The Foot Ring Precision
Flip the goblet upside down on the wheel to trim the foot. The foot ring provides a stable base and prevents the glaze from fusing the goblet to the kiln shelf. Use a ribbon tool to create a concave bottom. This ensures the goblet sits on its outer edge, which is the most stable configuration for uneven wooden tables.
Mastery Tip: A well-trimmed foot ring acts as a thermal expansion buffer. It allows the base of the goblet to expand and contract slightly during firing without cracking the main body.
7. Drying and Vitrification
Place the finished goblets under a sheet of plastic to slow the drying process. If the thin rim dries faster than the thick base, the resulting internal stress will cause a crack. Once bone-dry, fire the set to "bisque" temperatures before applying a food-safe glaze and firing again to full maturity.
Mastery Tip: Slow drying is essential for dimensional stability. Rapid evaporation causes the clay particles to shift too quickly, leading to warping that can ruin the alignment of your set.
THE TECHNICAL LEDGER
Maintenance & Longevity: Hand thrown stoneware is incredibly durable but sensitive to thermal shock. Avoid moving a goblet directly from a cold cellar to a hot dishwasher. Hand washing with a non-abrasive sponge is recommended to preserve the glaze's luster.
Material Variations: For a "Premium" set, use a black mountain clay body which fires to a deep metallic finish. For a "Sustainable" option, reclaim your scrap clay and mix it with a small amount of fresh paper pulp to create paper-clay, which has incredible green-strength.
The Correction:
- The Wobble: If the rim is uneven, use a needle tool to trim the top while the wheel is spinning.
- The Slump: If the bowl is sagging, use a heat gun to briefly stiffen the clay before continuing.
- The S-Crack: If a crack appears in the base, it is usually due to trapped water. Use a wooden rib to compress the floor of the goblet more aggressively during the opening stage.
Studio Organization: Store your leather-hard pieces in a "damp box" (a plastic bin with a layer of wet plaster at the bottom). This maintains a 100 percent humidity environment, allowing you to pause your work for days without the clay drying out.
THE FINAL REVEAL
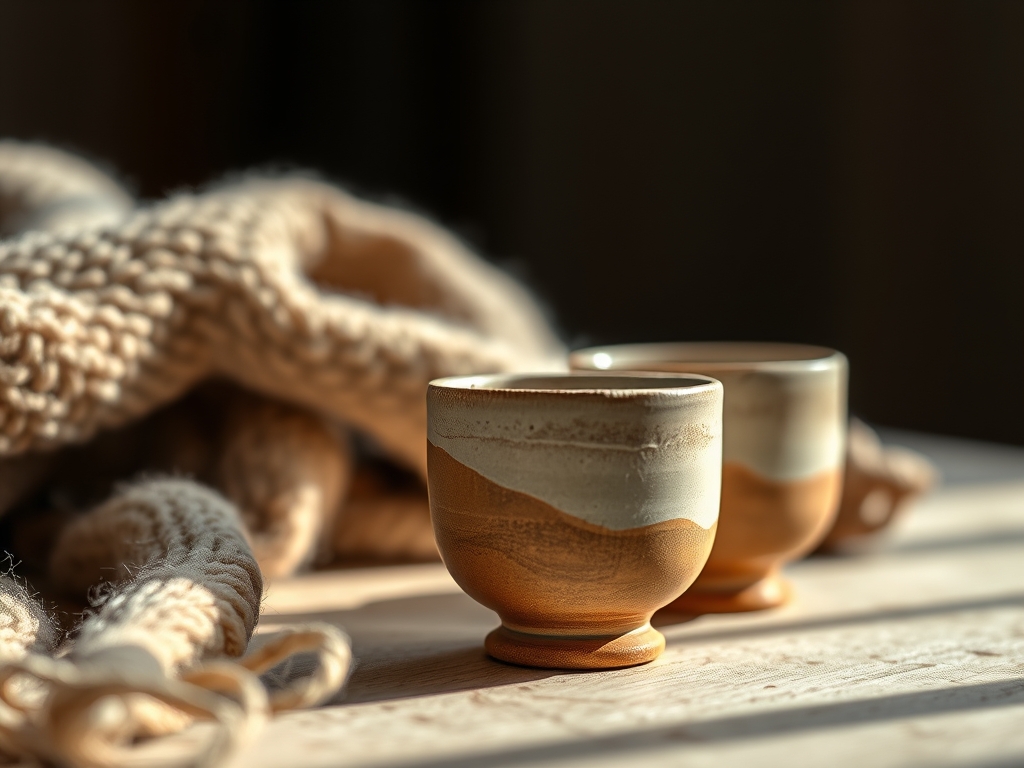
There is nothing quite like the weight of a finished goblet in your hand. When you hold one of your Hand Thrown Goblet Sets, you feel the history and the physics that went into its creation. The glaze should be smooth, the balance should be perfect, and the design should transport you to a candlelit hall. You have taken raw, chaotic earth and used your hands to impose order and beauty upon it. That is the true magic of the maker.
STUDIO QUESTIONS
Why do my goblet stems keep snapping?
Stems usually snap due to uneven drying or poor compression. Ensure you compress the clay thoroughly during the throw and join components only when they share the exact same moisture level to prevent tensile stress fractures.
How do I make all seven goblets the same size?
Use calipers to measure the rim width and a gauge stick for the height. Consistent weight is also key; weigh out each ball of clay to the exact gram before you start throwing on the wheel.
Is stoneware or porcelain better for goblets?
Stoneware is generally better for beginners due to its high plasticity and forgiving nature. Porcelain is beautiful and translucent but has a low "green strength," making it prone to collapsing if the walls are not perfectly uniform.
How do I prevent the glaze from running?
Leave at least a quarter inch of unglazed space at the bottom of the foot ring. Use a wax resist to ensure no glaze touches the base, which prevents the piece from fusing to the kiln shelf during vitrification.
Can I use these for hot drinks?
Yes, if they are fired to the correct maturity temperature. High-fire stoneware is excellent at retaining heat, but always pre-warm the goblet with warm tap water to avoid thermal shock from boiling liquids.

