

Close your eyes and listen to the sound of raw timber hitting a workbench. It is a hollow, resonant thud that speaks of density and potential. When you hold Personalized Wooden Toy Blocks in your hand, you are not just holding a plaything; you are gripping a curated piece of geometry designed for the erratic, high impact world of a nursery. These blocks must endure the acidic pH of saliva and the mechanical stress of being hurled against a hardwood floor. We are looking for that perfect tactile feedback where the wood feels warm, not clinical. The grain should be visible but sealed, offering a sensory roadmap for tiny fingers. We are diving into the physics of surface tension and cellular absorption to ensure these heirlooms are as safe as they are beautiful. Forget the plastic mass production. We are building something with structural integrity and soul.
THE STUDIO KIT
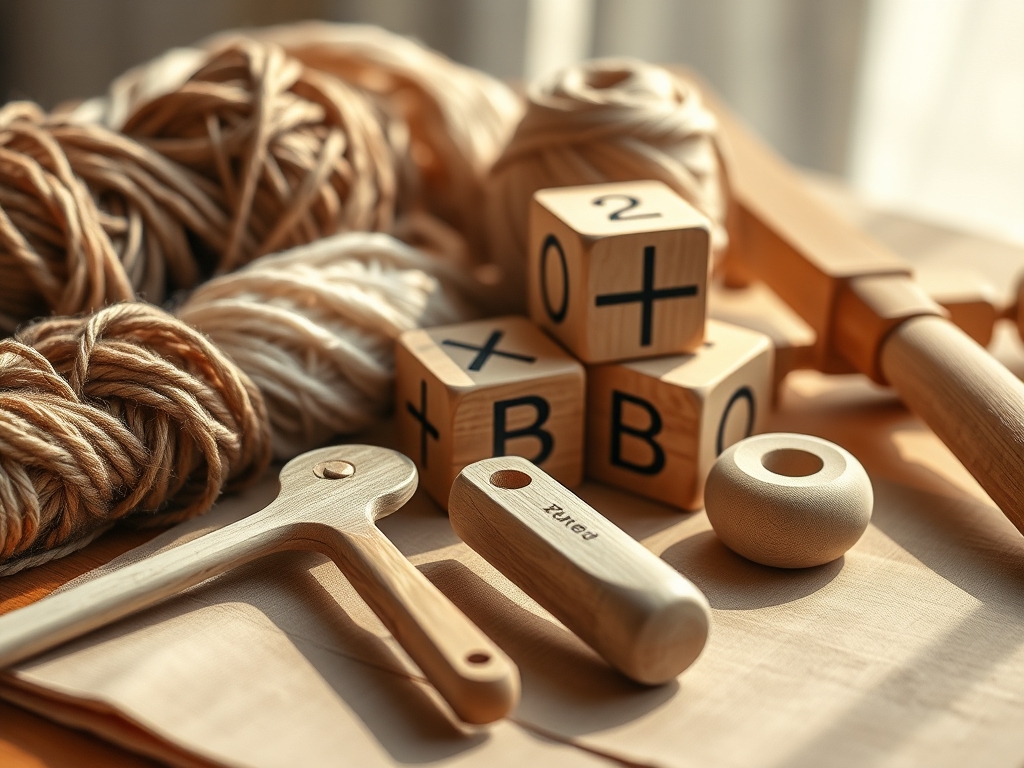
To execute these finishes with professional precision, your workbench needs a specific set of high performance tools. You will need a digital caliper to ensure every block is a perfect cube within a 0.05 millimeter tolerance. For the sanding phase, an oscillating tool with a fine grit interface pad is essential to prevent rounding the edges too aggressively. You also need a burnishing tool or a smooth bone folder to compress the wood fibers after the final sand. For the finishes themselves, gather organic beeswax, food grade fractionated coconut oil, and raw linseed oil.
Material Substitutions: If you cannot source hard maple, which is the gold standard for its tight grain and high Janka hardness rating, you can substitute with European Beech or Birch. Avoid open grained woods like Oak or Ash for babies; the large pores can trap bacteria and are prone to splintering under tensile stress. If you lack a specialized buffing wheel, a high density microfiber cloth or a piece of raw denim works beautifully to create friction and heat for wax penetration.
THE TEMPO
The Maker's Rhythm is all about respecting the drying curves and the absorption rates of the timber. This is not a sprint; it is a choreographed sequence of chemical reactions. You will spend approximately forty minutes on the initial mechanical preparation, which includes sanding through the grits from 120 to 400. The actual application of the finish takes mere minutes per block, but the curing phase is where the magic happens.
Expect a twenty four hour window for oils to polymerize and reach peak stability. If you are layering wax over oil, you must wait for the oil to fully oxidize, or you will trap moisture beneath the surface, leading to a cloudy, tacky mess. Plan for a three day cycle from raw timber to a fully cured, nursery ready masterpiece.
THE CORE METHOD
1. The Friction Burnish
Before any liquid touches the wood, we use mechanical force to seal the surface. Take your bone folder or a hard polishing stone and rub the surface of the Personalized Wooden Toy Blocks with consistent pressure. This process collapses the tracheids, the long vertical cells in the wood, creating a natural luster without any additives.
Mastery Tip: This technique relies on the physics of fiber compression. By flattening the microscopic "fuzz" on the surface, you reduce the surface area available for moisture absorption, making the block more resistant to staining.
2. The Fractionated Coconut Oil Bath
Submerge the blocks in a shallow tray of fractionated coconut oil. Unlike standard coconut oil, the fractionated version has the long chain triglycerides removed, meaning it stays liquid at room temperature and will never go rancid.
Mastery Tip: Capillary action pulls the oil deep into the porous structure of the wood. Because the oil molecules are smaller than the wood pores, they displace air and create a hydrophobic barrier from the inside out.
3. The Beeswax and Jojoba Emulsion
Create a custom salve by melting one part beeswax with four parts jojoba oil in a double boiler. Jojoba is technically a liquid wax ester, which mimics the natural oils found in skin. Apply this while it is warm using a lint free cloth.
Mastery Tip: This creates a dual layer of protection. The jojoba penetrates the grain, while the beeswax stays on the surface to provide a high friction, grippy texture that helps babies develop fine motor skills during stacking.
4. The Raw Linseed Oil Oxidation
Apply a thin coat of raw linseed oil, ensuring you wipe away any excess after ten minutes. Linseed oil is a "drying oil," meaning it hardens through a chemical reaction with oxygen rather than just evaporating.
Mastery Tip: As the oil oxidizes, it undergoes polymerization, turning from a liquid into a solid, rubbery resin within the wood fibers. This significantly increases the tensile strength of the surface layer.
5. The Walnut Oil Saturation
Walnut oil is a classic choice for kitchenware and toys because it is non toxic and has a beautiful, golden hue. Apply three light coats, allowing each to dry for twelve hours.
Mastery Tip: Walnut oil has a high concentration of polyunsaturated fatty acids. These molecules cross link as they dry, creating a durable film that is surprisingly resistant to the enzymes found in human saliva.
6. The Shellac Vapor Polish
For a high gloss finish that is still edible, use "Dewaxed Lemon Shellac." Shellac is a natural resin secreted by the lac bug and is used in the pharmaceutical industry to coat pills. Apply it in very thin, rapid wipes.
Mastery Tip: Shellac is an evaporative finish. The alcohol solvent disappears, leaving behind a hard, brittle resin. It provides the best moisture barrier of all natural finishes, preventing the wood from expanding or contracting in humid environments.
7. The Milk Paint Accents
If you want color, use authentic milk paint made from casein, lime, and earth pigments. Once dry, it creates a matte, stony texture that feels incredible.
Mastery Tip: Milk paint bonds to the wood at a molecular level. It does not sit on top like a plastic film; it becomes part of the wood structure, ensuring it will never peel or flake off into a child's mouth.
8. The Carnauba Wax Buff
Carnauba wax is harvested from palm fronds and is one of the hardest natural waxes known to man. Apply a tiny amount and buff it at high speed using a rotary tool with a felt bob.
Mastery Tip: The high melting point of carnauba wax means it stays hard even in warm hands. This creates a "slip resistant" finish that is perfect for the vertical stability required in complex block towers.
9. The Camelina Oil Soak
Camelina oil is an ancient grain oil with a high Vitamin E content, which acts as a natural preservative. It is a fantastic alternative for those with nut allergies who cannot use walnut or almond oils.
Mastery Tip: The high antioxidant content in Camelina oil prevents the wood fibers from degrading due to UV exposure, keeping your personalized engravings crisp and dark for decades.
THE TECHNICAL LEDGER
Maintenance is simple but vital. Every six months, give the blocks a light "refresh" by buffing them with a dry cloth to redistribute the waxes. If they become soiled, wipe them with a damp cloth and immediately dry them; never submerge them in water, as this will cause the grain to raise and the wood to swell.
Material Variations: For a premium feel, use "Roasted" or "Torrefied" Maple. This wood has been heat treated in an oxygen free environment, which carmelizes the natural sugars and makes the wood almost entirely immune to rot and moisture.
The Correction:
- Raised Grain: If the blocks feel fuzzy after the first oil coat, you didn't sand high enough. Lightly sand with 600 grit and reapply oil.
- Tackiness: If the surface feels sticky, you applied the oil too thick. Wipe the block down with a small amount of high proof alcohol to strip the excess and start over.
- Cloudiness: This happens when moisture is trapped. Use a hair dryer on a low setting to gently warm the surface and draw the moisture out.
Studio Organization: Store your finished blocks in a breathable cotton bag or a wooden crate with slats. Avoid airtight plastic containers, as wood is a living material that needs to "breathe" to maintain its equilibrium moisture content.
THE FINAL REVEAL
Look at that glow! Your Personalized Wooden Toy Blocks are no longer just pieces of lumber; they are engineered artifacts of play. The grain is popping with depth, the edges are soft but defined, and the scent is a clean mix of honey and forest. You have successfully navigated the complex world of organic polymers and cellular physics to create a toy that is safe, sustainable, and scientifically superior. These blocks are ready for the ultimate stress test: a toddler's imagination.
STUDIO QUESTIONS
What is the safest oil for wooden baby toys?
Fractionated coconut oil and raw linseed oil are the safest options. They are non toxic, food grade, and do not go rancid over time. Ensure you use "raw" linseed oil, as "boiled" linseed oil contains metallic driers that are toxic.
How do I prevent wood blocks from splintering?
Choose high density hardwoods like Maple or Beech and sand through sequential grits up to 400. Finalizing the process with a burnishing tool compresses the surface fibers, significantly increasing the wood's resistance to mechanical failure and splintering.
Can I use olive oil to finish wooden blocks?
Avoid olive oil and vegetable oils. These are non drying oils that stay liquid inside the wood fibers. Over time, they will oxidize and go rancid, creating an unpleasant smell and potentially harboring harmful bacteria within the wood's pores.
How do I clean personalized wooden blocks safely?
Wipe the blocks with a damp cloth and mild soap. Immediately dry them with a clean towel. Never soak them or put them in a dishwasher, as the extreme heat and moisture will destroy the wood's structural integrity and cause warping.

