
Smell that? That is the intoxicating scent of high grade vegetable tanned cowhide, a material that literally breathes as you work it. When we talk about Hand Stitched Leather Wallets, we are not just discussing a place to shove your coffee loyalty cards; we are talking about a mechanical marriage of fiber density and tension. You can feel the tactile resistance of the grain as you run your thumb across the surface. It is dense, oily, and possesses a high tensile strength that ensures it will outlast any fabric alternative. For a minimalist, every millimeter of thickness is an enemy. We are aiming for a profile so slim it defies the laws of pocket physics. To achieve this, we have to understand how the collagen fibers in the leather react to compression and moisture. If you treat the material with respect, it rewards you with a patina that tells a story of years of use. If you rush the process, you end up with a bulky, warped mess. We are here to build something sleek, structural, and absolutely permanent.
THE STUDIO KIT

To master the art of Hand Stitched Leather Wallets, your workbench needs to look like a high end laboratory. We start with calipers for precision measurement; because in a slim design, a 0.5mm deviation is the difference between a sleek cardholder and a clunky brick. You will need a diamond awl for piercing the leather without tearing the fibers, and a pair of harness needles with a blunt tip to navigate the stitch holes. For the thread, we use poly-braided waxed thread, which offers superior friction resistance compared to cotton. Your cutting station requires a rotary cutter for long, fluid sweeps and a bone folder to compress the fold lines without scarring the grain.
Material Substitutions: If you cannot source traditional veg-tan, look for Kangaroo leather. It has the highest tensile strength of any hide, allowing you to go incredibly thin without sacrificing structural integrity. If you are leaning into sustainability, cork leather or pineapple leaf fibers (Piñatex) offer interesting porous textures, though they lack the self-healing properties of animal hide and require a different edge finishing technique, such as a rolled hem rather than a burnish.
THE TEMPO
The Maker's Rhythm is a meditative state where your heart rate aligns with the steady punch of the iron. Creating a slim wallet is a four-hour journey divided into distinct phases of focus. The Layout and Shear phase takes roughly 45 minutes; this is where your spatial reasoning is tested as you map out the grain direction to minimize stretch. The Edge Preparation phase requires 60 minutes of repetitive, rhythmic sanding and beveling to ensure the layers appear as a single, monolithic piece of material.
The Saddle Stitching phase is the longest, clocking in at 90 minutes. This is the core of the project. Unlike a sewing machine that uses a lockstitch (which unravels if one thread breaks), the saddle stitch uses two needles passing through the same hole in a figure-eight pattern. This creates a redundant mechanical bond. The final hour is dedicated to Finishing and Burnishing, where heat generated by friction seals the edges. It is a slow burn, but the result is a product that feels like it was grown, not made.
THE CORE METHOD
1. Precision Patterning and Grain Alignment
We begin by tracing our eight slim designs onto the flesh side of the leather. It is vital to align the long axis of the wallet with the tightest grain direction of the hide. Leather is a biological polymer; it stretches more in one direction than the other. By aligning the pockets against the stretch, we ensure the wallet maintains its shape even when stuffed with cards. Use your calipers to mark your stitch lines exactly 3mm from the edge.
Mastery Tip: Understand anisotropy. Leather properties vary depending on the direction of the fibers. Always cut your load-bearing pieces parallel to the spine of the animal where the fiber density is highest to prevent sagging over time.
2. Skiving for Minimal Bulk
To achieve that elusive minimalist profile, we must perform skiving. This involves using a razor-sharp skiving knife to shave down the thickness of the leather at the transition points where layers overlap. We are essentially tapering the edges to a feather-thin gauge so that when three layers meet, they only equal the thickness of two. This requires a steady hand and a high-angle approach to avoid slicing through the grain.
Mastery Tip: This process relies on shear strength. By reducing the thickness only at the seams, you maintain the structural integrity of the main body while eliminating the geometric "stair-step" effect at the edges.
3. The Pilot Hole Punch
Using a stitching pony to hold the leather upright, we use a multi-prong stitching iron to punch our holes. The goal is to create a series of slanted slits. Do not drive the iron all the way through into the mat; just enough to clear the bottom layer. This preserves the internal fiber structure and prevents the leather from "mushrooming" around the exit hole.
Mastery Tip: This is about displacement vs. removal. A punch removes a plug of leather, weakening the seam. An awl or iron merely displaces the fibers, allowing them to snap back around the thread, creating a water-tight seal through elastic recovery.
4. Executing the Saddle Stitch
Thread your needles and begin the saddle stitch. Pass the first needle through, center the thread, and then pass both needles through every subsequent hole from opposite sides. Maintain constant tension. If one side is tighter than the other, the seam will "corkscrew," ruining the minimalist aesthetic. Every stitch should look like a perfectly slanted line of armor.
Mastery Tip: Utilize friction locking. As the waxed thread passes through the leather, the wax acts as a lubricant initially and then as a physical adhesive once the stitch is set, locking the tension in place via capillary action within the thread fibers.
5. Edge Burnishing and Friction Sealing
Once stitched, we sand the edges with progressively finer grits, from 220 up to 1000. Apply a small amount of Tokonole or water and use a wooden burnisher to rub the edge vigorously. The heat generated by the friction causes the tannins and fibers to fuse together. The result should be a glassy, smooth edge that looks like polished stone.
Mastery Tip: This transformation is a result of thermoplasticity. The natural waxes and proteins in the leather soften under heat and then re-harden into a dense, protective plastic-like barrier that prevents moisture ingress.
THE TECHNICAL LEDGER
Maintenance & Longevity: To keep your Hand Stitched Leather Wallets in peak condition, apply a light coat of neatsfoot oil or beeswax conditioner every six months. This replenishes the internal lipids that keep the fibers supple. Avoid over-conditioning, as too much oil can over-saturate the porous structure and cause the leather to lose its "snap."
Material Variations: While vegetable tanned leather is the gold standard for its ability to be burnished, you can experiment with Chrome-tanned leathers for a softer feel. However, be warned: chrome-tan does not burnish. You will need to use edge paint, which creates a chemical bond on the surface rather than a mechanical fusion of fibers.
The Correction:
- The Loose Stitch: If a stitch looks slack, do not just pull it. Use a needle to backtrack the tension through the previous three stitches.
- The Wonky Cut: If your rotary cutter slipped, do not try to sand it out. Use a French edger to take a consistent bevel off the entire perimeter to mask the deviation.
- The Scuff: If you scratch the grain with your awl, apply a drop of water and use a bone folder to burnish the fibers back into place. The "self-healing" nature of veg-tan is your best friend here.
Studio Organization: Store your leather flat in a climate-controlled environment. Humidity is the enemy; it can cause the leather to swell and lose its temper. Use acid-free paper between hides to prevent oil transfer, and keep your tools oiled to prevent oxidation on the steel surfaces.
THE FINAL REVEAL
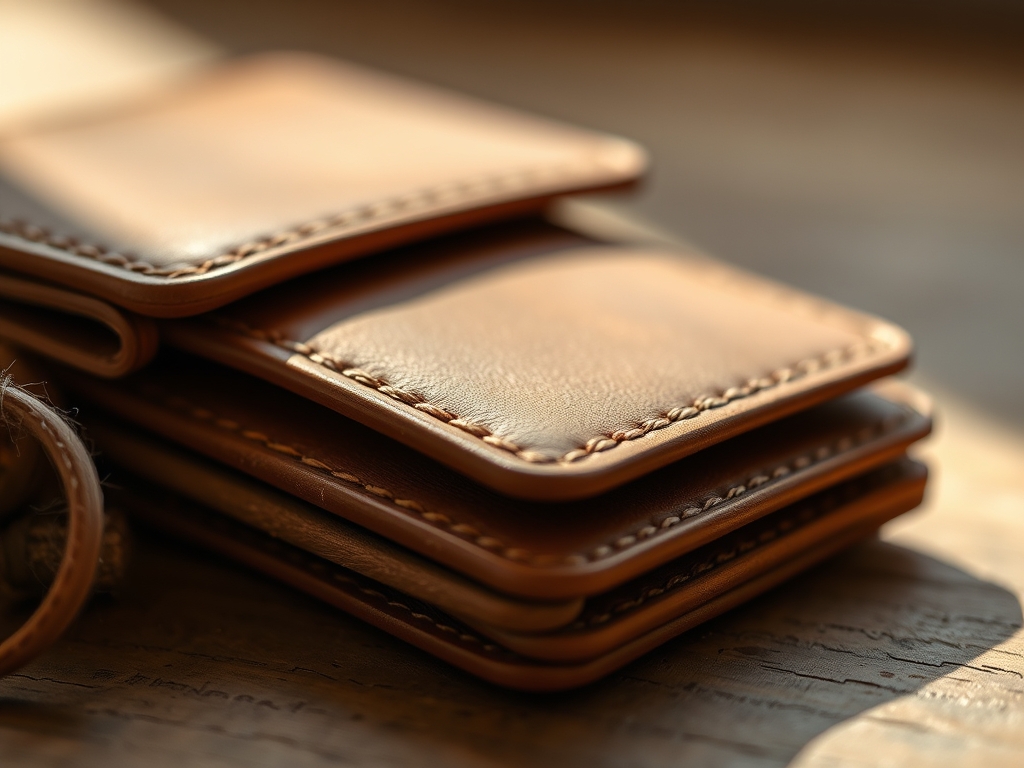
There is nothing quite like the moment you pull that last stitch tight and snip the thread. Your minimalist wallet is no longer just a collection of cowhide scraps; it is a high-performance tool. It feels dense, purposeful, and incredibly slim in the hand. The way the light catches the burnished edges and the rhythmic precision of the saddle stitch is pure dopamine for the maker's soul. You have created something that doesn't just hold cards; it masters the physics of carry. It is sleek, it is tough, and it is uniquely yours.
STUDIO QUESTIONS
What is the best leather thickness for a slim wallet?
For a minimalist design, aim for a weight of 2.0 to 2.5 ounces (0.8mm to 1.0mm). This thickness provides enough tensile strength to hold stitches while keeping the overall stack height under 5mm when folded.
Why use waxed thread for hand stitching?
Waxed thread reduces friction during the sewing process, preventing the thread from fraying. Once the stitch is cast, the wax acts as a mechanical lock, sealing the hole and preventing the thread from shifting or stretching over time.
Can I make a slim wallet without a stitching pony?
While possible, a stitching pony is essential for maintaining consistent tension. It frees both hands to manage the needles, ensuring each saddle stitch is identical in angle and pressure, which is critical for a professional, high-density finish.
How do I prevent the leather from stretching out?
Always cut your card slots perpendicular to the direction of the leather's natural stretch. Additionally, using a high-density vegetable tanned hide ensures the collagen fibers are tightly packed, providing better resistance to mechanical deformation during daily use.

