
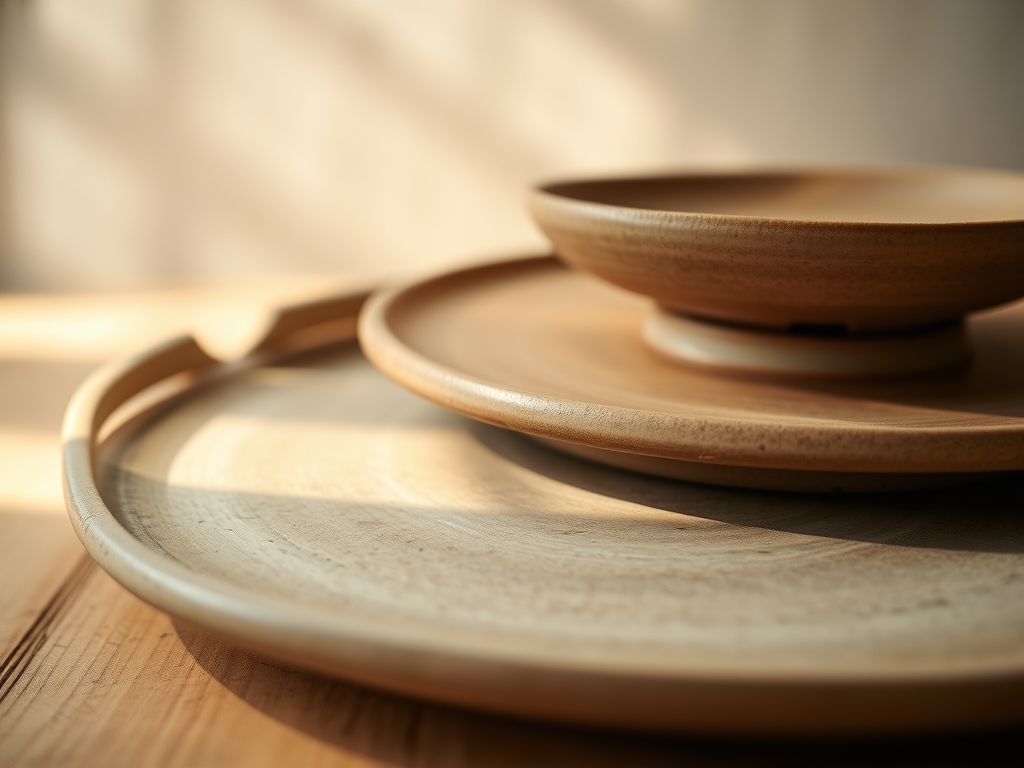
The cold, damp weight of a twenty pound wedge of stoneware clay is the ultimate morning wake up call. There is a specific, grounding magic in the way the grit of the silica feels against your palms before the water transforms it into a slick, aerodynamic slurry. When we talk about Hand Thrown Serving Platters, we are not just talking about dishes; we are discussing structural engineering disguised as art. A holiday turkey is a heavy, thermal mass that exerts significant downward pressure on the center of a ceramic form. If your clay body lacks the necessary density or if your compression is weak, that bird will cause a structural failure faster than you can say gravy. We are aiming for a marriage of high tensile strength and elegant ergonomics. You want a piece that feels substantial but balanced, with a rim that invites your thumbs to grip it securely. It is about the friction of the unglazed foot against a linen tablecloth and the way the heat radiates through the vitrified walls. We are building a stage for a feast, and it starts with mud and momentum.
THE STUDIO KIT
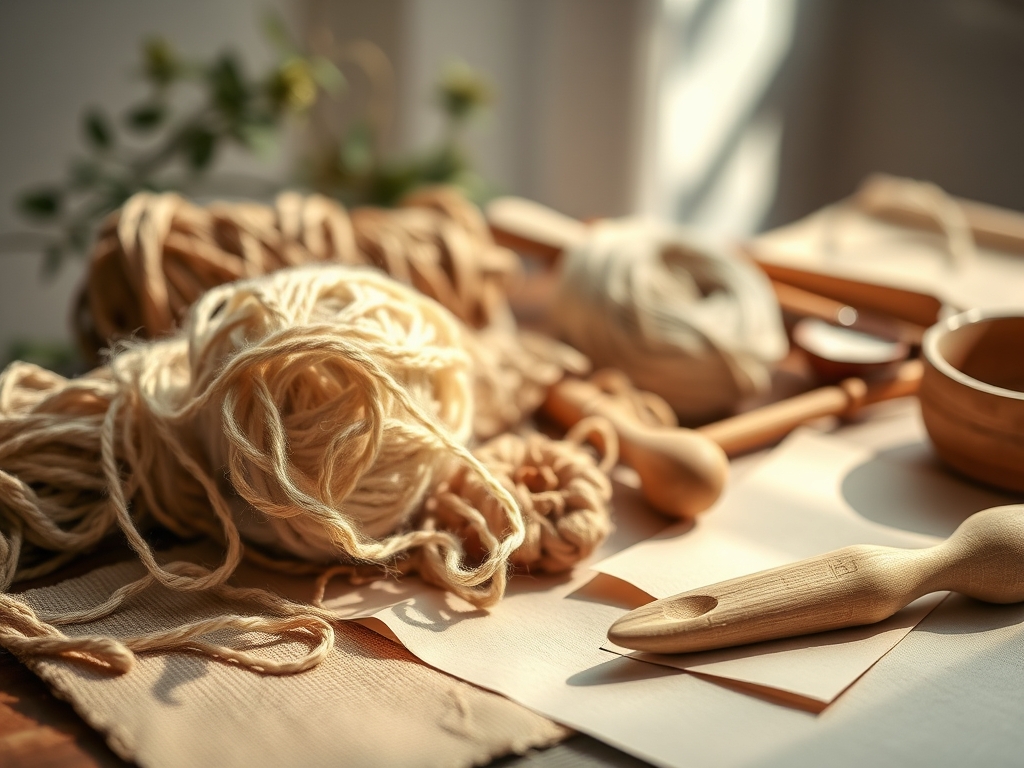
THE STUDIO KIT
To execute these oversized forms, your standard toolkit needs a serious upgrade. You will need a high torque pottery wheel capable of maintaining a steady RPM under the weight of thirty pounds of clay. Grab your large diameter wooden bats, preferably Masonite or marine grade plywood, to prevent warping as the clay dries. For shaping, a stainless steel flexible rib is non negotiable for refining the interior curve, while a wooden modeling tool helps define the undercut of the foot. You must have calipers to measure the rim diameter, ensuring it actually fits in your kiln.
Material Substitutions: If you cannot find high fire stoneware, a grout reinforced earthenware can work for decorative pieces, though it lacks the vitrification needed for heavy food use. Instead of a professional wire cutter, a braided fishing line attached to two dowels provides a cleaner shear through thick clay bases. For the clay itself, look for a body with at least 10 percent grog. Grog is pre fired ceramic crushed into sand; it acts like a skeletal structure to prevent the platter from slumping under its own weight during the firing process.
THE TEMPO
The maker's rhythm for large scale work is a slow, deliberate dance. You cannot rush the physics of evaporation. The wedging phase takes twenty minutes of intense physical labor to align the clay particles and remove air pockets. Throwing and shaping the platter takes about forty five minutes of focused wheel time. However, the real work happens in the drying phase. Because of the high surface area to thickness ratio, a platter must dry under plastic for at least five to seven days. This slow moisture loss prevents differential shrinkage, where the edges dry faster than the center, leading to the dreaded S-crack. The trimming phase occurs at the "leather hard" stage, usually forty eight hours after throwing, requiring about thirty minutes of precision carving.
THE CORE METHOD
1. Centering the Massive Mass
Start by slapping the clay onto the center of the bat with enough force to create an initial bond. Use your body weight, not just your arms, to push the clay into a low, wide puck. Mastery Tip: This utilizes centripetal force to align the platey structure of the kaolinite particles. If the core is not perfectly centered, the centrifugal force will pull the walls unevenly as you open the form, leading to a catastrophic wobble.
2. Opening the Floor
Instead of a narrow well, use your palms to spread the clay outward from the center. You are aiming for a flat, expansive floor that is roughly half an inch thick. Mastery Tip: Use a rib tool to compress the floor repeatedly. This increases the particle density, which is vital for structural integrity. Without high compression, the clay will expand and contract unevenly during the kiln's quartz inversion phase.
3. Raising the Structural Rim
Slowly pull the outer ring of clay upward and outward at a forty five degree angle. Keep your hands steady and move at a snail's pace. Mastery Tip: The rim acts as a tension ring. By keeping the rim slightly thicker than the floor, you create a structural "hoop" that prevents the flat base from sagging or warping as it loses its chemically bound water.
4. Refining the Interior Curve
Use a large, kidney shaped metal rib to smooth the transition from the floor to the wall. This curve must be a continuous, parabolic arc to distribute the weight of the turkey. Mastery Tip: A smooth surface reduces the surface area available for unwanted moisture absorption and eliminates stress points where cracks could initiate under thermal shock.
5. Wire Cutting and Initial Set
Pass your wire tool under the base while the wheel is spinning slowly. Do not attempt to move the platter yet. Mastery Tip: This break in capillary suction between the clay and the bat allows the piece to shrink inward toward its own center as it dries, rather than being held captive and cracking.
6. Trimming the Foot Ring
Once leather hard, flip the platter and carve a wide, recessed foot ring. Use a sharp loop tool to remove excess mass. Mastery Tip: Reducing the mass in the center ensures that the piece has a uniform thermal gradient. A platter with a thick middle and thin edges will shatter in the kiln because the different zones expand at different rates.
7. The Slow Cure
Place the platter on a flat shelf and cover it loosely with heavy gauge plastic. Flip it every twelve hours to ensure even exposure to the air. Mastery Tip: This manages the evaporative cooling process. If one side cools faster, the resulting internal stress will exceed the tensile strength of the greenware, causing a hairline fracture.
THE TECHNICAL LEDGER
Maintenance & Longevity: To keep your Hand Thrown Serving Platters in peak condition, avoid extreme thermal shock. Never move a platter directly from a cold refrigerator into a hot oven. The coefficient of thermal expansion in ceramics means the material needs time to adjust to temperature shifts. Hand wash with non abrasive sponges to preserve the glaze's vitreous luster.
Material Variations: For a premium feel, use a porcelain translucent body, though be warned; porcelain has high "memory" and will try to warp back to its original shape. For a rustic, sustainable option, incorporate recycled slurry from your splash pan, provided it is sieved to remove large contaminants.
The Correction:
- The S-Crack: If a crack appears in the center, it is usually due to poor compression. Fix this in future builds by using a wooden bat to "hammer" the floor during the throwing stage.
- The Slump: If the rim droops, the clay was too wet. Use a heat gun or blowtorch to stiffen the rim slightly before finishing the pull.
- The Wobble: If the platter is uneven after firing, the kiln shelf was likely unlevel. Always use a bubble level when loading large flatware.
Studio Organization: Store large platters vertically in a "toast rack" style organizer once they are bone dry. Stacking them horizontally before firing can lead to pressure flaking at the edges.
THE FINAL REVEAL
There is nothing quite like the moment you pull a massive, glazed platter from the kiln. The weight is satisfying; a dense, stone like presence that feels permanent. When you run your fingers over the smooth, glass like surface, you can feel the subtle ridges where your hands guided the clay. The colors of the glaze should pool slightly in the center, creating a deep, oceanic effect that will frame a golden roasted turkey beautifully. This is a legacy piece. It is the heavy, reliable anchor of the holiday table that will be passed down through generations, carrying the marks of the maker and the memories of the feast.
STUDIO QUESTIONS
How do I prevent my large platter from warping?
Slow drying is the absolute key. Cover the piece with plastic for at least a week and flip it frequently. Consistent evaporation rates across the entire surface area prevent the internal stresses that lead to warping during the drying and firing stages.
What is the best clay for large serving pieces?
Use a stoneware body with high grog content. The grog provides a structural skeleton that supports the weight of the wet clay during throwing and reduces the overall shrinkage rate, which minimizes the risk of cracking in the kiln.
Can I put hand thrown platters in the dishwasher?
If the piece is fired to full vitrification and the glaze is chemically stable, it is technically dishwasher safe. However, the mechanical vibration and harsh detergents can eventually dull the surface. Hand washing is always recommended for artisanal, oversized ceramic work.
How thick should the base of a turkey platter be?
Aim for a floor thickness of approximately three eighths to one half inch. This provides enough mass to support a heavy bird while allowing the piece to be light enough for an adult to carry comfortably from kitchen to table.

