
Imagine the sensation of cold, vitreous china beneath your fingertips. It is perfectly smooth, yet it possesses a microscopic tooth that waits to grip the pigment. When you handle hand painted porcelain dishes, you are interacting with a material that has been fired at temperatures exceeding 2,300 degrees Fahrenheit, resulting in a zero percent porosity rate. This density is what gives the porcelain its characteristic ring when tapped; it is a high-tensile ceramic that feels delicate but behaves like stone. As we prepare for a tea party, the goal is to marry this industrial strength with the fluid grace of botanical art. You can feel the weight of the blank plate, a balanced disc of kaolin clay that acts as our canvas. We are not just decorating; we are bonding mineral pigments to a glass-like surface. The air in the studio is crisp, and the scent of clove oil used for thinning the paints lingers. Every stroke must be intentional because the surface tension of the glaze will either welcome your brush or repel it based on your prep work.
THE STUDIO KIT
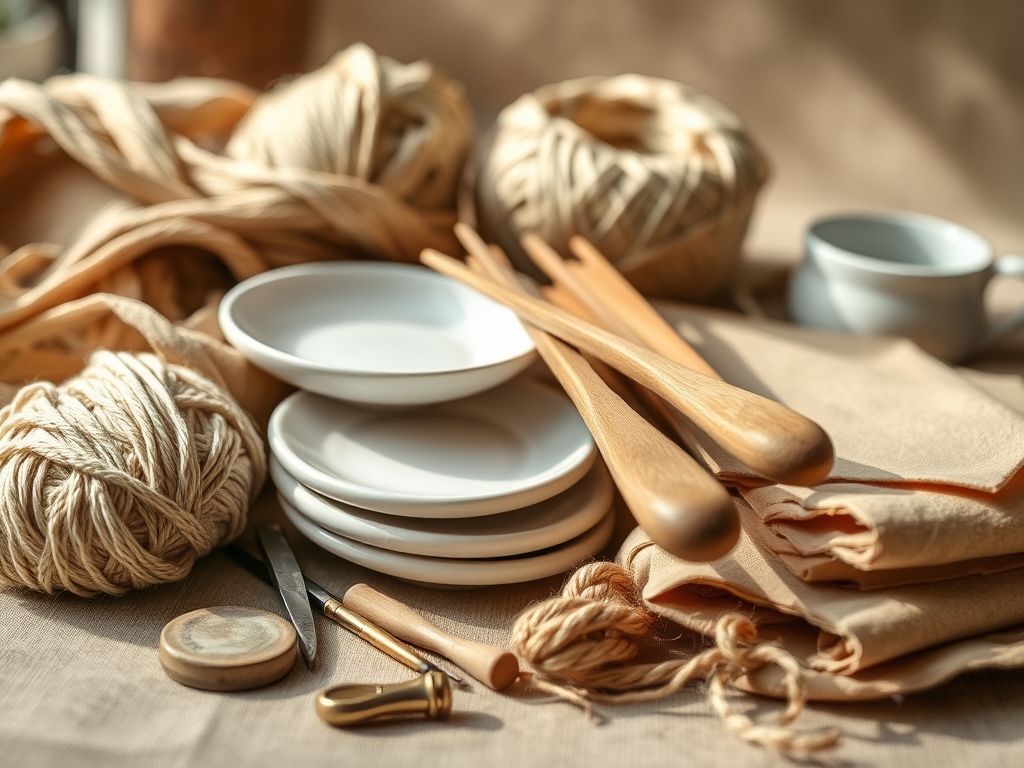
To achieve professional results, you need a kit that respects the chemistry of the medium. Your primary tools are kolinsky sable brushes, specifically liners and rounds, which offer superior snap and paint retention. You will need a set of overglaze paints, which are finely ground metallic oxides mixed with a flux to lower their melting point. A glass palette is essential for mulling your pigments to ensure there are no gritty particles that could cause pitting during the firing process. Use a stainless steel palette knife to blend your medium; usually a mix of fat oil and lavender oil; until it reaches the consistency of heavy cream.
For material substitutions, if you do not have access to a high-fire kiln, you can utilize specialized air-dry porcelain paints or bake-on enamels. While these lack the archival permanence of true overglaze, they offer a similar tactile experience for hobbyists. Always have high-grade isopropyl alcohol on hand to degrease the surface. Even the smallest amount of skin oil will interfere with the capillary action of the paint, leading to uneven coverage or "crawling" where the paint beads up and pulls away from the ceramic body.
THE TEMPO
The "Maker's Rhythm" for porcelain painting is slow and meditative. You cannot rush the drying phases. Expect to spend approximately two hours on the initial design and transfer for a full set of tea dishes. The painting phase is iterative; you will likely apply three to four thin layers, known as washes, rather than one thick coat. Each layer requires a drying period of at least six hours if you are using slow-drying oils. If you are kiln-firing, the "ramp up" and "cool down" period of the kiln adds another twenty-four hours to the cycle. This tempo is dictated by the thermal shock resistance of the porcelain. If you heat or cool the material too quickly, the internal stress will cause a catastrophic fracture. Respecting the clock is just as important as mastering the brush.
THE CORE METHOD
1. Surface Decontamination and Mapping
Before a single drop of paint touches the plate, you must strip the surface of all contaminants. Use a lint-free microfiber cloth soaked in alcohol to wipe the entire surface. Once dry, use a stabilo pencil to lightly map out your floral geometry. This pencil contains a wax-free lead that will burn off completely in the kiln, leaving no residue behind.
Mastery Tip: This step utilizes the principle of surface energy. By removing oils, you increase the surface energy of the glaze, allowing the liquid paint to wet the surface evenly rather than forming droplets.
2. The Base Wash and Petal Blocking
Load your round brush with a diluted mixture of your primary floral color. Start from the center of the flower and pull outward, varying the pressure on the brush. This relies on the ergonomic flick of the wrist to create a tapered edge. Keep the paint thin; if it is too opaque, it will not fuse correctly with the underlying glaze.
Mastery Tip: Observe the viscosity of your medium. If the paint drags, add a drop of lavender oil. The oil acts as a lubricant that reduces friction between the brush bristles and the non-porous porcelain.
3. Defining the Botanical Anatomy
Using a fine liner brush, add the veins, stamens, and sharp edges of the leaves. This is where you create the illusion of depth. Use a darker value of your base color to create shadows. The paint should be slightly thicker here to maintain its crispness against the softer base wash.
Mastery Tip: This relies on pigment suspension. Because porcelain is non-absorbent, the pigment sits on top of the glaze. If you overlap wet layers too quickly, the colors will bleed due to fluid dynamics, so ensure the base is "tacky" but not wet.
4. The Burnished Gold Accents
For a luxury tea party aesthetic, apply liquid bright gold to the rim of the dishes. Use a dedicated brush for this, as gold is a heavy metal suspension that can contaminate your floral pigments. Apply in a single, steady rotation. A turntable or banding wheel is helpful here to maintain a consistent gauge of the line.
Mastery Tip: Gold application involves molecular bonding. During firing, the organic binders burn away, leaving a thin layer of 22kt gold that is chemically fused to the glaze.
5. The Vitrification Fire
Place your hand painted porcelain dishes in the kiln. For overglaze, you are typically firing to "Cone 018," which is roughly 1,300 degrees Fahrenheit. This temperature is high enough to soften the glaze on the plate just enough for the new paint to sink in and become a permanent part of the surface.
Mastery Tip: This is the science of coefficient of thermal expansion. The paint and the porcelain must expand and contract at similar rates, or the decoration will "craze" and develop fine cracks over time.
THE TECHNICAL LEDGER
Maintenance & Longevity: Hand painted porcelain is heirloom quality but requires specific care. Avoid abrasive scrubbers that can scratch the metallic accents. Because of the gold content, these dishes are not microwave-safe; the metal will arc and damage the finish.
Material Variations:
- Sustainable: Use reclaimed vintage porcelain "blanks" to reduce the carbon footprint of new ceramic production.
- Premium: Opt for bone china, which contains bone ash for increased translucency and chip resistance.
The Correction:
- The Smudge: If you blur a line while wet, use a "wipe-out tool" (a rubber-tipped shaper) to lift the paint cleanly without leaving a ghost image.
- The Pinholing: If small holes appear in the paint after firing, it means the paint was applied too thick. Sand lightly with a diamond pad and re-fire.
- The Fading: If colors look dull, they were under-fired. Return them to the kiln for a slightly longer soak at peak temperature.
Studio Organization: Store your unfinished plates in a dust-free cabinet. Dust particles are the enemy of a smooth finish; they will bake into the glaze and create permanent bumps. Use a vertical plate rack to prevent the painted surfaces from touching and scratching each other before they are fired.
THE FINAL REVEAL
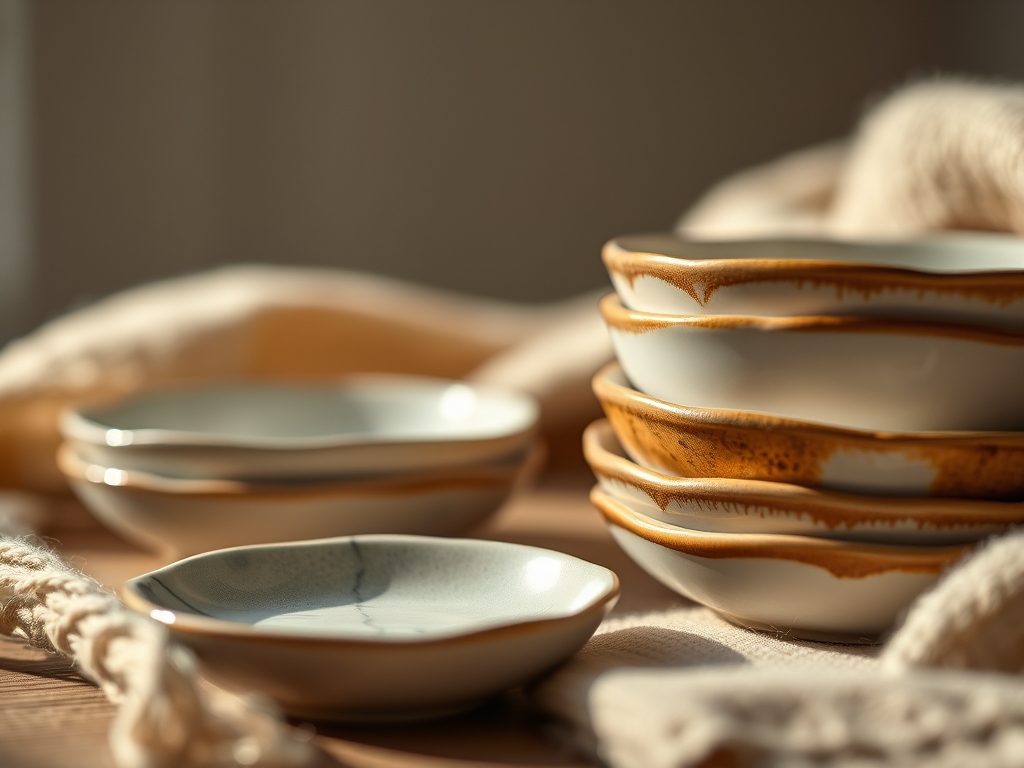
Look at that shimmer! When you hold your finished hand painted porcelain dishes up to the light, the floral patterns should appear to be "inside" the glaze, not just sitting on top. The colors are vibrant, the gold rim catches the afternoon sun, and the entire set feels like a cohesive work of art. There is a profound satisfaction in knowing that these pieces can survive for centuries. Your tea party guests will feel the weight and the quality of the work, noticing how the light dances off the vitreous surface. You have successfully turned a technical ceramic process into a sensory masterpiece.
STUDIO QUESTIONS
Can I use regular acrylic paint on porcelain?
No, acrylics will peel off non-porous surfaces. For hand painted porcelain dishes, you must use specialized ceramic pigments that fuse to the glaze through heat, ensuring the design is food-safe and permanent.
How do I fix a mistake after firing?
Once fired, the paint is permanent. However, you can use a small motorized grinding tool with a diamond bit to carefully buff away a mistake, though this may leave the surface slightly matte and require re-glazing.
Is hand painted porcelain dishwasher safe?
Hand washing is highly recommended. The harsh detergents and high-pressure spray in dishwashers can eventually abrade the delicate overglaze pigments and wear down gold accents through chemical erosion over many cycles.
Why does my gold look brown before firing?
Liquid gold contains organic carriers that appear dark brown or black in its liquid state. The brilliant metallic shine only emerges after the kiln burns off the impurities, leaving pure metal behind.

