
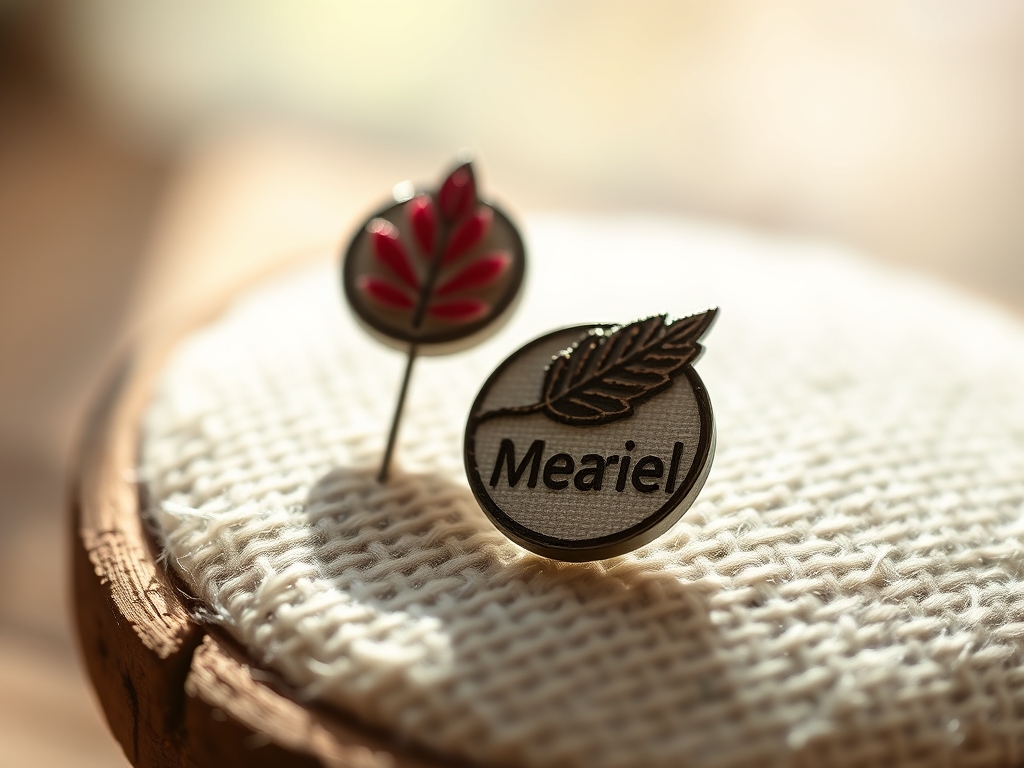
The scent of ozone and starch hits you the second you pick up that heavy denim jacket; it is a canvas of indigo-dyed cotton waiting for a soul. We are not just stitching today; we are engineering miniature masterpieces known as Personalized Embroidered Pins to transform your wardrobe into a walking gallery. Feel the grit of the heavy-duty twill against your fingertips. Notice the high tensile strength of the warp and weft fibers. When you push a needle through, you are overcoming the friction of a dense weave to leave a permanent mark. This is about more than aesthetics; it is about the physics of thread tension and the satisfying "pop" of a sharp needle piercing a taut stabilizer. We are going to craft five iconic motifs: a celestial moth, a retro cassette, a geometric succulent, a flaming heart, and a custom monogram. Grab your coffee and clear your workbench because we are about to marry high-fashion flair with hard-core material science.
THE STUDIO KIT
To build professional-grade Personalized Embroidered Pins, your toolkit must go beyond the basic sewing basket. You need a high-quality embroidery hoop made of polished beechwood to maintain consistent fabric tension. For the base, select a heavy-weight felt or buckram; these materials have a non-fraying edge and high fiber density to support dense stitching without puckering. Your needles should be size 10 embroidery sharps, which feature a slim profile and an elongated eye to accommodate multiple plies of thread.
Speaking of thread, use mercerized cotton or rayon. Mercerization increases the surface area of the fiber, giving it a lustrous sheen and improved dye affinity. You will also need a pair of micro-tip snips for precision trimming and a jewelry-grade adhesive like E6000 to secure the metal pin backs. For "Material Substitutions," if you cannot find buckram, use two layers of stiffened felt bonded with a heat-activated fusible web. This creates a composite material with enough structural integrity to withstand the weight of the metal clutch without sagging.
THE TEMPO
The "Maker's Rhythm" is a balance between frantic creativity and disciplined execution. For a single pin, budget approximately three hours of active studio time. The Initial Mapping phase takes 20 minutes; this is where you trace your motif and calibrate your hoop. The Structural Stitching phase is the longest, requiring 90 to 120 minutes of focused needlework. This is where the density of your satin stitches determines the tactile quality of the finished piece. Finally, the Assembly and Curing phase takes 10 minutes of labor followed by a 24-hour mandatory rest period. This allows the chemical bonds in the adhesive to reach maximum shear strength before you pin it to a heavy denim lapel.
THE CORE METHOD
1. Stabilize the Substrate
Begin by stretching your base material into the hoop. The goal is to achieve a "drum-tight" surface. If the material is too loose, your stitches will pull the fabric inward, causing a concave distortion known as "hoop burn." Use a bone folder to press the fabric edges flat against the inner ring before tightening the screw.
Mastery Tip: This step relies on lateral tension. By distributing the pull evenly across the X and Y axes of the fabric weave, you prevent the needle from snagging on individual threads, ensuring every entry point is precise and repeatable.
2. Mapping the Motif
Transfer your chosen motif—like the geometric succulent or the flaming heart—using a water-soluble marking pen. For complex designs, use a light box to ensure every line is crisp. If you are working on dark felt, a white chalk pencil or silver gel pen provides the necessary contrast.
Mastery Tip: Think about spatial frequency. If your lines are too close together, the thread will overlap and create an unintentional bulk. Keep your design lines at least 1.5mm apart to allow the thread to sit flush against the substrate.
3. The Foundation Stitch
Outline your motif using a split stitch or a stem stitch. This creates a "retaining wall" for your decorative fills. Use a single ply of thread for the outline to keep the silhouette sharp. This boundary acts as a guide for your needle, ensuring the edges of your Personalized Embroidered Pins remain clean and professional.
Mastery Tip: This is about structural integrity. A foundation stitch reinforces the fabric's perimeter, preventing the dense interior stitches from warping the overall shape of the motif as you increase the thread density.
4. Satin Stitch Volumizing
Fill the interior of your motif using the satin stitch. Aim for a 90-degree angle relative to the shape's longest axis. Keep your stitches parallel and pack them tightly enough so no background fabric shows through, but not so tight that they begin to "mountain" or overlap.
Mastery Tip: This technique utilizes capillary action and light reflection. When threads are laid perfectly parallel, they create a smooth, reflective surface that mimics the look of enamel. If the angle shifts, the light hits the fibers differently, ruining the visual uniformity.
5. Edge Finishing and Backing
Once the embroidery is complete, remove the fabric from the hoop. Use curved embroidery scissors to cut around the motif, leaving a 1mm border. Apply a thin bead of fray-check to the edges. Finally, use a jewelry-grade adhesive to bond a metal butterfly clutch to the back of the felt.
Mastery Tip: This involves chemical bonding. Most adhesives require a porous surface to "grip." By lightly scuffing the metal pin back with a fine-grit sandpaper, you increase the surface area, allowing the glue to create a permanent mechanical bond between the metal and the fiber.
THE TECHNICAL LEDGER
Maintenance & Longevity
To keep your pins pristine, avoid machine washing. The tensile strength of the thread can be compromised by the agitation of a wash cycle. If the pin gets dusty, use a soft-bristled makeup brush to gently whisk away debris. For stains, a localized "spot clean" with a damp cotton swab is the only recommended method.
Material Variations
For a "Sustainable" approach, use recycled PET felt made from plastic bottles. It has a higher melting point and a stiffer hand than wool felt. For a "Premium" finish, incorporate metallic bullion wire or silk threads. Silk has a high natural elasticity, allowing for incredibly smooth transitions in color-blended motifs.
The Correction
- The Puckered Edge: If the fabric looks wrinkled, your tension was too high. Fix: Steam the back of the pin lightly and press it under a heavy book for 12 hours to reset the fibers.
- The Loose Thread: A snagged loop can ruin a satin stitch. Fix: Use a snag repair tool to pull the loop through to the back of the pin; never cut it, or the entire row will unravel.
- The Wobbly Backing: If the pin back feels loose, the glue did not cure. Fix: Scrape away the old adhesive with a small awl, degrease the metal with isopropyl alcohol, and re-apply a fresh bead of E6000.
Studio Organization
Store your embroidery floss in polypropylene bobbins to prevent tangling and UV degradation. Keep your finished pins in a shadow box or a felt-lined drawer. Exposure to direct sunlight can cause "photo-degradation," where the UV rays break down the chemical bonds in the dye, leading to fading.
THE FINAL REVEAL
Look at that! You have officially graduated from hobbyist to a stitch-witch engineer. Your denim jacket is no longer just a piece of outerwear; it is a curated collection of Personalized Embroidered Pins that reflect your unique vibe. The way the light catches those satin-stitched moth wings or the crisp lines of your monogram proves that you mastered the physics of the needle. These pins are durable, stylish, and carries the weight of your own handiwork. Go ahead, pin them on, and let the world see the "smart, witty" maker you truly are.
STUDIO QUESTIONS
What is the best fabric for pin embroidery?
Heavy-weight felt or buckram is ideal. These materials offer high fiber density and do not fray, ensuring your Personalized Embroidered Pins maintain their shape and structural integrity even after multiple wears on heavy denim.
How do I prevent my thread from tangling?
Use shorter lengths of thread, approximately 18 inches. You can also run the thread through a beeswax conditioner. This reduces static friction and coats the fibers, preventing the "bird's nest" effect during high-speed stitching.
Can I use a regular sewing needle?
It is not recommended. Embroidery needles have a specialized sharp point and a larger eye designed to pass through fabric without tearing the fibers. A standard needle may cause material fatigue or uneven stitch tension.
How long does the glue take to dry?
While most adhesives feel dry to the touch within an hour, they require a full 24-hour curing period to reach maximum bond strength. Avoid pinning your motif to a jacket until this chemical process is complete.
Why does my satin stitch look bumpy?
Bumps occur when your stitch alignment is not parallel or if you are overlapping the threads. Ensure each entry point is flush with the previous one to maintain a smooth, tactile surface that reflects light evenly.

