
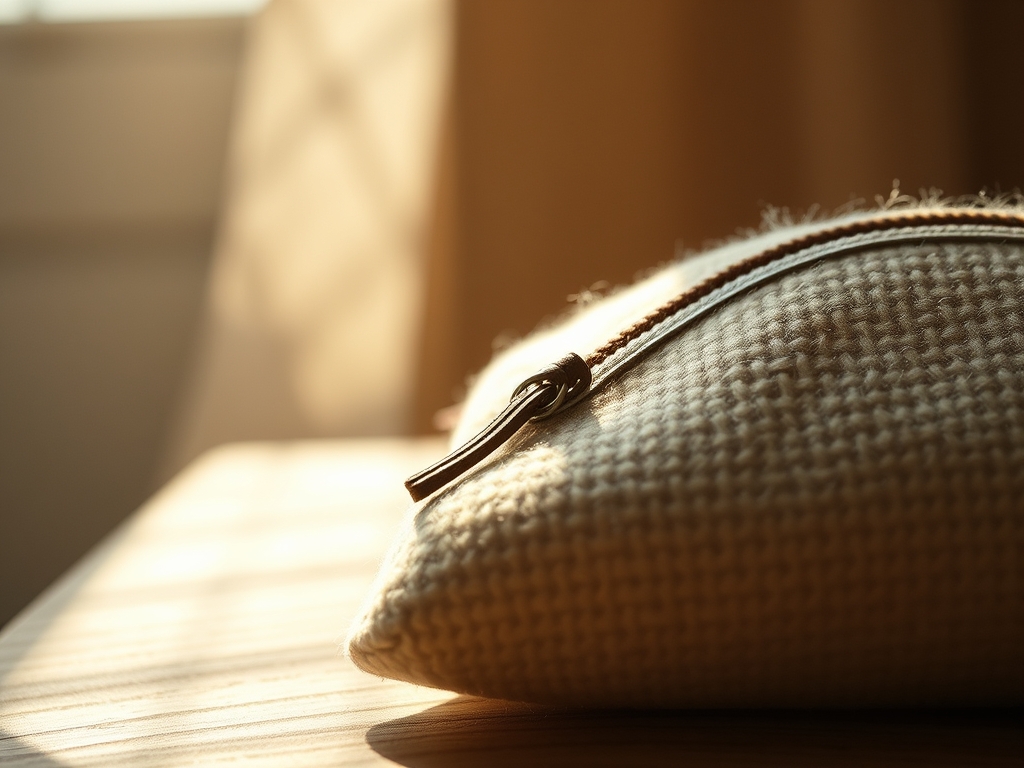
Imagine the scent of freshly tanned leather and the crisp, rhythmic snap of waxed thread pulling through a pre-punched hole. There is a specific kind of magic in creating Hand Stitched Travel Pouches from scratch. It is not just about the storage; it is about the structural integrity of a vessel that protects your most delicate glass vials and palettes. You are essentially building a soft-shell exoskeleton for your vanity. When you hold a piece of high-quality vegetable-tanned hide, you feel the collagen fibers reacting to the heat of your palms. This material is alive, porous, and ready to be molded into something that will last a lifetime. We are moving beyond the flimsy, mass-produced plastic bags of the past. Today, we are diving into the physics of tension and the beauty of the saddle stitch. Grab your coffee, put your hair up, and let us get into the grit of the grain. We are about to turn raw materials into a masterpiece of organization.
THE STUDIO KIT
THE STUDIO KIT
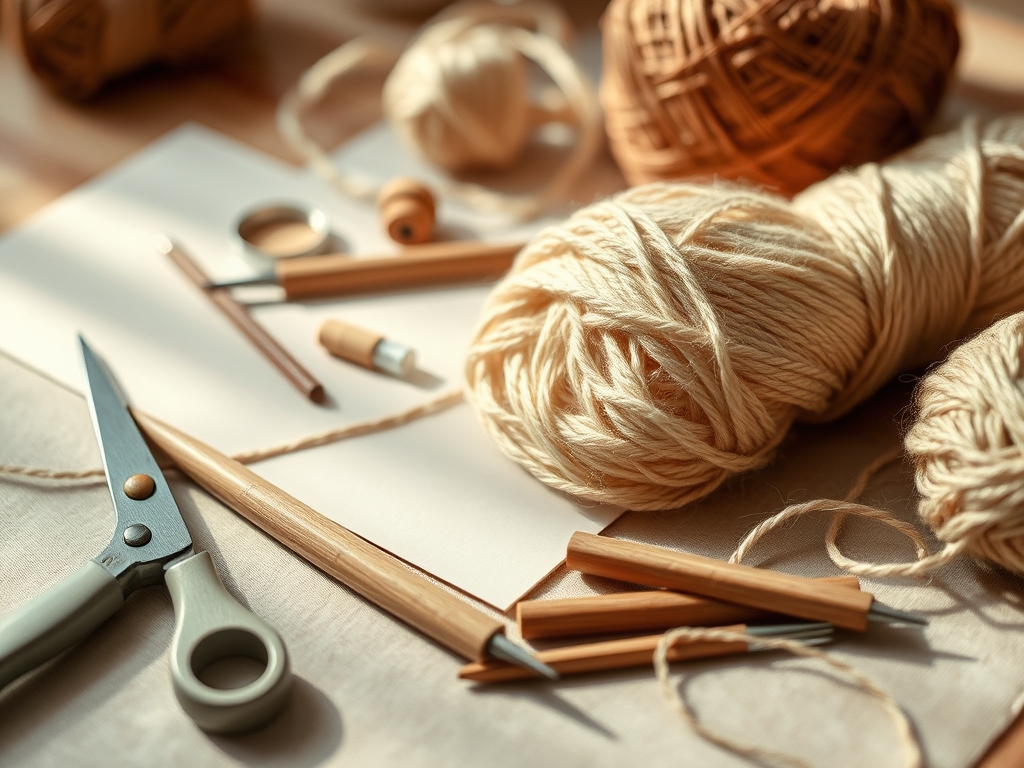
To execute these designs, you need more than just a needle and thread. You need a toolkit that respects the tensile strength of your chosen medium. Your primary tool is the diamond-point awl. Unlike a standard round needle, the diamond shape slices a tiny X into the material, allowing the thread to sit flush without tearing the grain. You will also need calipers for precise edge marking; even a millimeter of deviation can ruin the alignment of a heavy-duty brass zipper. For the thread, look for braided polyester with a high wax content. The wax acts as a lubricant during the stitching process and a sealant once the pouch is in use.
For material substitutions, if you are not using leather, consider heavyweight waxed canvas. It offers a similar structural rigidity but requires a different edge treatment. While leather can be burnished with a wooden slicker to melt the fibers together, canvas requires a bound edge or a French seam to prevent fraying. If you are feeling eco-conscious, cork fabric is a brilliant alternative. It has a high suberin content, making it naturally water-resistant and antimicrobial, which is perfect for a humid bathroom environment. Always keep a bone folder nearby to create crisp, permanent creases in your material before you start the assembly.
THE TEMPO
The "Maker's Rhythm" is a psychological state where your hands move faster than your internal critic. For these Hand Stitched Travel Pouches, expect a total production time of about four to six hours per unit. The first hour is the Architectural Phase. This involves measuring, cutting, and marking your stitch lines. Do not rush this. If your geometry is off by even two degrees, your zipper will ripple like a mountain range.
The next three hours are the Meditative Stitching Phase. This is the core of the project. A standard saddle stitch requires two needles working in opposition through the same hole. It is a slow, rhythmic dance that ensures if one thread snaps, the other remains locked in place. Finally, the Finishing Hour is where you burnish the edges and apply a protective conditioner. This phase is about longevity. You are sealing the pores of the material to ensure it survives spills, luggage tosses, and the general chaos of travel.
THE CORE METHOD
1. Precision Patterning and Cutting
Start by laying your material flat on a self-healing cutting mat. Use a rotary cutter for long, straight lines to ensure a clean edge without the "choppy" look scissors can leave. Your pattern should include a 5mm seam allowance for the zipper tape. Use your calipers to score a light line exactly 4mm from the edge; this is your stitching track.
Mastery Tip: Understand the grain direction. Leather and woven fabrics have a "stretch" axis. Always cut your pouch so the most tension (horizontal across the belly of the pouch) runs against the grain to prevent sagging over time.
2. Punching the Stitching Path
Using a pricking iron and a poly mallet, strike the iron into your scored line. You are not just making holes; you are creating a consistent gauge for your stitches. Each hole must be perpendicular to the surface. If you tilt the iron, the exit hole on the back will be misaligned, leading to a crooked seam.
Mastery Tip: This is about displacement. By using a pricking iron instead of a drill, you are pushing fibers aside rather than removing them. This maintains the material's structural integrity and allows the fibers to "clamp" back down on the thread.
3. Setting the Zipper
Apply a thin layer of contact cement to the zipper tape and the inner edge of the pouch. Wait for it to become "tacky" before pressing them together. This temporary bond holds the zipper in place so it does not shift during the permanent stitching process. Ensure the zipper teeth are centered perfectly within the opening.
Mastery Tip: Use the science of surface tension. The adhesive creates a temporary molecular bond that prevents the fabric from "creeping" under the pressure of the needles, ensuring your zipper remains functional and fluid.
4. The Saddle Stitch Execution
Thread two needles on a single length of waxed cord. Pass the first needle through the first hole until the thread is centered. Then, pass both needles through every subsequent hole from opposite sides. Pull each stitch with equal tension. If one stitch is tighter than the rest, it will create a pucker in the material.
Mastery Tip: This creates a mechanical lock. Unlike a sewing machine's lockstitch, which can unravel if a single loop breaks, the saddle stitch is a series of independent knots that rely on the friction of the wax to stay secure.
5. Edge Burnishing and Sealing
Once stitched, use a beveling tool to round off the sharp edges of the material. Apply a small amount of water or burnishing gum and rub the edge vigorously with a wooden slicker. The heat generated by the friction will melt the fibers together, creating a smooth, plastic-like finish.
Mastery Tip: This is a thermoplastic reaction. You are using kinetic energy to reorganize the protein fibers of the leather into a dense, hydrophobic barrier that prevents moisture from delaminating the edges.
THE TECHNICAL LEDGER
Maintenance & Longevity
To keep your Hand Stitched Travel Pouches in peak condition, apply a lanolin-based conditioner every six months. This keeps the fibers supple and prevents the "cracking" that occurs when the natural oils evaporate. Avoid silicone-based sprays, as they clog the pores and prevent the material from breathing.
Material Variations
For a premium version, use Shell Cordovan; it is the most durable leather in the world due to its dense fiber structure. For a sustainable twist, try Pinatex, a leather alternative made from pineapple leaf fibers. It has a fascinating tactile texture and a high resistance to abrasion.
The Correction
- The Wonky Stitch: If your stitches look uneven, you likely switched the order of your needles. Always pass the left needle through first, then the right.
- The Sticky Zipper: If the zipper catches, rub a bit of beeswax or a graphite pencil along the teeth to reduce friction.
- The Edge Fray: If your edges are fuzzy, you did not sand them enough before burnishing. Use 400-grit sandpaper to smooth the surface before applying heat.
Studio Organization
Store your leather hides rolled, never folded, to prevent permanent creasing. Keep your needles in a magnetic tray and store your waxed thread in airtight containers to prevent the wax from drying out and becoming brittle.
THE FINAL REVEAL
Look at that! You have successfully navigated the complex physics of Hand Stitched Travel Pouches. Your finished piece should feel substantial in your hand; a perfect marriage of utility and aesthetic. The seams are straight, the edges are glassy, and that zipper glides like a dream. This is not just a bag; it is a testament to your precision and patience. Whether you are packing it with expensive serums or your favorite brushes, you can travel with the confidence that your gear is encased in a handmade vault. You have mastered the tension, the grain, and the tools. Go ahead, give it a toss; it can handle it.
STUDIO QUESTIONS
What is the best thread for hand stitching?
Braided waxed polyester is superior due to its high tensile strength and rot resistance. The wax coating acts as a lubricant and a sealant, ensuring the thread stays locked within the material grain over years of travel use.
Can I make these pouches without an awl?
While possible with a heavy needle, a diamond-point awl is essential for clean results. It slices the fibers rather than punching a hole, which maintains the structural integrity of the material and prevents the seam from stretching or warping.
How do I fix a mistake in my stitching?
Use a seam ripper or a sharp hobby knife to carefully cut the thread without nicking the material. Since the saddle stitch is a series of independent loops, you must unpick the entire line to maintain consistent tension when restarting.
Why is my leather edge not getting shiny?
You need more friction. Ensure the edge is slightly damp and use a wooden burnisher at a high speed. The heat is what melts the fibers together; if the edge stays dull, you likely need to sand it smoother first.
Is waxed canvas as durable as leather?
Waxed canvas offers excellent hydrophobic properties and durability, but it lacks the puncture resistance of leather. It is a fantastic lightweight alternative for travel pouches, though it requires occasional re-waxing to maintain its protective barrier against moisture.

