
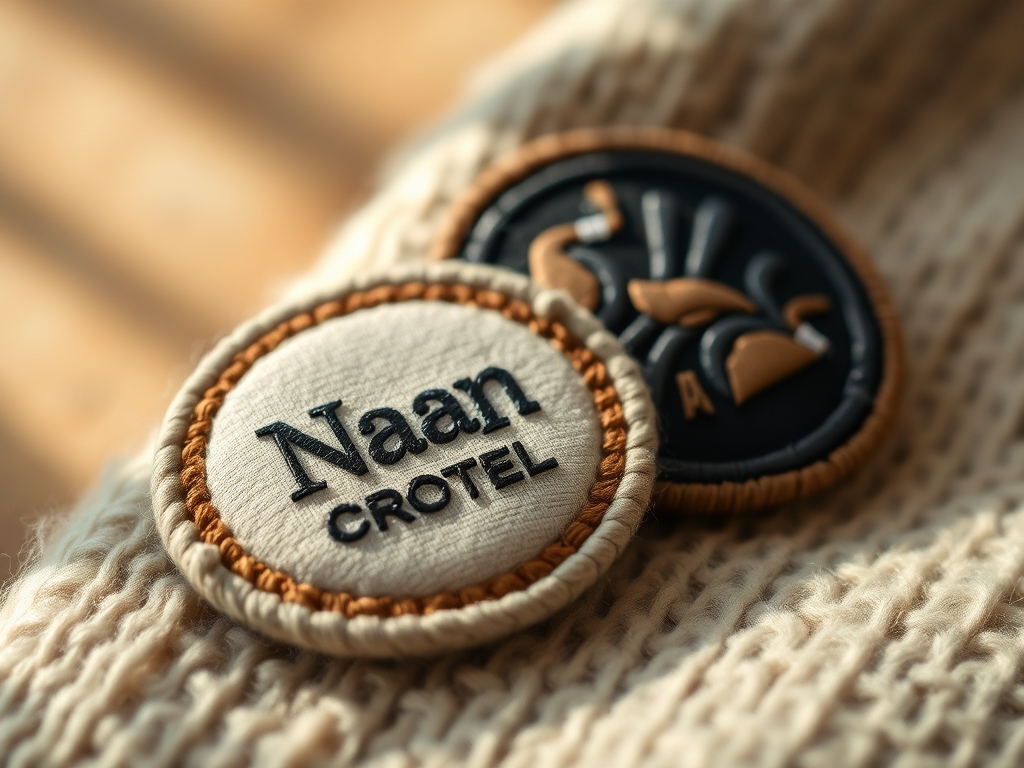
Imagine the smell of scorched polyester and the tactile resistance of heavy weight canvas under your fingertips. There is a specific, high stakes thrill in watching a needle pierce through layered fabric at a thousand stitches per minute. We are not just making accessories; we are engineering small scale textile monuments for your gear. When you start working with Personalized Embroidered Patches, you are engaging with a medium that demands respect for grain direction and thread tension. It is the ultimate way to take a standard, mass produced backpack and turn it into a curated gallery of your own history. You can feel the density of the stabilizer beneath the twill, providing the structural integrity required to survive years of friction against subway seats and airport floors. This is where the physics of friction meets the artistry of the retro aesthetic. We are diving deep into the mechanics of thread count and needle gauge to ensure your designs do not just look vintage; they feel like heirlooms.
THE STUDIO KIT
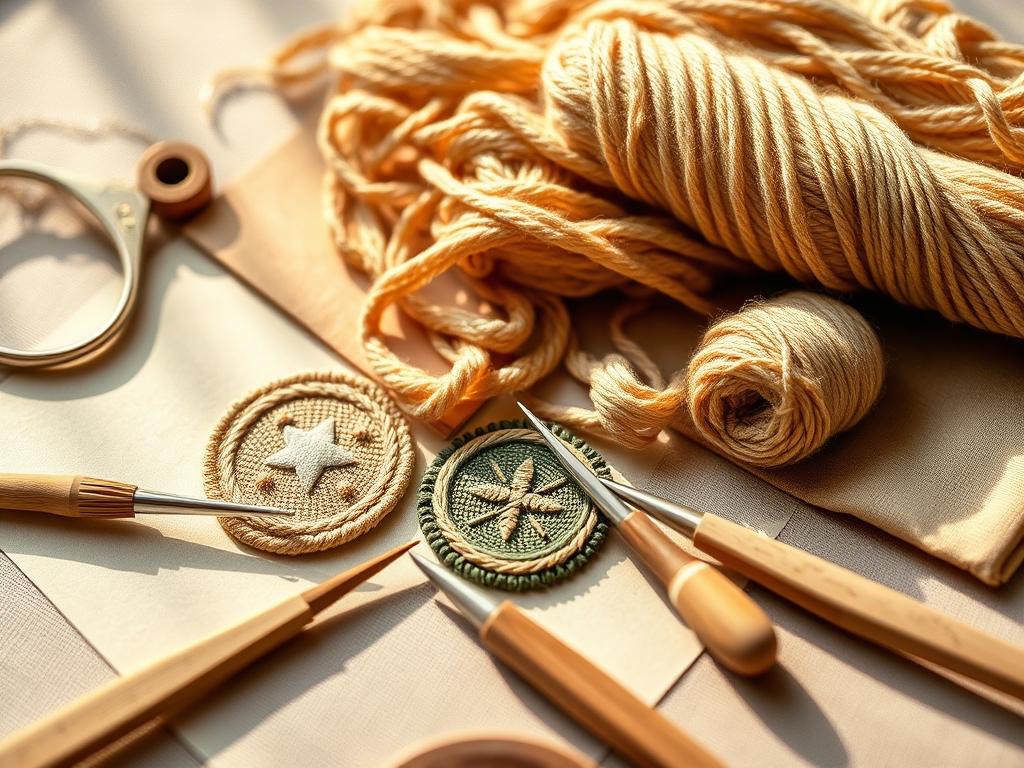
THE STUDIO KIT
To execute these retro styles with precision, your workstation must be calibrated for consistency. You will need a high speed embroidery machine or a steady hand equipped with a size 90/14 titanium needle. Titanium needles are essential because they dissipate heat more efficiently than chrome, preventing the adhesive backing from gumming up the eye during high friction runs. Your primary substrate should be a heavyweight polyester twill with a high diagonal rib density; this provides the necessary tensile strength to support dense fill stitches without puckering.
For the thread, opt for 40 weight trilobal polyester. Unlike rayon, polyester is bleach resistant and has a higher breaking point, which is crucial for items like backpacks that face constant UV exposure and mechanical stress. You will also need tear away stabilizer for light designs and cut away stabilizer for high density fills. If you are looking for material substitutions, you can swap traditional twill for 1000D Cordura for a rugged, tactical feel, or use vegan leather if you want to experiment with non porous surfaces. Always keep a pair of curved embroidery snips and a precision awl nearby to clear stray fibers or guide the fabric through tight corners.
THE TEMPO
The Maker's Rhythm is a three phase cycle: The Digitizing Sprint, The Stitching Marathon, and The Finishing Burnish. For a standard four inch patch, expect to spend 45 minutes in the digitizing phase. This is where you map out the pathing and ensure the underlay stitches provide a solid foundation. The actual machine time usually clocks in at 20 to 30 minutes depending on the stitch count. Finally, the finishing phase takes about 15 minutes per patch. This is the meditative part where you trim the jump threads and heat seal the edges. Total production time per unit is roughly 90 minutes. Do not rush the cooling period after heat pressing; the adhesive needs to undergo a full molecular cross linking process to ensure a permanent bond to the backpack substrate.
THE CORE METHOD
1. The Vector Blueprint
Start by converting your retro artwork into a vector file. Pay close attention to the line weight; anything thinner than 1mm will vanish once translated into thread. When digitizing Personalized Embroidered Patches, you must account for push and pull compensation. Because thread is flexible, it will pull the fabric inward along the stitch direction and push it outward at the ends.
Mastery Tip: Understand the coefficient of friction. If your fabric is too slick, your registration will shift. Use a temporary spray adhesive to bond the fabric to the stabilizer, creating a composite material that resists lateral movement during the rapid needle strikes.
2. Hooping and Tensioning
Place your stabilizer and twill into the hoop. It must be "drum tight." If you flick the surface and it does not resonate like a percussion instrument, your tension is too low. Uneven tension leads to bird nesting, where the bobbin thread bunches into a chaotic mass beneath the needle plate.
Mastery Tip: This is about hoop shear. Use a torque wrench style tightening if your hoop allows it to ensure uniform pressure across all four quadrants. This prevents the fabric from creeping toward the center as the needle density increases.
3. The Underlay Foundation
Never start with your top decorative stitch. You must lay down an underlay of contour and zigzag stitches. This acts like the rebar in concrete, stabilizing the fabric and lifting the top stitches so they do not sink into the nap of the material.
Mastery Tip: Utilize capillary action logic. By creating a lofted base, you ensure that the top thread sits on a bed of air and thread, which enhances light reflection and gives that iconic 1970s raised texture.
4. Executing the Satin Border
The merrowed edge or satin border is what defines a professional patch. Set your stitch width to at least 3mm. This border encapsulates the raw edges of the fabric, preventing fraying and providing a clean mechanical break between the patch and the backpack.
Mastery Tip: Focus on structural integrity. A dense satin stitch creates a rigid perimeter that prevents the patch from curling over time. The high density of the threads creates a "girdle" effect that maintains the patch's planar geometry.
5. Heat Seal Application
Apply a layer of polyamide or polyurethane film to the back of the finished embroidery. Use a heat press set to 320 degrees Fahrenheit with medium pressure for 15 seconds. This melts the film into the fibers of the patch and the backpack.
Mastery Tip: This is a thermoplastic bond. The heat lowers the viscosity of the adhesive, allowing it to flow into the porous weave of the backpack. Once it cools, it creates a mechanical lock that is nearly impossible to break without damaging the base material.
THE TECHNICAL LEDGER
Maintenance & Longevity: To keep your patches pristine, avoid high heat dryers which can cause the polyester threads to lose their crystalline structure and become brittle. If the patch edges begin to lift, a quick hit with a bone folder and a localized heat source can reactivate the adhesive.
Material Variations: For a 1950s varsity look, use wool felt as your base. It has a high loft but low tensile strength, so always use a heavy cut away stabilizer. For a 90s neon aesthetic, use fluorescent trilobal threads which have a unique cross section designed to bounce light at extreme angles.
The Correction:
- Puckering: Caused by excessive thread tension. Fix by loosening the upper tension dial by half a turn.
- Gapping: Visible fabric between stitch blocks. Fix by increasing your overlap settings in the digitizing software.
- Thread Breaks: Often caused by a burr on the needle or hook. Replace the needle and use a fine grit emery cloth to smooth the bobbin case.
Studio Organization: Store your thread cones in a UV protected, climate controlled cabinet. Humidity can swell natural fibers, while UV light degrades the polymer chains in synthetic threads, leading to premature snapping during high speed production.
THE FINAL REVEAL
The transformation is complete. You have successfully navigated the physics of tension and the chemistry of adhesives to create something truly iconic. When you slap those Personalized Embroidered Patches onto your backpack, you are not just adding decoration; you are adding a layer of engineered art. The way the light hits the satin borders and the rugged texture of the twill creates a visual depth that no screen print could ever replicate. Your gear now carries a weight of intentionality. It is loud, it is retro, and it is technically flawless. Go ahead, run your hand over the surface; that tactile ridge is the mark of a master maker.
STUDIO QUESTIONS
How do I prevent my patches from fraying?
Apply a dense satin stitch border around the perimeter. This encapsulates the raw fabric edges. For extra security, use a soldering iron or a specialized heat tool to lightly cauterize the polyester fibers along the cut line after stitching.
What is the best stabilizer for heavy backpacks?
Use a heavyweight cut away stabilizer. Unlike tear away, cut away remains behind the embroidery permanently. This provides the necessary structural support to prevent the design from distorting when the backpack is loaded with heavy items or stretched.
Can I make patches without an embroidery machine?
Yes, you can use a free motion quilting foot on a standard sewing machine. This requires manual control of the fabric "hoop" to draw the design. It takes significant practice to maintain consistent stitch length and density without computer automation.
Why is my thread constantly snapping?
Check for heat friction or a damaged needle. High speed stitching creates immense heat at the needle eye, which can melt synthetic thread. Switching to a titanium coated needle or reducing the machine speed usually resolves this mechanical failure.
How do I clean a backpack with patches?
Spot clean with a damp cloth and mild detergent. Avoid harsh chemicals that can break down the adhesive bond or the thread's colorfastness. If machine washing is necessary, use a cold cycle and always air dry to protect the thermoplastic seals.

