
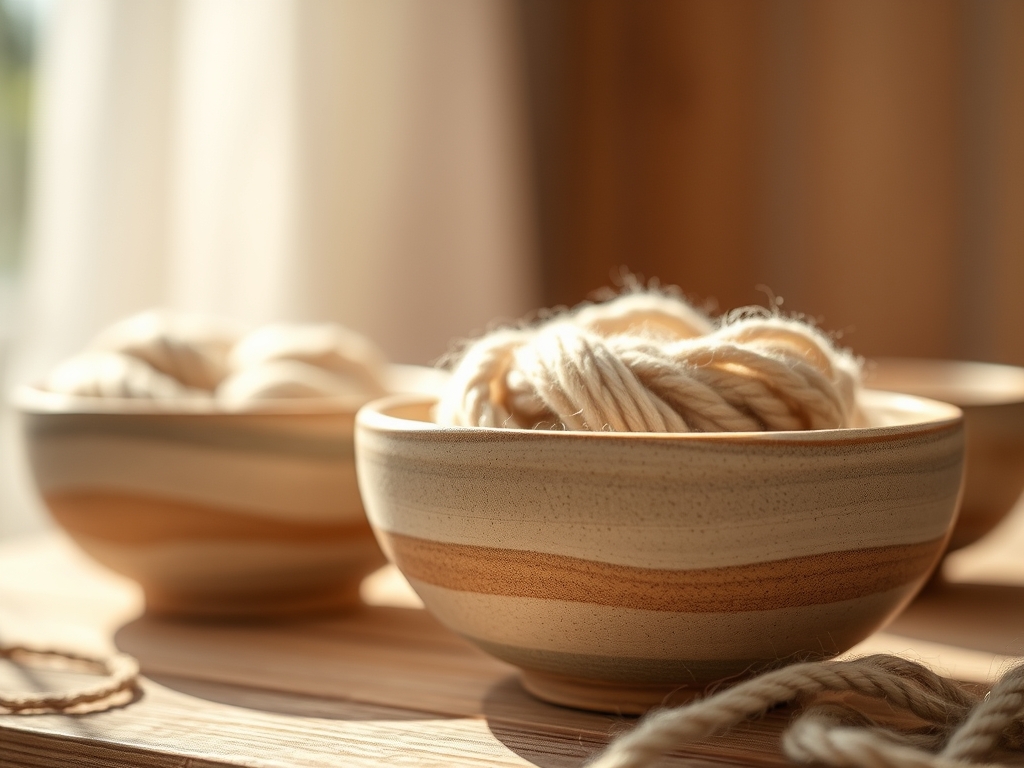
Imagine the cool, damp weight of stoneware clay pressing against your palms as the wheel begins its rhythmic hum. There is a specific magic in transforming a chaotic lump of earth into something functional; specifically, crafting Hand Thrown Yarn Bowls that anchor your knitting projects with elegance and weight. You feel the grit of the silica against your skin while the centrifugal force pulls the clay outward. It is a delicate dance between your muscular control and the material's inherent desire to collapse. When you are deep in the "maker's flow," the tension of the yarn becomes an extension of the bowl's curvature. We are not just making a container here; we are engineered a friction-controlled environment for your most precious hand-dyed fibers. Every millimeter of the rim's thickness dictates how the wool will glide, ensuring that your tension remains consistent from the first cast-on to the final bind-off.
THE STUDIO KIT
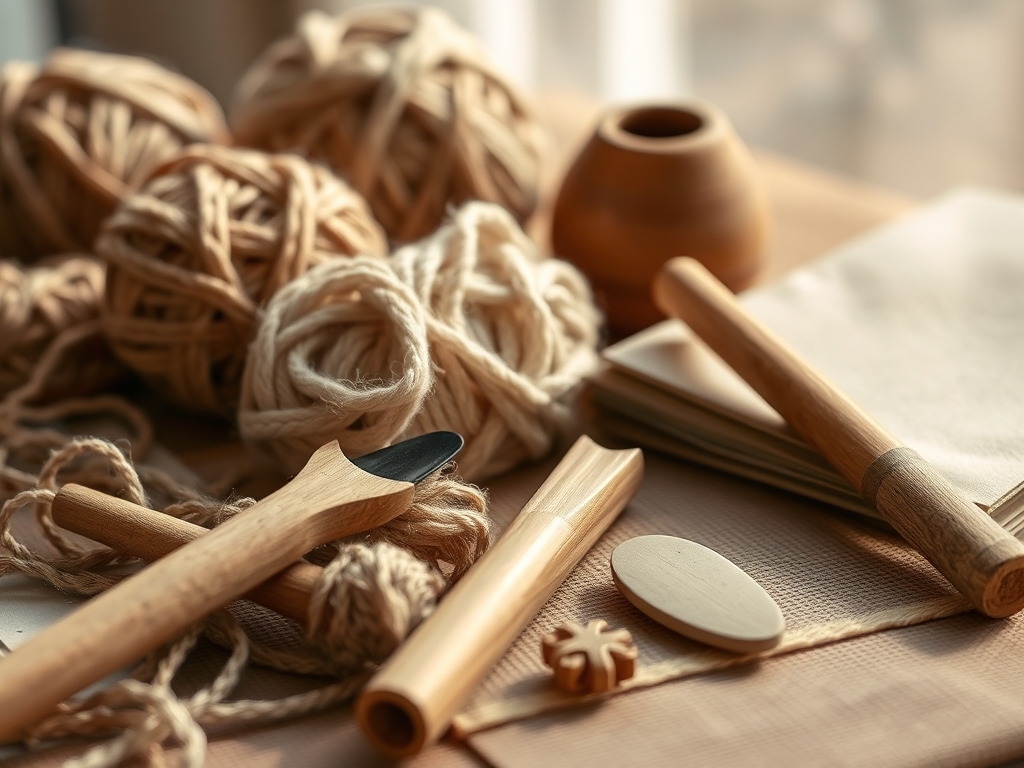
To execute these slots with precision, you need a toolkit that respects the structural integrity of the greenware. Your primary instrument is a needle tool for initial mapping, followed by a high-carbon steel ribbon tool for carving the actual channels. I always keep calipers nearby to ensure the wall thickness is uniform; if the walls are too thin, the slot becomes a structural weak point that will crack during the firing process. You will also need a chamois cloth for burnishing the edges of the cutouts to prevent snagging.
For materials, a high-fire stoneware with a fine grog content is ideal because it offers the necessary "tooth" to hold its shape during the carving phase. If you are looking for Material Substitutions, you can use a porcelain-stoneware blend for a smoother finish, though it is more prone to warping. If you lack a professional pottery wheel, a heavy-duty banding wheel can work for hand-building, but you will sacrifice the perfect concentricity found in truly hand-thrown pieces.
THE TEMPO
The "Maker's Rhythm" is governed by the evaporation rate of water within the clay body. You cannot rush a masterpiece. The initial throwing phase takes about 20 to 30 minutes per bowl. However, the critical window for carving the slots occurs during the leather-hard stage, which usually happens 12 to 24 hours after throwing, depending on your studio's humidity levels.
Once the slots are carved, the drying process must be slowed down. I call this the "Patience Phase." You must wrap the bowls in thin plastic for at least three days to ensure the moisture leaves the rim and the base at the same rate. Total production time, including the bisque fire and the final glaze fire, typically spans 10 to 14 days. This tempo ensures the molecular bonds in the clay vitrify correctly without thermal shock.
THE CORE METHOD
1. The Centered Foundation
Start by slamming your clay onto the bat with intention. Use your palm to drive the clay toward the center until it stops wobbling. This is where centripetal force meets your physical resistance. Once the clay is centered, open the floor of the bowl, leaving at least half an inch of thickness at the bottom to provide a low center of gravity.
Mastery Tip: The physics of stability relies on a wide base. A bowl that is too top-heavy will tip over when you pull on a heavy worsted weight yarn. Aim for a "weighted bottom" geometry to counteract the lateral pull of the knitting process.
2. Pulling the Walls
Using your fingers as a guide, pull the walls upward in a steady, slow motion. Keep your hands locked together to maintain a consistent gauge of thickness. You want the walls to be roughly 1/4 inch thick. This thickness provides enough "meat" for us to carve deep, decorative slots without compromising the bowl's ability to survive a 2200-degree kiln.
Mastery Tip: Pay attention to the tensile strength of the rim. As you pull, the clay particles align. Compressing the rim with a damp sponge at the end of every pull prevents "S-cracks" from forming during the drying stage.
3. Mapping the Eight Clever Slots
Once the bowl is leather-hard, use your needle tool to lightly sketch eight different slot designs. These can range from a classic "J" hook to a "Spiral" or even a "Keyhole." Observe the alignment in the step-by-step photos below to ensure your spacing is symmetrical. Symmetry is not just for aesthetics; it balances the weight of the bowl.
Mastery Tip: Use a flexible ruler to mark the start and end points of each slot. This ensures that the yarn has a clear, unobstructed path of travel, reducing the coefficient of friction as the fiber moves through the ceramic channel.
4. The Precision Carve
Take your ribbon tool and begin removing clay in small, deliberate layers. Do not try to cut through the entire wall in one pass. Instead, shave the clay away. This prevents the wall from deforming under the pressure of the tool. For a "Hand Thrown Yarn Bowl," the slot must be wide enough to accommodate bulky weight yarn but narrow enough to keep the yarn from jumping out.
Mastery Tip: This is all about capillary action and moisture control. If the clay is too dry, it will chip. If it is too wet, it will "slump." Aim for the texture of hard cheddar cheese for the cleanest, most professional cuts.
5. Burnishing the Channels
After the slots are carved, use a damp chamois or a smooth bone folder to rub the interior edges of the cuts. This process, called burnishing, compresses the clay particles and creates a glass-like smoothness. This is the most important step for a knitter; any tiny burr or grain of sand will snag delicate silk or mohair fibers.
Mastery Tip: The science of surface tension applies here. A perfectly smooth, burnished edge allows the yarn to glide with zero resistance, which is essential for maintaining an even stitch definition in your knitting.
THE TECHNICAL LEDGER
Maintenance & Longevity
To keep your yarn bowl in peak condition, avoid rapid temperature changes. Stoneware is porous until it is fully vitrified, so ensure your glaze covers every inch of the carved slots. Wipe the bowl with a microfiber cloth periodically to remove any "lanolin buildup" from the wool that might dull the glaze over time.
The Correction: Common Pitfalls
- The Jagged Edge: If your slot snags yarn, use a fine-grit diamond sanding pad after the bisque fire to smooth the channel before glazing.
- The Stress Crack: If a crack appears at the base of your slot, it is likely due to uneven drying. Use "paper clay" (a mix of clay slip and toilet paper fibers) to fill the gap before the final fire.
- The Tip-Over: If the bowl moves when you pull the yarn, the base is too light. You can fix this by adding a silicone ring to the bottom of the finished piece to increase lateral friction.
Studio Organization
Store your greenware in a "damp box" (a plastic bin with a layer of wet plaster at the bottom) if you need to step away from the project. This maintains a consistent hydrostatic environment, preventing the slots from drying faster than the body of the bowl.
THE FINAL REVEAL
There is nothing quite like the feeling of pulling a finished Hand Thrown Yarn Bowl out of the kiln. The way the light catches the glaze inside the spiral slot is pure magic. When you thread your yarn through that custom-carved channel, you will feel the weight and the "thud" of quality. It is a tool that elevates the craft of knitting into a high-art experience. Your yarn will never roll under the sofa again; instead, it will spin gracefully in a vessel designed specifically for its journey.
STUDIO QUESTIONS
Why do my yarn bowl slots keep cracking?
Cracking usually occurs due to uneven drying stress. Ensure you wrap the bowl in plastic to slow down evaporation. This allows the moisture levels in the thin edges of the slot to equilibrate with the thicker base of the bowl.
What is the best glaze for a yarn bowl?
A high-gloss fritted glaze is superior because it minimizes friction. Avoid matte or "crackle" glazes inside the slots, as these textures can create microscopic hooks that snag delicate single-ply or lace-weight yarns during use.
How wide should I carve the yarn slot?
For maximum versatility, aim for a width of 6 to 8 millimeters. This diameter is sufficient for bulky yarns while remaining narrow enough to prevent thinner fingering-weight yarns from slipping out of the guide during vigorous knitting sessions.
Can I make a yarn bowl without a wheel?
Yes, you can use coil-building or slab-construction techniques. However, you must manually burnish the interior walls to ensure they are perfectly spherical. Without the centrifugal force of a wheel, achieving a smooth yarn glide requires more manual finishing.

