
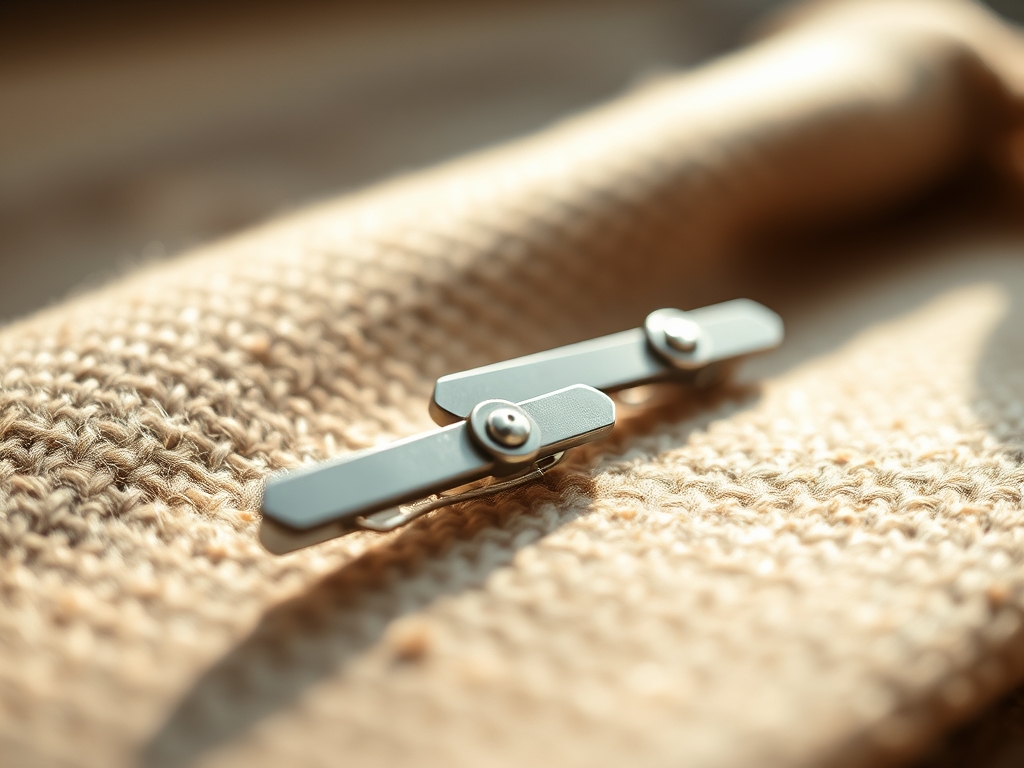
Imagine the sharp, metallic snap of a spring-loaded jaw meeting a crisp silk weave. There is a specific kind of magic in the weight of precious metal against your palm; it is cold, dense, and unapologetically honest. When we talk about Custom Silver Tie Clips, we are not just discussing a bit of office flair. We are diving into the physics of tension and the gorgeous chemistry of sterling alloys. You can feel the grain of the metal as you polish it, a tactile sensation that tells you exactly how much pressure the silver can take before it reaches its elastic limit. We are going to craft five sleek designs that turn a standard suit into a masterclass in personal branding. From hammer-textured surfaces that catch the candlelight at a gala to minimalist bars with a mirror finish so deep you could lose yourself in it, these pieces are about structural integrity and high-end aesthetics. Grab your apron and clear the workbench. We are about to turn raw silver stock into a legacy.
THE STUDIO KIT
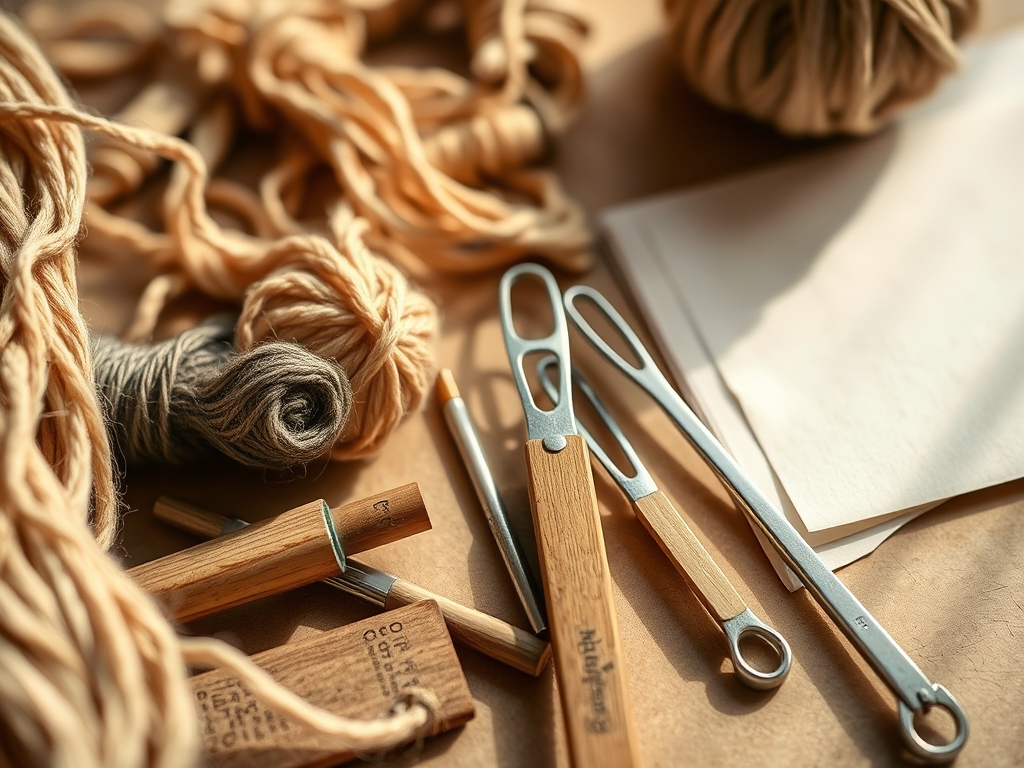
To master Custom Silver Tie Clips, you need more than just a pair of pliers. We are working with 925 Sterling Silver, which is an alloy of 92.5 percent silver and 7.5 percent copper. This specific ratio provides the perfect balance between the brilliance of silver and the tensile strength provided by the copper. You will need a jewelers saw with 4/0 blades for intricate cuts; these blades are so fine they feel like a hair, yet they bite through metal with aggressive precision. A bench block made of hardened steel is essential for any forging work, providing a rebound surface that ensures your hammer strikes are efficient.
For measurements, leave the ruler in the drawer and reach for your digital calipers. We are working in increments of 0.01 millimeters because in the world of men's accessories, a fraction of a millimeter is the difference between "sleek" and "clunky." You will also need a handheld butane torch for annealing, which is the process of heating the metal to a dull cherry red to reset its molecular structure, making it soft enough to bend without snapping.
Material Substitutions: If sterling silver is out of your current budget, nickel silver is a fantastic alternative for practicing. It contains no actual silver but mimics the color and hardness beautifully. For a more modern, industrial look, you can use 316L stainless steel, though be warned: its Mohs hardness scale rating is significantly higher, meaning it will eat your saw blades for breakfast.
THE TEMPO
The "Maker's Rhythm" is a state of flow where the tool becomes an extension of your hand. For a single tie clip, expect to spend about three to four hours from raw sheet to final polish. The Initial Layout takes roughly 20 minutes; this is where you map out your dimensions on the metal using a layout fluid like Dykem. The Cutting and Shaping phase is the most labor-intensive, requiring about 60 minutes of focused sawing and filing.
Annealing and Bending take another 30 minutes, including the cooling and pickling time to remove oxidation. The Finishing and Polishing phase is where the piece truly comes alive, often taking 45 minutes of progressive sanding from 400 grit up to 3000 grit. Finally, the Quality Control check ensures the tension of the clip is perfect. Do not rush the cooling process. Letting the metal reach room temperature naturally prevents internal stresses that could lead to cracking later.
THE CORE METHOD
1. Mapping the Gauge
Before the first cut, we must determine the gauge of the silver sheet. For a clip that holds its shape, 18-gauge (1.02mm) is the sweet spot. Use a scribe to mark your lines directly onto the metal surface. This creates a physical groove that guides the saw blade, preventing it from skidding across the polished surface.
Mastery Tip: This is all about linear precision. If your lines are off by even half a degree, the clip will sit crooked on the tie. Use a machinist square to ensure every corner is a perfect 90-degree angle.
2. The Precision Cut
Secure your silver sheet to a bench pin, which is a V-shaped wooden block that supports the metal while you saw. Hold the jewelers saw vertically and use long, fluid strokes. Let the teeth of the blade do the work; if you push too hard, you will snap the thin wire blade.
Mastery Tip: Apply a bit of beeswax to your saw blade. This acts as a lubricant, reducing friction and heat buildup. This prevents the metal from expanding slightly during the cut, which preserves your dimensional accuracy.
3. Annealing for Ductility
Silver becomes "work-hardened" as you manipulate it. To bend the clip into its final U-shape, you must anneal it. Move your torch flame in a circular motion until the silver glows a faint pink. Immediately drop it into a "pickle" solution (a mild acid) to strip away the firescale.
Mastery Tip: This process rearranges the crystalline lattice of the metal. By heating it, you allow the atoms to move into a more relaxed state, which increases the material's ductility and prevents it from snapping during the fold.
4. Forging the Tension
Once the metal is soft, use a nylon mallet and a mandrel to fold the clip. The nylon mallet is crucial because it moves the metal without leaving unsightly marks or "planishing" the surface. The fold must be tight enough to provide a "spring" effect.
Mastery Tip: This is an exercise in mechanical tension. The curve of the bend acts as a leaf spring. If the radius of the bend is too wide, the clip will slide off the tie. If it is too tight, it will damage the fabric.
5. The High-Luster Burnish
Starting with a medium-grade file, smooth the edges until they are perfectly flush. Move through your sandpaper grits, always sanding in one direction. Finish with a buffing compound like rouge on a rotary tool to achieve that signature silver glow.
Mastery Tip: We are utilizing abrasive friction to remove microscopic peaks and valleys on the metal surface. As the surface becomes flatter, it reflects light more uniformly, creating the optical illusion of a "liquid" metal finish.
THE TECHNICAL LEDGER
Maintenance & Longevity: Silver reacts with sulfur in the air to create tarnish (silver sulfide). To keep your clips pristine, store them in airtight bags with anti-tarnish strips. For cleaning, avoid aggressive dipping chemicals; a simple microfiber cloth and a bit of specialized polishing cream will preserve the metal's patina without stripping away the surface.
Material Variations: For a sustainable twist, use Refined Eco-Silver, which is sourced from recycled medical and industrial scrap. It has the exact same chemical properties as mined silver but with a much lower environmental footprint. For a premium upgrade, consider Argentium Silver, which replaces some copper with germanium, making it highly resistant to tarnish.
The Correction:
- The Gap: If the clip is too loose, do not just squeeze it. Re-anneal the bend and use a pair of parallel-jaw pliers to reset the tension.
- Firescale: If dark spots appear after polishing, you did not sand deep enough. You must remove the oxidized layer completely before the final buff.
- Rough Edges: If the clip snags the tie, use a burnishing tool (a smooth piece of steel) to "roll" the edges of the silver, making them silky smooth.
Studio Organization: Metal dust (lemel) is valuable. Use a "catch tray" under your bench pin to collect every filing. Store your silver sheets vertically in a slotted organizer to prevent surface scratches that would require hours of extra sanding to remove.
THE FINAL REVEAL
There it is. You have just transformed a flat, lifeless piece of industrial alloy into a stunning piece of wearable architecture. These Custom Silver Tie Clips are more than just accessories; they are a testament to your precision and your understanding of how materials behave under pressure. When you slide that clip onto a tie, feel that perfect resistance. That is not just luck; that is physics. You have created something that is both functional and beautiful, a piece that will catch the light and start conversations for decades to come.
STUDIO QUESTIONS
How do I prevent my silver from tarnishing quickly?
Store your clips in a cool, dry place inside a tarnish-resistant pouch. Avoid contact with cologne, hairspray, or humidity, as these accelerate the chemical reaction between the silver and atmospheric sulfur.
What is the best thickness for a tie clip?
An 18-gauge or 20-gauge sheet is ideal. It provides enough structural mass to feel premium and maintain spring tension without being so thick that it looks bulky or weighs down the tie fabric.
Can I engrave silver tie clips at home?
Yes, using a hardened steel scribe or a diamond-tipped rotary bit. Ensure the metal is secured in a bench vise to prevent slipping, which could cause permanent aesthetic damage to the polished surface.
Why did my silver crack when I bent it?
The metal likely became work-hardened. If you manipulate silver too much without annealing it, the molecular structure becomes brittle. Always heat the metal to a dull red glow to restore ductility before making major structural bends.

