
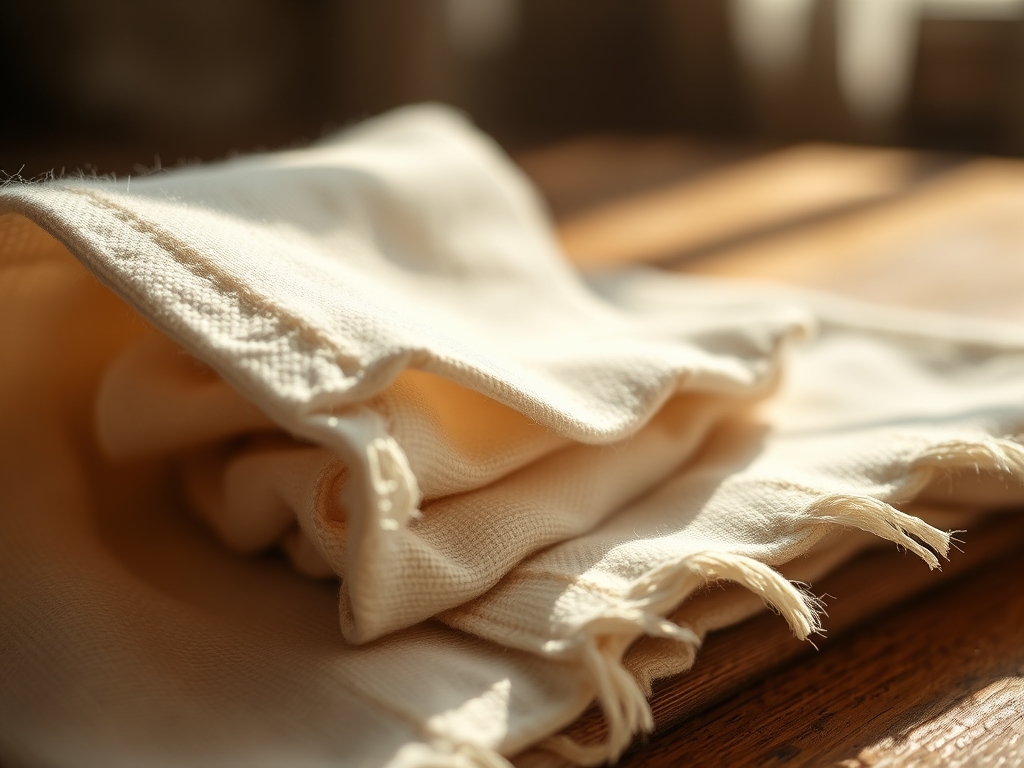
The scent of freshly pressed flax is a distinct, earthy perfume that signals the start of a serious studio session. When you run your thumb across the surface of high grade fabric, you are feeling the cellular structure of the Linum usitatissimum plant. Creating Hand Stitched Linen Napkins is not just about decor; it is about manipulating a bast fiber known for its incredible tensile strength and low elasticity. Because linen fibers are smoother and longer than cotton, they possess a natural luster and a crisp hand that actually improves with every wash. We are aiming for that perfect balance of rustic texture and refined geometry. As you handle the material, you will notice the way the light catches the slight irregularities in the weave, known as slubs. These are not flaws; they are the fingerprint of a natural textile. Today, we are going to harness that structural integrity to create a set of holiday linens that feel substantial in the hand and look sharp on the table.
THE STUDIO KIT
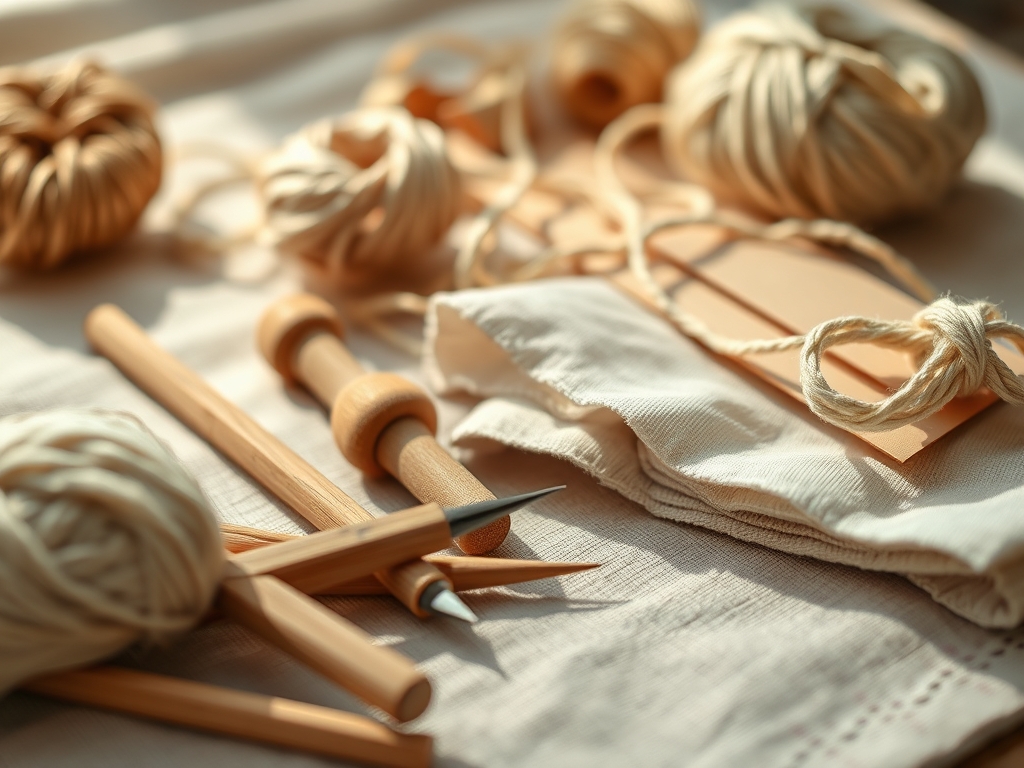
To achieve professional results, your toolkit must account for the specific physics of linen. You will need a rotary cutter with a fresh 45mm tungsten steel blade to ensure clean, non frayed edges. Use a self healing mat to protect your work surface. For the stitching, select a size 8 perle cotton or a high quality six strand embroidery floss; the perle cotton offers a twisted, cord like texture that sits proudly on top of the fabric. You will also need a bone folder to create crisp, permanent creases in the hem without scorching the fibers. A 6 inch metal ruler or a pair of calipers will help you maintain a consistent 1/4 inch gauge for your borders.
Material Substitutions: If you cannot find pure Belgian linen, look for a linen cotton blend with at least 50 percent flax content to maintain that signature crispness. In a pinch, a heavy weight flour sack towel can be used, though the lower thread density will require a tighter stitch tension to prevent puckering.
THE TEMPO
The "Maker's Rhythm" is a psychological state where your muscle memory takes over the repetitive motion of the needle. For a set of eight napkins, expect a total production time of approximately ten to twelve hours. The Preparation Phase (cutting and pressing) takes about 90 minutes. The Layout Phase (transferring your holiday motifs) requires 60 minutes of focused attention. The Execution Phase (the actual stitching) is the longest, averaging 60 to 90 minutes per napkin depending on the complexity of the motif. Do not rush the pressing stage; the heat from the iron temporarily softens the pectin in the fibers, allowing you to set a "memory" in the fabric that makes stitching much easier.
THE CORE METHOD
1. Squaring the Grain
Before you cut, you must ensure the fabric is "on grain." Pull a single horizontal thread across the width of your fabric. This creates a visible path that follows the exact orientation of the weft fibers. Use your rotary cutter to slice along this line.
Mastery Tip: This technique relies on the structural integrity of the weave. By following a single thread, you ensure that the napkin will never twist or warp after washing, as the tension remains equal across the entire surface area.
2. The Double Fold Hem
Using your bone folder, fold the edge over by 1/4 inch and burnish the crease. Fold it again another 1/4 inch to hide the raw edge. Pin these layers securely using fine glass head pins.
Mastery Tip: The bone folder applies concentrated pressure to the cellulose fibers, flattening them into a permanent shape. This mechanical bond reduces the need for excessive pinning and prevents the "creeping" of fabric layers during the stitching process.
3. Transferring the Holiday Motifs
Place your linen over a light box or a bright window. Trace your chosen motif (such as a minimalist pine branch or a geometric snowflake) using a water soluble marking pen. Keep your lines thin to avoid bleeding into the porous fibers.
Mastery Tip: Linen is highly porous, meaning it will wick moisture away from your pen quickly. Use a light touch to prevent the ink from spreading through capillary action, which could blur the fine details of your holiday design.
4. The Foundation Stitch
Begin your motif using a basic backstitch or a stem stitch. Ensure your needle enters and exits the fabric at a 90 degree angle to maintain a uniform appearance on both the front and the back of the napkin.
Mastery Tip: Maintaining consistent thread tension is vital. If you pull too hard, the linen will gather; if you are too loose, the stitch will snag. Aim for a tension that allows the thread to sit flush against the grain without distorting the weave.
5. Executing the Eight Motifs
Vary your designs to keep the set interesting. Think about a sprig of holly, a tiny reindeer silhouette, or a simple starburst. Use different ply counts of thread to create depth; for example, use three strands for the main branch and two strands for the delicate pine needles.
Mastery Tip: By varying the fiber density of your stitches, you create a tactile hierarchy. The thicker stitches catch more light and create a 3D effect that makes the hand stitched nature of the napkins immediately apparent to your guests.
THE TECHNICAL LEDGER
Maintenance & Longevity: Linen is incredibly durable, but it hates the dryer. To preserve your handiwork, wash in cool water and air dry. Iron while the fabric is still slightly damp to achieve that professional, high luster finish.
Material Variations: For a sustainable approach, seek out Oeko Tex certified linens which are processed without harmful chemicals. If you want a luxury feel, look for "heavyweight" or "upholstery grade" linen, which offers a higher GSM (grams per square meter) and a more substantial drape.
The Correction:
- Puckering: If the fabric bunches, your tension is too high. Snip the thread, relax the fabric, and restart with a lighter touch.
- Knotting: If your thread tangles, it is likely too long. Keep your working thread under 18 inches to minimize frictional wear on the fibers.
- Uneven Borders: Use a sewing gauge every three inches to verify your hem width. If it is off, re press the section immediately.
Studio Organization: Store your completed napkins flat in a breathable cotton bag. Avoid plastic bins, as linen needs to breathe to prevent the breakdown of natural oils, which can lead to "dry rot" over several decades.
THE FINAL REVEAL
There is nothing quite like the weight of a finished set of Hand Stitched Linen Napkins. When you fan them out on a holiday table, the crisp edges and the subtle sheen of the flax create an atmosphere of intentionality and warmth. The tactile contrast between the smooth fabric and the raised, textured embroidery invites your guests to slow down and appreciate the craftsmanship. You have taken a raw, organic material and transformed it into a functional piece of art through the precise application of physics and steady, rhythmic labor.
STUDIO QUESTIONS
What is the best thread for linen?
A size 8 or 12 perle cotton is ideal. Its twisted structure provides excellent visibility and durability against the coarse texture of linen fibers, ensuring the motif remains crisp after multiple laundering cycles.
How do I prevent linen from fraying?
Always use the "pull a thread" method to find the grain. This ensures you are cutting straight. A double fold hem is the most effective way to encapsulate raw edges and prevent unraveling.
Can I use a hoop for napkins?
While possible, it is often better to stitch "in hand" for napkins. A hoop can leave "hoop burn" or permanent ring marks on delicate linen fibers that are difficult to steam out later.
Why does my linen look wrinkled?
Linen lacks elasticity due to its molecular structure. Embrace the "noble wrinkle" as a sign of authenticity, or iron the napkins while they are damp to temporarily realign the hydrogen bonds in the fibers.

