
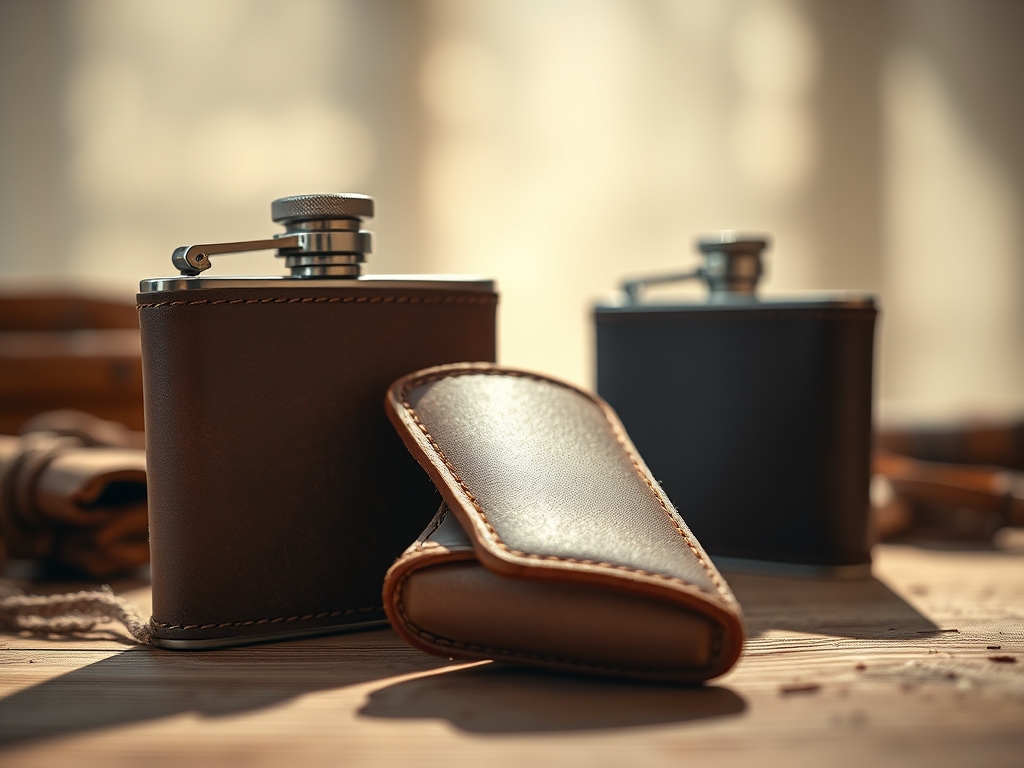
Grab your mallet and clear the workbench because we are about to turn a cold, utilitarian vessel into a tactile masterpiece. There is something deeply satisfying about the scent of vegetable tanned hide meeting the sharp bite of a fresh blade. When you are out in the wild, your gear needs to survive more than just a backpack toss; it needs to handle thermal expansion and the abrasive grit of the trail. Custom Leather Flask Covers are not just about aesthetics. They are about creating a thermal barrier and a high friction grip that feels like an extension of your hand. We are looking for that perfect balance of tensile strength and flexibility. You want a cover that hugs the stainless steel with enough pressure to stay put, but with enough give to allow the leather to breathe. As the oils from your palms interact with the tannins in the grain, your flask will develop a patina that tells the story of every mountain peak you have conquered. This is functional art at its most rugged.
THE STUDIO KIT
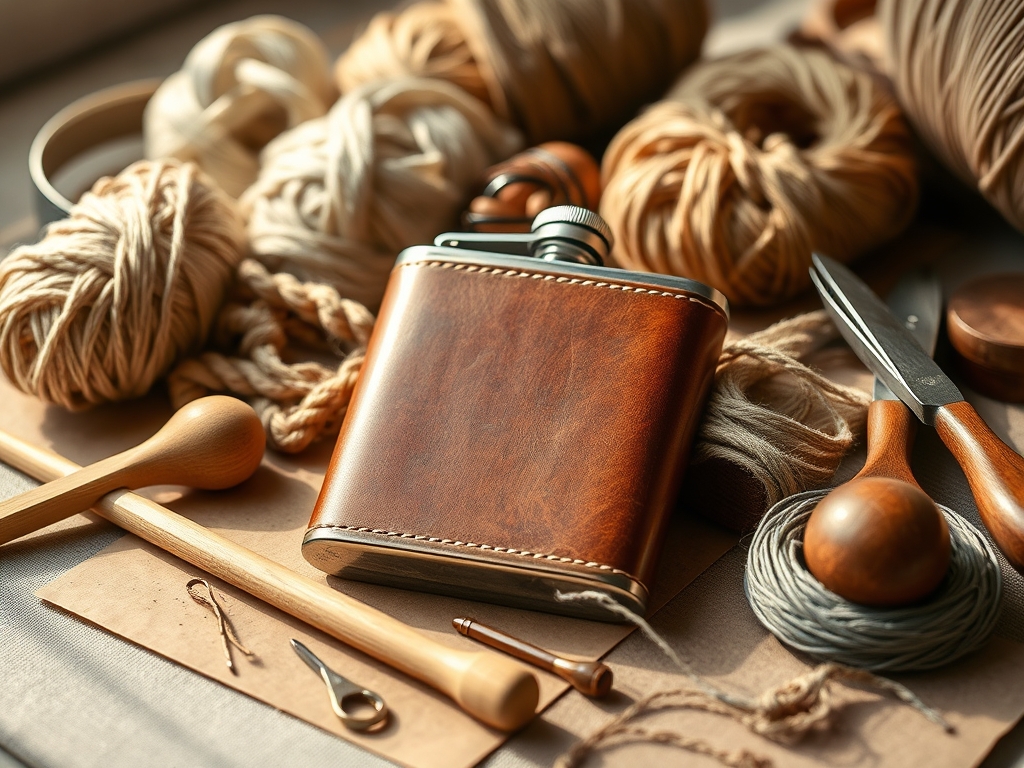
To build a cover that lasts a lifetime, you need tools that respect the fibrous density of the hide. We are working with 3 to 4 ounce vegetable tanned leather. This weight offers the ideal gauge for wrapping tight radii without cracking the grain. You will need a pair of precision calipers to measure the circumference of your flask; never trust a ruler for a curved surface. For the cutting, a rotary cutter provides the cleanest edge, while a diamond awl is essential for piercing stitch holes without tearing the internal fibers.
Your thread choice is paramount. I recommend a 0.8mm waxed polyester cord. Unlike cotton, polyester resists rot and has a high breaking strength, which is vital when the leather shrinks or expands due to humidity. For the finish, a bone folder will help you burnish the edges to a glassy smoothness, sealing the porous ends against moisture.
Material Substitutions: If you cannot find traditional veg-tan, look for oil-tanned latigo. It has a higher wax content which makes it naturally water resistant, though it is harder to burnish. For a vegan alternative, cork fabric backed with canvas offers surprising durability, though you must reduce your stitch tension to prevent the thread from cheese-cutting through the softer material.
THE TEMPO
The "Maker's Rhythm" is all about respecting the drying times and the physical resistance of the material. This is not a project you rush. Expect to spend about 30 minutes on the layout and calibration phase. This is where you calculate the "draw," which is the small amount of clearance needed so the leather actually fits around the metal.
The punching and preparation takes another 45 minutes. This is a meditative, repetitive task where your ergonomic posture matters. Finally, the stitching and burnishing phase will take roughly 90 minutes. Total studio time: approximately 3 hours. Do not fight the leather. If the hide feels too stiff, a light misting of distilled water can temporarily soften the lignin bonds, making it more pliable for the initial wrap.
THE CORE METHOD
1. The Cross Stitch for Maximum Compression
The cross stitch is the gold standard for Custom Leather Flask Covers because it pulls the edges together from two directions simultaneously. Use two needles in a saddle stitch motion, crossing them over the seam.
Mastery Tip: This stitch relies on lateral tension. By crossing the threads, you distribute the stress across a wider surface area of the leather grain, preventing the holes from elongating over time.
2. The Baseball Stitch for Ergonomic Seams
If you want a seam that sits flush against the metal, the baseball stitch is your best friend. It creates a "V" shape that nests into the leather.
Mastery Tip: The science here is void displacement. Because the thread sits inside the thickness of the leather rather than on top, it reduces the friction against your palm, preventing blisters during long hikes.
3. The Box Stitch for Structural Integrity
When joining the bottom circular panel to the cylindrical body, the box stitch is mandatory. This involves stitching at a 45 degree angle through the edge of the leather.
Mastery Tip: This technique utilizes the shear strength of the leather. By piercing the hide diagonally, you are engaging more internal fibers than a straight pierce, creating a joint that can withstand significant vertical drops.
4. The Whip Stitch for Decorative Durability
The whip stitch is fast and creates a rugged, spiraling look. It is perfect for the top rim of the flask where you want a reinforced edge.
Mastery Tip: This stitch protects the exposed grain of the edge. The thread acts as a physical bumper, absorbing abrasions that would otherwise fray the leather fibers.
5. The Double Running Stitch for Zero Failure
Also known as the Holbein stitch, this creates a solid line of thread on both sides. It is incredibly strong and looks identical from any angle.
Mastery Tip: This creates a redundant load path. If one loop of the thread snags on a branch and breaks, the surrounding stitches remain locked in place due to the friction of the wax coating.
THE TECHNICAL LEDGER
Maintenance & Longevity: Leather is a biological material. To prevent it from becoming brittle, apply a neatsfoot oil or beeswax cream every six months. This keeps the fibers lubricated and prevents the acidic pH of sweat from breaking down the tannins.
Material Variations:
- Sustainable: Use reclaimed boot leather for a pre-broken-in feel.
- Premium: Shell Cordovan offers the highest fiber density and a natural luster that requires zero finish.
The Correction:
- Gaps in the Seam: If your edges do not meet, your "draw" calculation was too short. Fix this by using a wider "Z" stitch to bridge the gap.
- Thread Fraying: This happens if your awl holes are too small. Use a larger tapered reamer to smooth the passage.
- Leather Puckering: This is caused by uneven tension. Use a stitching pony to hold the piece steady so both hands can apply equal force.
Studio Organization: Store your leather flat in a cool, dark place. Exposure to UV light causes photo-oxidation, which bleaches the color and weakens the molecular bonds of the hide. Keep your needles in a magnetized tray to prevent losing them in the scrap bin.
THE FINAL REVEAL
Look at that! You have successfully transformed a basic metal container into a piece of rugged heritage gear. The way the light catches the burnished edges and the symmetry of your stitching is pure dopamine. Your Custom Leather Flask Covers are now ready for the campfire. Feel that weight? That is the sound of quality and the result of your hard work. It is sturdy, it is stylish, and it is uniquely yours.
STUDIO QUESTIONS
What is the best leather thickness for a flask?
A thickness of 1.2mm to 1.6mm (3 to 4 ounces) is ideal. It provides enough tensile strength to protect the flask while remaining flexible enough to wrap tightly around the curves without requiring heavy industrial machinery.
Why do I need to wax my thread?
Wax acts as a lubricant during the stitching process, reducing friction. More importantly, it seals the stitch holes and prevents moisture from wicking into the internal fibers of the leather, which would cause premature rot or stretching.
Can I use chrome tanned leather instead?
Chrome tanned leather is softer but lacks the structural memory of vegetable tanned leather. It will stretch out over time and lose its grip on the flask. Veg-tan is superior for items requiring a permanent, molded fit.
How do I clean the leather after a muddy hike?
Use a damp cloth with a tiny amount of saddle soap. Avoid soaking the leather, as excess water can strip the natural oils and cause the fibers to shrink unevenly, potentially cracking the grain once it dries.
What tool do I use for perfectly spaced holes?
A pricking iron or a stitching chisel is the best tool for consistent spacing. These tools ensure that every stitch is the exact same length, which is critical for maintaining even tension across the entire seam.

