
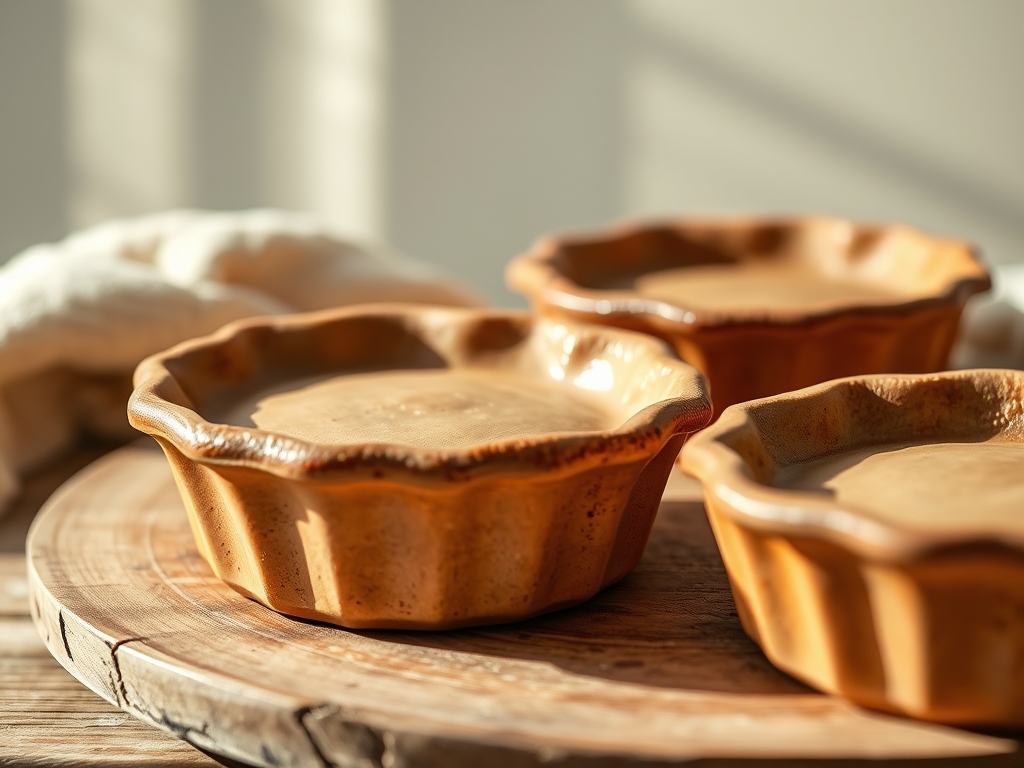
Imagine the scent of wet earth and toasted flour colliding in your kitchen. There is a specific, heavy satisfaction in holding Hand Thrown Pie Dishes; they possess a thermal mass that store bought stoneware simply cannot replicate. As you run your thumb along the rim, you feel the subtle ridges left by the potter's ribs. This is not just a vessel; it is a structural masterpiece designed to withstand the violent expansion of steam within a butter-heavy crust. When the clay is leather hard, it offers a tactile resistance that is perfect for carving. You are looking for that sweet spot where the moisture content is approximately fifteen percent. At this stage, the material has enough tensile strength to hold a complex shape but remains porous enough to bond with decorative slips. We are about to transform a simple circular rim into a geometric playground using nothing but physics and a few specialized tools. Grab your apron; we are diving into the grit and the glory of high-stakes holiday baking aesthetics.
THE STUDIO KIT
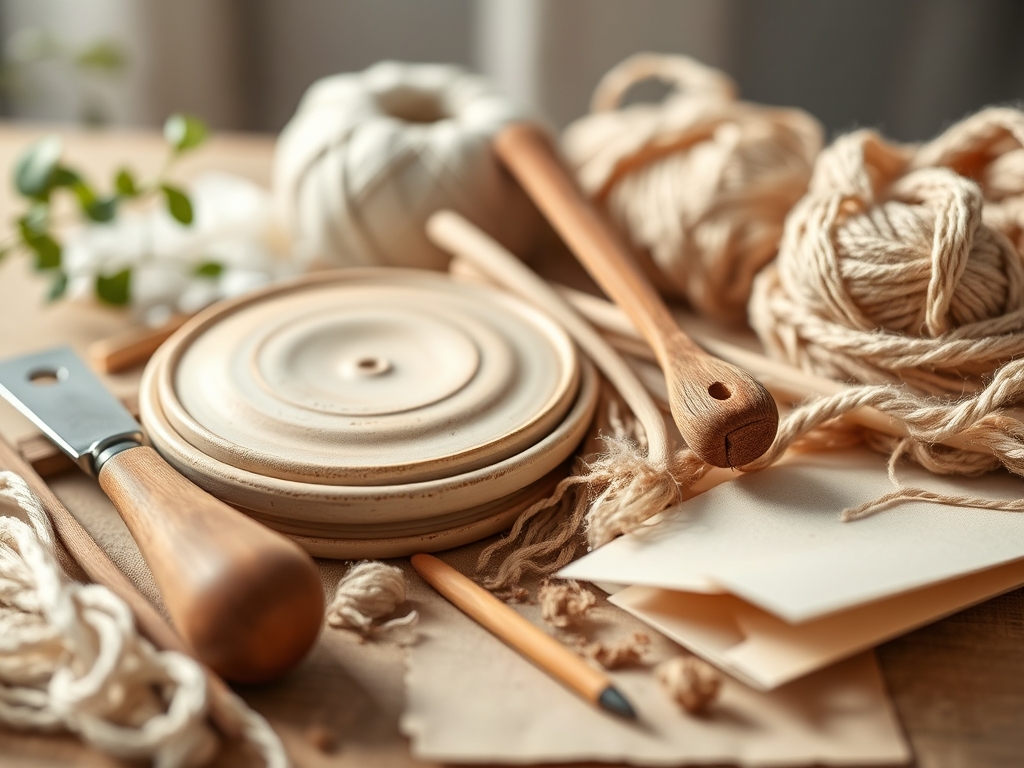
To master the architecture of a scalloped rim, you need tools that respect the grain of the clay. Your primary instrument is a stainless steel mud tool with a curved profile; this allows for consistent pressure distribution. You will also need calipers to ensure the depth of each scallop is mathematically identical, preventing uneven heat distribution during the bake. For the actual shaping, a hardwood modeling tool or a specialized spherical burnisher is essential. The density of the wood prevents the clay from sticking, which is a common issue with plastic alternatives.
Material Substitutions: If you lack a professional pottery studio, you can adapt these techniques to high-quality polymer or air-dry clays for decorative pieces. Instead of a potter's rib, use a stiff silicone spatula. Instead of a wire toggle cutter, a high-gauge fishing line works beautifully to shear the base. However, for functional Hand Thrown Pie Dishes, stick to stoneware or porcelain to ensure the piece is food safe and vitrified. The porosity of the clay body determines how the glaze will sit, so choose a clay with a low shrinkage rate to avoid warping in the kiln.
THE TEMPO
The "Maker's Rhythm" is a dance between evaporation and intervention. You cannot rush the drying process without risking structural failure. The initial throwing phase takes roughly twenty minutes of intense focus to center the mass and pull the walls to a consistent gauge. Once the form is established, the "Resting Phase" begins. This lasts between six to twelve hours depending on your studio's humidity. You are waiting for the clay to reach the leather-hard state, where it feels like cold chocolate.
The scalloping process itself is a rhythmic, thirty-minute meditation. Each compression of the clay must be deliberate. If you move too fast, you create micro-fractures in the rim. If you move too slow, the heat from your hands will wick away moisture, making the clay brittle. Finally, the "Curing Phase" requires a slow, covered dry over forty-eight hours to ensure the tension within the scalloped curves equilibrates before it hits the thousand-degree heat of the bisque fire.
THE CORE METHOD
1. The Radial Grid
Before touching the rim, use your calipers to mark eight equidistant points around the circumference. This is not just for symmetry; it is about structural integrity. By spacing the scallops evenly, you distribute the physical stress of the clay's contraction during the firing process.
Mastery Tip: Use the physics of centripetal force to your advantage. If you mark the grid while the wheel is spinning at a very low RPM, your marks will be more precise than if you attempt to measure a static object.
2. The Primary Compression
Place your non-dominant index finger on the outside of the rim and use your dominant thumb to press downward and inward. You are looking to displace the clay, not remove it. This maintains the tensile strength of the edge. Observe the alignment in the step-by-step photos below to see the exact angle of the thumb.
Mastery Tip: This step relies on plastic deformation. If the clay cracks, your moisture content is too low. A damp sponge can restore the surface tension, but do not oversaturate or you will lose the "memory" of the shape.
3. The Spherical Burnish
Take your hardwood modeling tool and rotate it within the indentation you just created. This action compresses the clay particles, known as burnishing. It creates a smoother surface that will catch the glaze more effectively, leading to those beautiful "breaks" in color that professional potters adore.
Mastery Tip: Burnishing aligns the plate-like particles of the clay (kaolinite) on a microscopic level. This creates a moisture barrier even before the piece is fired, reducing the risk of the crust sticking to the dish.
4. The Undercut Refinement
Using a small loop tool, gently shave away the excess clay from beneath each scallop. This creates a shadow line that makes the scallops appear to float. It also reduces the weight of the rim, which prevents the dish from becoming top-heavy and warping in the kiln.
Mastery Tip: This is about mass distribution. By removing a small amount of material from the underside, you ensure the rim dries at the same rate as the thicker base, preventing "S-cracks."
THE TECHNICAL LEDGER
Maintenance & Longevity: To keep your Hand Thrown Pie Dishes in heirloom condition, avoid thermal shock. Never move a dish directly from the freezer to a preheated oven. The coefficient of thermal expansion in handmade stoneware is less forgiving than industrial Pyrex. Hand wash only using a non-abrasive cloth to preserve the integrity of the glaze.
Material Variations:
- Sustainable: Use "reclaim" clay, which is recycled scrap from previous projects. It often has a higher grit (grog) content, which adds a rustic texture.
- Premium: Translucent porcelain offers the highest level of detail but has a lower "green strength," making it difficult for beginners to scallop without collapsing the walls.
The Correction:
- The Slump: If the rim begins to sag, use a heat gun for thirty seconds to flash-dry the area, restoring structural rigidity.
- The Crack: If a hairline fracture appears, create a "paper clay" slurry (clay mixed with toilet paper pulp) to fill the gap. The fibers act as internal rebar.
- The Uneven Rim: Use a surform tool to grate the top of the leather-hard rim until level before starting your scallops.
Studio Organization: Store your unfinished dishes in a "damp box" (a plastic container with a layer of wet plaster at the bottom). This creates a hundred-percent humidity environment, stopping the drying process indefinitely so you can finish your scalloping over multiple sessions without the clay becoming unworkable.
THE FINAL REVEAL
There is nothing quite like the moment you pull a finished pie from the oven and see the golden-brown crust perfectly mirroring the curves of your Hand Thrown Pie Dishes. The scallops act as natural anchors for the dough, preventing the dreaded "crust slump" during the first ten minutes of baking. The weight of the stoneware provides a deep, even bake that results in a crisp bottom crust every single time. You have successfully merged the laws of physics with the art of the table. Your holiday guests won't just be impressed by the pie; they will be captivated by the vessel that holds it.
STUDIO QUESTIONS
Why is my pie crust sticking to the scalloped edges?
This usually occurs due to capillary action in under-fired or poorly glazed stoneware. Ensure your dish is fired to full vitrification and use a high-fire glaze. A light coating of fat before blind baking also creates a necessary hydrophobic barrier.
Can I use these techniques on store-bought clay?
Yes, provided the clay is rated for the correct temperature. Check the maturation point on the packaging. Air-dry clays are suitable for decorative use, but only kiln-fired stoneware is safe for the high-heat environment of a standard kitchen oven.
How do I prevent the scallops from breaking off?
Avoid making the edges too thin. Maintain a consistent ply thickness of at least a quarter inch. If the edge is too sharp, it becomes a stress concentrator, making it prone to chipping during washing or storage.
What is the best way to clean handmade stoneware?
Use mild detergent and warm water. Avoid the dishwasher, as the high-pressure jets and harsh chemicals can cause crazing (micro-cracks) in the glaze over time. Always dry the dish thoroughly before storing it in a cool, dark cupboard.

