
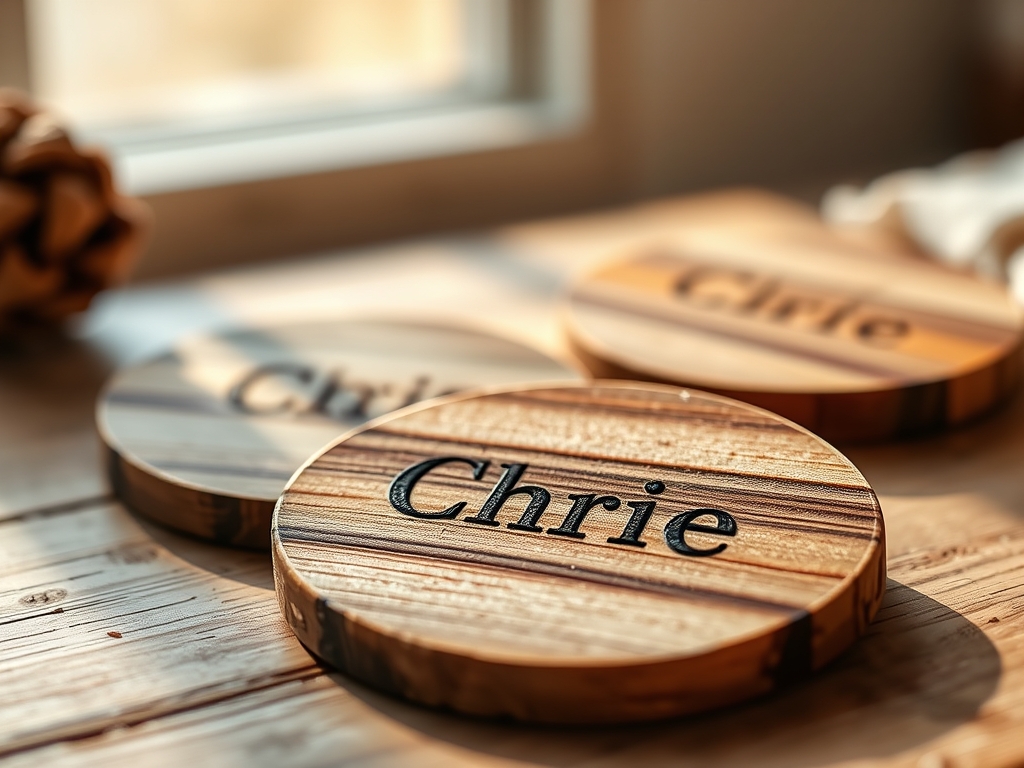
Close your eyes and imagine the smell of toasted lignin and fresh cedar oil wafting through your workspace. There is something deeply primal about the way a high energy light beam interacts with organic cellulose fibers to create Personalized Wooden Coasters. When you hold a raw wooden puck in your hand, you are feeling the tensile strength of a living history; the grain density tells a story of rainfall and sun cycles. As we dive into these six creative concepts for couples, we are not just burning wood. We are manipulating the cellular structure of the material to lock in memories. Whether it is the interlocking geometry of a wedding date or the intricate topography of a first home, the tactile feedback of a well engraved coaster is unmatched. We are going to master the art of the perfect burn, ensuring every line is crisp and every edge is smooth enough to satisfy even the most obsessive maker heart. Grab your safety goggles, because we are about to turn basic lumber into high end functional art.
THE STUDIO KIT
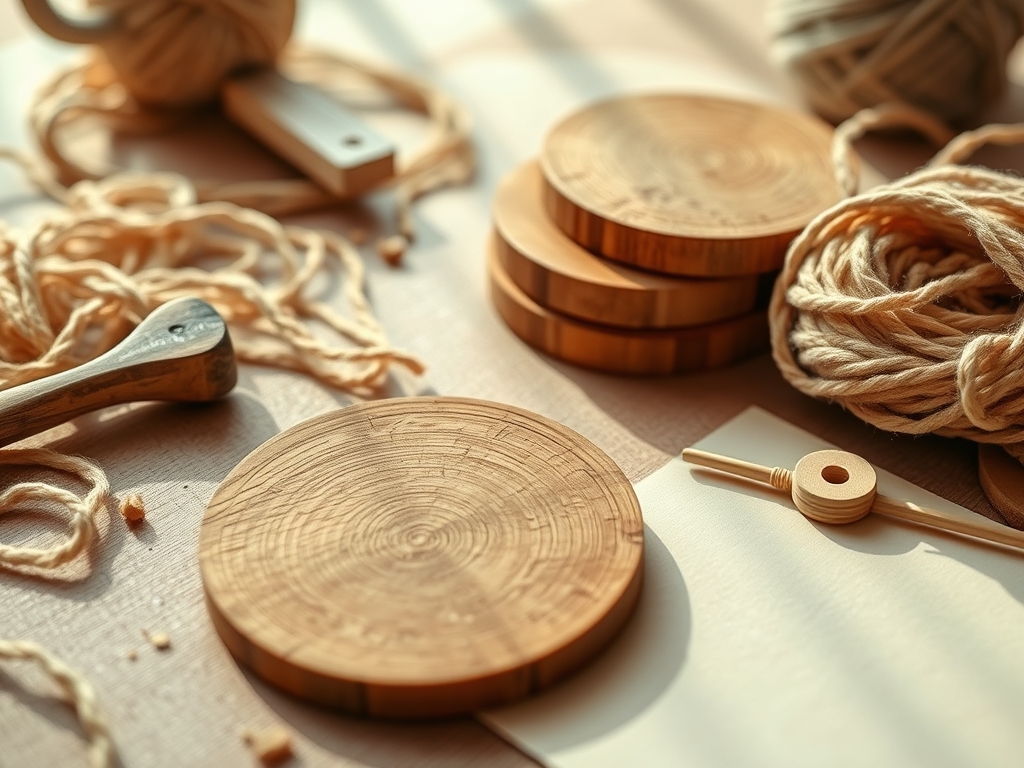
To execute these Personalized Wooden Coasters with professional precision, you need a kit that respects the porous nature of your substrate. Start with high density hardwoods like black walnut, cherry, or maple. These species have a tight grain structure that prevents the laser from "bleeding" into the soft earlywood rings. You will need a digital caliper to measure the exact thickness of your blanks; even a 0.5mm variance can throw off your laser focus and result in a blurry engraving. For post processing, keep a set of fine grit sandpaper (320 to 600 grit) and a tack cloth nearby to remove carbonized dust without scratching the surface.
Material Substitutions: If you cannot source solid hardwood, high grade birch plywood is a viable alternative, though you must account for the adhesive layers which can off gas differently. For a vegan leather alternative, cork provides excellent thermal insulation but requires a lower frequency setting to avoid scorching. Always use a food safe mineral oil or a beeswax finish to seal the pores against moisture, as untreated wood will succumb to capillary action and warp when exposed to condensation from a cold glass.
THE TEMPO
The "Maker's Rhythm" is all about balancing machine speed with manual finesse. For a set of six coasters, expect a total studio time of approximately three hours. The Pre-Production Phase (designing and calibrating) takes 45 minutes. This is where you calculate the kerf of your laser and run power grids on scrap wood. The Execution Phase is the most rhythmic part; each coaster typically takes 8 to 12 minutes to engrave depending on the complexity of the vector paths. Finally, the Finishing Phase requires 60 minutes of active labor, including sanding, debris removal, and the application of protective oils. Do not rush the drying time between coats of sealant; patience is a technical requirement for structural longevity.
THE CORE METHOD
1. The Topographic Map of "Our Place"
Select a significant location and convert the map data into a high contrast vector file. This design relies on varying depths of engraving to simulate elevation. Use a raster engraving setting for the landmass and a vector score for the street lines to create visual hierarchy.
Mastery Tip: Understand thermal diffusivity. Harder woods like oak dissipate heat slower than pine, meaning you need higher speed passes to prevent the delicate map lines from charring into a single dark blob.
2. Interlocking Monogram Geometry
Design two coasters that, when placed side by side, complete a single geometric pattern or monogram. This requires perfect alignment on the laser bed. Use a jig to ensure the "X" and "Y" coordinates are identical for every piece in the set.
Mastery Tip: Use a honeycomb bed to minimize backflash. When the laser hits the metal support, it can reflect and burn the underside of your wood; the honeycomb structure allows heat to dissipate, maintaining the structural integrity of the base.
3. Soundwave of a Shared Song
Capture the frequency of a couple's favorite song and engrave the waveform across the diameter of the coaster. This design highlights the anisotropic properties of wood, as the laser cuts across the grain, creating a beautiful shimmering effect in the valleys of the waveform.
Mastery Tip: Apply masking tape before engraving. This prevents "smoke staining" or "haloing" around the deep cuts, keeping the surrounding wood pristine and reducing the need for aggressive sanding later.
4. Celestial Alignment on Anniversary
Engrave the star map exactly as it appeared on a specific date. This involves thousands of tiny "points" of light. Set your laser to a high DPI (Dots Per Inch) to ensure each star is a distinct, crisp indentation rather than a muddy crater.
Mastery Tip: Watch for moisture content. If your wood is too "green" or humid, the steam generated during the laser process can cause the wood to crack. Aim for a moisture level below 10% for the cleanest results.
5. Minimalist Coordinates and Compass
Focus on clean, sans serif typography for a modern look. Use a burnishing tool after engraving to press down any raised fibers around the text. This enhances the ergonomic feel of the coaster, making it smooth to the touch.
Mastery Tip: Utilize kerf compensation in your software. The laser actually removes a tiny sliver of material; adjusting your design by a fraction of a millimeter ensures that your text looks exactly as intended without looking "thin."
6. Botanical Illustrations with Latin Names
Use high detail line art of flowers or trees that have meaning to the couple. This design tests the limits of your machine's resolution. The fine lines mimic the look of a vintage woodblock print.
Mastery Tip: Leverage capillary action during the finishing stage. Apply your oil finish sparingly; the wood will naturally "wick" the oil into the engraved grooves, darkening the burnt areas and creating a stunning high contrast look.
THE TECHNICAL LEDGER
Maintenance & Longevity: To keep Personalized Wooden Coasters in peak condition, they must be hand washed only. Rapid saturation followed by uneven drying causes the wood cells to expand and contract at different rates, leading to "cupping." Re-oil the surface every six months to maintain the hydrophobic barrier.
Material Variations:
- Sustainable: Bamboo is a grass with high silica content; it engraves very darkly but can be hard on cutting blades.
- Premium: Exotic woods like Purpleheart or Zebrawood offer natural colors that pop without the need for stains.
- Recycled: Reclaimed pallet wood provides a rustic aesthetic but requires thorough cleaning to remove embedded metallic particles that could deflect the laser.
The Correction:
- The Ghosting Effect: If you see faint double lines, your laser mirrors are likely loose or dirty. Clean with isopropyl alcohol and tighten the mounts.
- Charred Edges: If the wood looks "burnt" rather than engraved, your speed is too low. Increase the feed rate and perform multiple light passes instead of one heavy pass.
- Warping Post-Finish: This happens if you only oil one side. Always coat both the top and bottom to ensure equalized tension across the grain.
Studio Organization: Store your wooden blanks horizontally in a temperature controlled environment. Vertical storage can lead to bowing over time due to gravitational stress on the grain. Keep your digital files backed up with "Material Profiles" that list the exact power and speed settings used for each wood species.
THE FINAL REVEAL
Behold the transformation! What started as a simple slab of timber has been elevated into a sophisticated piece of home decor through the marriage of technology and craft. These Personalized Wooden Coasters feel substantial in the hand; they have a weight and a warmth that plastic or stone simply cannot replicate. The way the light catches the depths of the engraving creates a 3D effect that invites people to touch and explore the surface. You have successfully manipulated the physical properties of wood to create a legacy item that is as functional as it is beautiful.
STUDIO QUESTIONS
How do I prevent the wood from scorching?
Apply a high quality masking tape over the surface before engraving. This acts as a sacrificial layer, absorbing the excess heat and smoke residue, leaving the Personalized Wooden Coasters with clean, sharp edges once the tape is peeled away.
What is the best wood for high detail?
Hardwoods with a tight, uniform grain like Maple or Cherry are superior. They have high fiber density, which allows the laser to create microscopic details without the image breaking apart or getting lost in large, open pores.
How do I make the engraving darker?
You can run a second pass at a lower power or use a "defocus" technique. By moving the laser slightly out of its focal point, the beam spreads, creating a wider and more carbonized mark on the wood surface.
Can I seal these with polyurethane?
Yes, but a wipe-on poly is preferred for Personalized Wooden Coasters. It penetrates the engraved grooves without pooling, which preserves the tactile detail of the design while providing a durable, waterproof shield against heavy condensation.
Why did my coaster crack after engraving?
This is usually due to internal stress or high moisture content. The laser's heat causes localized drying. To prevent this, ensure your wood is properly seasoned and avoid engraving too deeply into the center of the wood's heartwood.

