
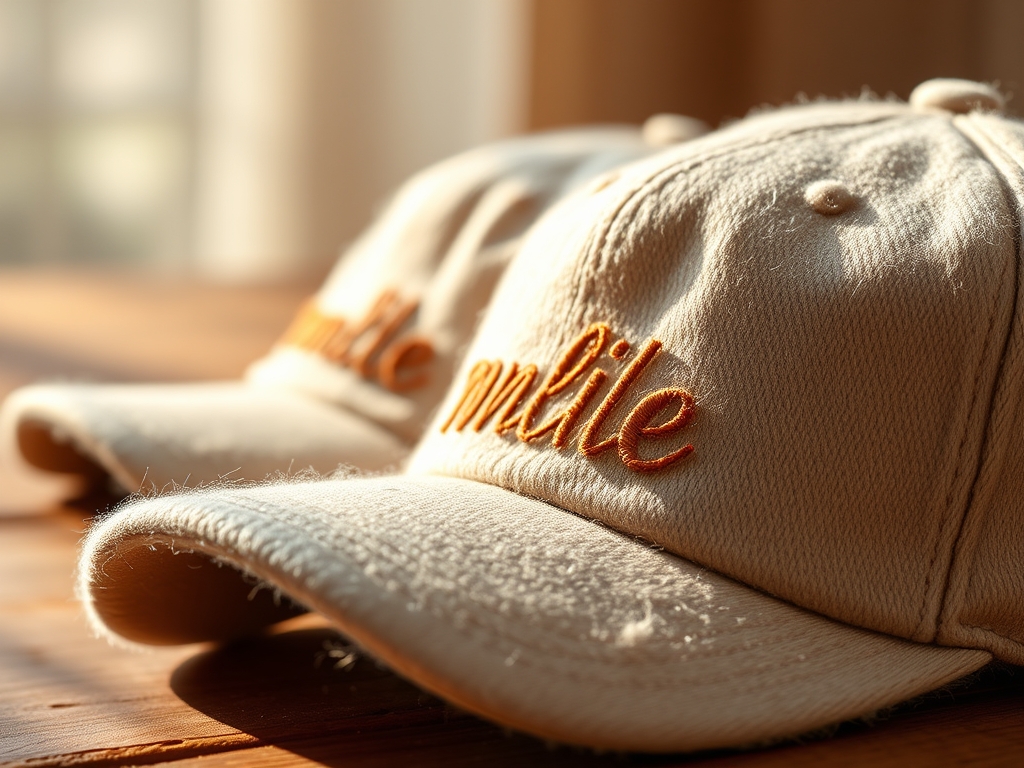
The scent of fresh cotton twill and the rhythmic hum of a high speed needle are the ultimate sensory triggers for a maker. When you grip the structured crown of a blank hat, you are feeling the result of a high density weave designed to withstand significant tensile stress. We are diving deep into the world of Personalized Embroidered Caps today; specifically, how to translate five iconic sports motifs into wearable art that survives the sweat of the championship game. The canvas here is unique because it is a three dimensional curve, not a flat plane. You have to respect the grain direction of the fabric while managing the pull of the thread. If you do not account for the way the buckram backing resists the needle, your design will pucker and lose its geometric integrity. This is not just about aesthetics; it is about the physics of fiber tension and the tactile satisfaction of a perfectly executed satin stitch. We are going to transform these blanks into professional grade gear that feels heavy, expensive, and indestructible.
THE STUDIO KIT
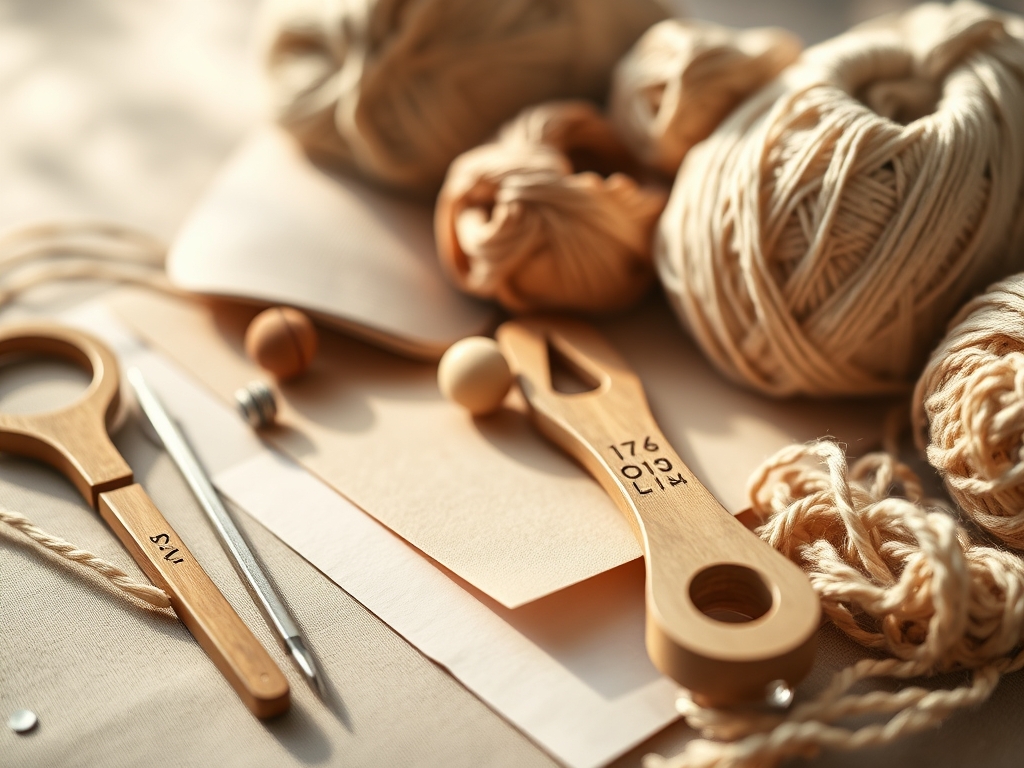
To master Personalized Embroidered Caps, your workstation needs to be calibrated for precision. You will need a 75/11 sharp embroidery needle, which has a specialized scarf to allow the hook to grab the thread loop without shredding the fibers. Your thread choice is critical; use 40 weight polyester thread for its superior tensile strength and resistance to bleach and UV degradation. For the stabilizer, a heavy weight tear away or cut away backing is essential to prevent the fabric from "flagging" during the high speed oscillation of the machine.
You will also need a pair of precision snips, a seam ripper for the inevitable tension hiccup, and a marking gauge to ensure the motif is centered perfectly on the vertical axis of the crown. If you are working with premium wool blends, consider a water soluble topping to prevent the stitches from sinking into the pile.
Material Substitutions: If you lack heavy buckram, you can use a double layer of firm fusible interfacing to stiffen the front panels. If polyester thread is unavailable, high sheen rayon is a beautiful substitute, though it lacks the same chemical resistance to heavy laundering.
THE TEMPO
The "Maker's Rhythm" is a balance between machine speed and manual oversight. For a standard five motif series, expect to spend approximately 20 minutes on digitization and pathing per design. This is where you determine the stitch order to minimize "jump threads." The actual embroidery phase for a 5,000 stitch motif takes about 8 to 12 minutes depending on your machine's RPM settings.
Prepping the hoop is the most meditative part of the process, taking roughly 5 minutes per cap. You must ensure the fabric is drum tight but not overstretched, as overstretching leads to "hoop burn" or structural distortion once the cap is released. Total time per cap, including finishing and trimming, usually clocks in at 35 minutes.
THE CORE METHOD
1. Digitizing the Sport Motif
Before the first stitch, you must convert your sports graphic into a coordinate map. This involves setting the stitch density and choosing between a fill stitch or a satin stitch for the borders. For Personalized Embroidered Caps, always start your pathing from the center out to the sides to prevent the fabric from shifting and creating a "bubble" in the middle of the crown.
Mastery Tip: Understand push and pull compensation. As the needle pulls the thread tight, it naturally shrinks the fabric along the stitch line and pushes it out at the ends. Adjusting your software to overcompensate by 0.2mm will ensure your circles stay circular rather than turning into ovals.
2. Hooping the Curved Surface
Unlike flat garments, a cap requires a specialized cap hoop or a hat jig. You must align the center seam of the cap with the center notch of the hoop. Use your marking gauge to verify that the distance from the bill to the top of the design area is consistent across the entire team set.
Mastery Tip: This is about structural integrity. If the cap is loose in the hoop, the needle will cause the fabric to bounce, known as flagging. This results in looped stitches and broken needles. The cap must be secured so that the surface tension is uniform across the entire embroidery field.
3. Setting the Underlay Stitches
Never jump straight into your final satin stitches. You must lay down an underlay foundation. Think of this as the "rebar" for your embroidery. A light zigzag or contour underlay creates a bridge over the fabric pores, providing a stable surface for the top stitches to rest upon.
Mastery Tip: Underlay prevents the "sink effect" in porous fabrics. By creating a lattice of thread first, you are manipulating the capillary action of the fabric surface, ensuring the final decorative layer remains crisp and elevated.
4. Executing the Motif
Once the foundation is set, the machine will execute the primary motifs. Whether it is a soaring basketball or a crossed bat design, watch the thread tension. If the bobbin thread shows on top, your upper tension is too high; if the top thread loops underneath, your upper tension is too loose.
Mastery Tip: Use a caliper to check the height of your 3D foam if you are doing "puff" embroidery. This technique relies on the needle perforating the foam so cleanly that it can be pulled away, leaving the thread standing in high relief. The gauge of the needle must be sharp enough to slice the foam without dragging it into the bobbin case.
5. Finishing and Burnishing
After the machine stops, remove the cap and trim any remaining jump threads with your precision snips. Use a heat gun or a lighter very briefly to singe away any stray "fuzz" from the thread ends. Finally, use a bone folder or a smooth tool to burnish the interior stitches, making them flat and comfortable against the wearer's forehead.
Mastery Tip: This final step addresses the tactile comfort of the garment. Burnishing the back of the embroidery flattens the knots and ensures that the tensile strength of the design is locked in, preventing unravelling during the friction of daily wear.
THE TECHNICAL LEDGER
Maintenance & Longevity: To keep these caps in game day shape, never machine wash them on a heavy cycle. The agitation can break down the molecular bonds of the stabilizer. Spot clean with a soft brush and mild detergent.
Material Variations:
- Sustainable: Use recycled rPET thread and organic cotton blanks for an eco friendly footprint.
- Premium: Opt for a high crown "pro style" cap with a wool blend for maximum stitch definition and a luxurious tactile feel.
The Correction:
- Puckering: Usually caused by insufficient stabilizer. Fix: Use a heavier weight "cut away" backing and re hoop.
- Birdnesting: Thread tangles under the needle. Fix: Check the bobbin orientation and ensure the upper thread is properly seated in the tension disks.
- Misalignment: The design is crooked. Fix: Use a laser alignment tool or a physical template to mark the center point before hooping.
Studio Organization: Store your embroidery thread in a cool, dark cabinet. UV light can degrade the polymers in the thread, leading to frequent breaks. Keep your caps stacked in a dust free bin to maintain the integrity of the buckram shape.
THE FINAL REVEAL
There is nothing quite like the moment you pull a finished cap off the jig and see that sports motif pop against the fabric. The stitches should be tight, the colors vibrant, and the structure of the hat should feel reinforced, not compromised. When you hand these Personalized Embroidered Caps to a team, you are handing them a piece of engineered gear. The way the light catches the satin stitch and the way the 3D elements provide depth makes the logo look like it is vibrating with energy. You have successfully navigated the physics of tension and the geometry of curves to create something professional.
STUDIO QUESTIONS
What is the best thread for sports caps?
40 weight polyester is the industry standard. It offers high tensile strength and is resistant to the acidic nature of sweat and the harsh UV rays of outdoor stadiums, ensuring the colors do not fade over time.
How do I prevent the hat from wrinkling?
Wrinkling, or puckering, is prevented by using the correct stabilizer weight. A stiff "cut away" backing supports the fabric grain, while proper hooping tension ensures the material does not shift during the high speed needle strikes.
Can I embroider over the center seam?
Yes, but you must use a 75/11 or 80/12 sharp needle to pierce the multiple layers of buckram and seam tape. Slowing the machine's RPM by 20 percent helps maintain stitch precision over the hump.
Why is my thread constantly breaking?
Check for a burr on the needle or a mismatch in tension settings. Also, ensure the thread path is clear. Old thread can become brittle if the polymers dry out, so using fresh, high quality spools is vital.

