
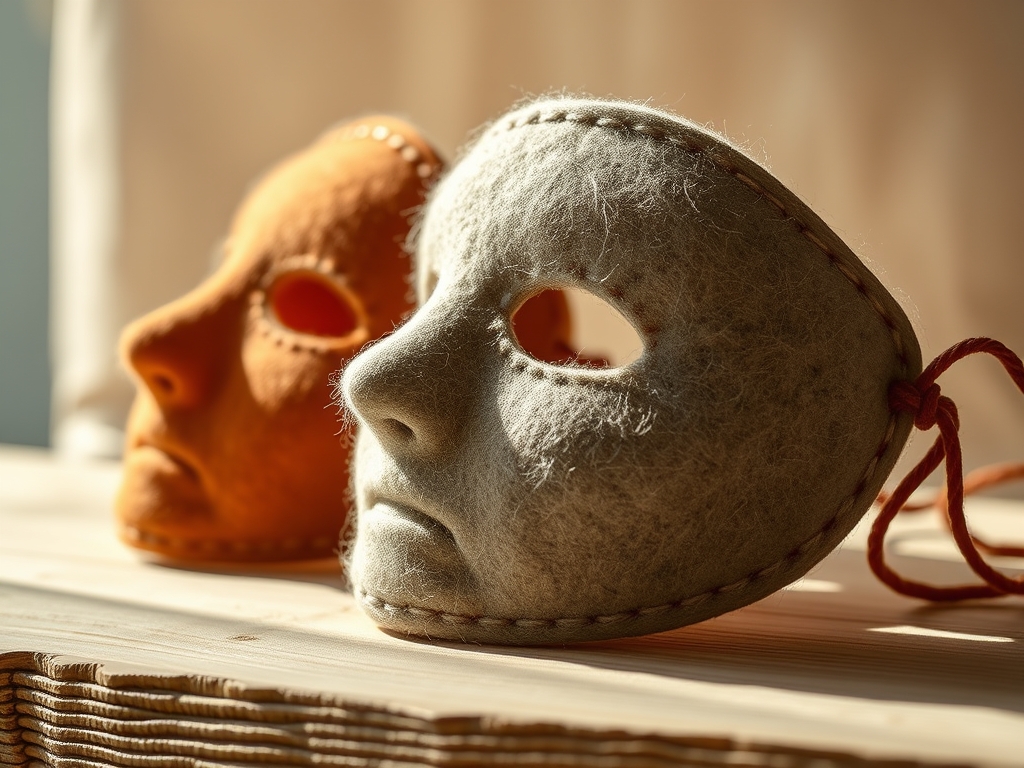
Grab your favorite pair of precision shears because we are about to dive into the tactile world of high-performance textile engineering. There is something intoxicating about the smell of pressed wool and the resistance of a needle piercing through a dense 3mm sheet. When you are crafting Hand Stitched Felt Masks, you are not just playing dress-up; you are manipulating fibers to create a structural masterpiece that contours to the human face. Felt is a non-woven textile, which means it lacks a traditional grain line. This unique property allows us to cut in any direction without the fear of fraying, giving us total creative freedom to build complex, multi-layered superhero identities. We are looking for that perfect balance of softness against the skin and rigid tensile strength to hold its shape during the most chaotic costume parties. Think of this as your personal laboratory where we blend the aesthetics of a golden-age comic book with the technical precision of a master tailor. We are going to build masks that feel like a second skin.
THE STUDIO KIT
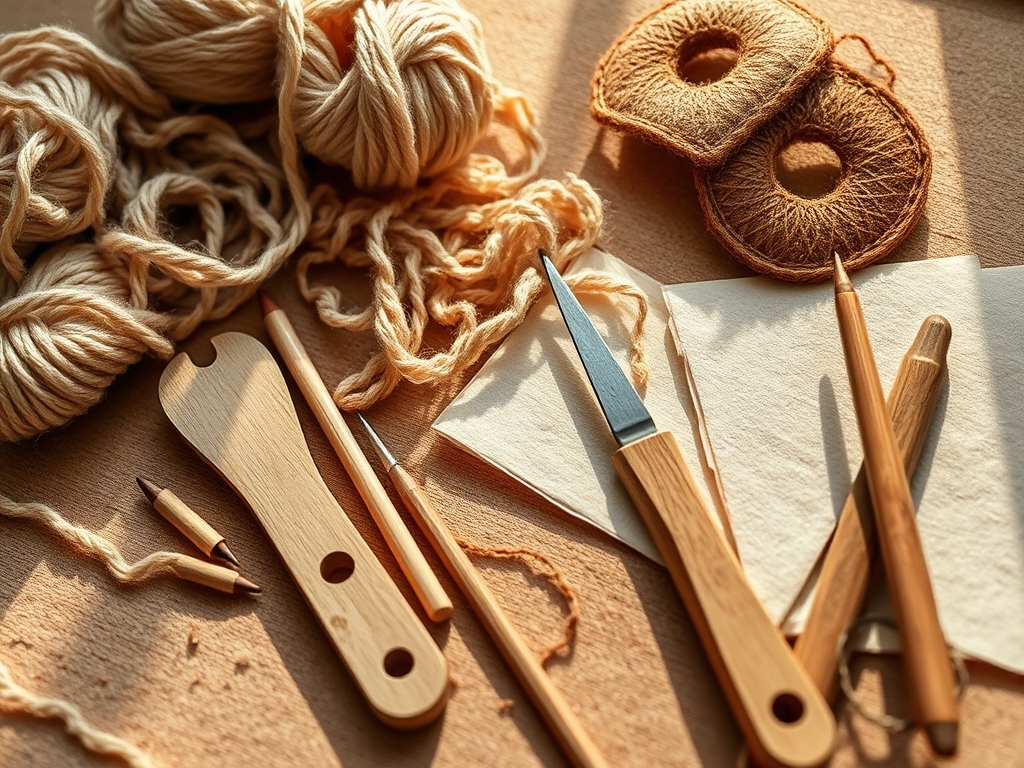
To achieve professional results, you need more than just a bag of craft scraps. We start with Merino wool blend felt, specifically looking for a density of at least 200 grams per square meter. This ensures the mask maintains its structural integrity without collapsing. You will need a tapered awl for pre-punching holes in thicker stacks, which prevents the needle from bending under pressure. For the cutting phase, a 28mm rotary cutter provides much more control on tight curves than standard scissors. Our thread of choice is a six-strand embroidery floss or a size 8 perle cotton, which offers high tensile strength and a beautiful matte finish.
For material substitutions, if you cannot source high-quality wool, look for recycled PET felt. While it has a slightly higher friction coefficient, it is incredibly durable and holds a crisp edge. Avoid the thin, translucent acrylic felt found in bargain bins; it lacks the fiber density required for a three-dimensional fit. You might also incorporate a bone folder to crisp up any folded elements, such as a sharp avian beak or a structured brow ridge.
THE TEMPO
The "Maker's Rhythm" is a psychological state where your movements become fluid and synchronized with the material. For a standard superhero mask, expect a total production time of three to five hours. The Conceptual Phase takes about 30 minutes; this involves sketching and calibrating your templates to your facial measurements using digital calipers for symmetry. The Excavation Phase, or cutting, requires 45 minutes of intense focus to ensure clean, vertical edges. Finally, the Assembly Phase is the longest stretch, taking two to three hours. This is where the repetitive motion of the needle creates a meditative flow. By maintaining a consistent stitch length, you ensure that the tension is distributed evenly across the seam, preventing the felt from puckering or warping over time.
THE CORE METHOD
1. Template Calibration and Transfer
Before a single blade touches the fabric, you must translate your 2D design into a 3D form. Use a soft graphite pencil to trace your patterns onto the felt. Because felt is a porous material, it absorbs ink, so avoid permanent markers that might bleed. Mastery Tip: Account for the thickness of the material when measuring the distance between eye holes. If you are using 3mm felt, your bridge measurement needs to be slightly wider to accommodate the way the fabric wraps around the curve of the nose.
2. Precision Excavation
Using your rotary cutter or a pair of micro-tip snips, cut out your base layer and any decorative overlays. For internal cutouts like eye sockets, use a hollow punch tool to create perfectly circular corners before connecting them with a straight blade. Mastery Tip: The physics of a clean cut relies on shear force. Always cut against a self-healing mat to provide a consistent resistance, which prevents the fibers from stretching and distorting the shape of the mask.
3. Structural Layering
Superhero masks often require "armor" plates or reinforced brows. Use a fabric adhesive sparingly to tack these pieces in place before stitching. This prevents the layers from shifting during the sewing process. Mastery Tip: This is known as laminate construction. By bonding two layers of felt, you exponentially increase the stiffness of the piece without adding significant weight, much like the structural ply used in aerospace engineering.
4. The Perimeter Stitch
We use a blanket stitch or a whip stitch around the outer edges to provide a finished look and to lock the fibers in place. Use a thimble to protect your fingertips as you push through multiple plies. Mastery Tip: Pay attention to thread tension. If you pull too tight, you will cause the felt to "scallop" or wave. If it is too loose, the layers will gap. You want just enough tension to seat the thread into the surface of the felt.
5. Hardware Integration
Finally, attach your elastic or ribbon ties. Instead of just sewing them to the edge, create a reinforced bridge by stitching a small square of felt over the end of the elastic. Mastery Tip: This distributes the mechanical stress over a larger surface area, preventing the elastic from tearing through the soft felt fibers when the mask is stretched over the head.
THE TECHNICAL LEDGER
Maintenance & Longevity
Felt is naturally water-repellent due to the lanolin in wool, but it is a magnet for lint. Use a soft-bristled brush to remove surface debris. Never submerge your mask in water; if it gets soiled, use a damp cloth for spot cleaning to avoid felting shrinkage, which occurs when heat and agitation cause the fibers to lock even tighter, permanently distorting the shape.
Material Variations
For a "Premium" build, look for 100% designer wool felt which has a buttery texture and superior color saturation. For a "Sustainable" route, use bamboo felt, which offers a natural antimicrobial property, perfect for long nights at a crowded party.
The Correction: 3 Common Mistakes
- The Eye Gap: If the eye holes feel too small, do not just cut them larger. Use a steam iron to gently stretch the fibers while the felt is warm.
- Thread Snapping: If your thread breaks, you are likely using a needle with an eye that is too small, causing abrasive friction. Switch to a larger "chenille" needle.
- Asymmetry: If one side looks "off," check your stitch count. Ensure you have the same number of stitches on the left and right sides to maintain balanced tension.
Studio Organization
Store your masks flat in a breathable cotton bag. Avoid plastic bins, as trapped moisture can lead to mildew. If you are storing them long-term, insert a cardboard form inside the mask to help it retain its three-dimensional "memory."
THE FINAL REVEAL
There is nothing quite like the moment you peel that finished mask off the workstation and press it to your face. The Hand Stitched Felt Masks we have built today are a testament to the intersection of art and physics. You have taken loose, chaotic fibers and organized them into a structured, wearable icon. The way the light catches the texture of the wool and the rhythmic precision of your stitches creates a depth that store-bought plastic could never replicate. You are ready to step into the night with a piece of gear that is as durable as it is stylish. Go forth and be the hero your costume party deserves!
STUDIO QUESTIONS
What is the best felt thickness for masks?
For a base layer, 2mm to 3mm is ideal. It provides enough structural integrity to hold its shape without feeling heavy. You can use 1mm felt for decorative overlays or fine details to avoid excessive bulk.
How do I stop the felt from itching?
Ensure you are using a wool-rayon blend or high-quality Merino. If sensitivity persists, stitch a lining of silk or soft cotton jersey to the interior. This creates a smooth barrier against the skin's surface.
Can I use a sewing machine instead?
While possible, hand stitching allows for better tension control on tight curves. A machine can often "eat" the felt or stretch it unevenly. Hand stitching also allows for thicker, more decorative thread gauges.
How do I make the mask waterproof?
You can apply a fabric protector spray specifically designed for hats or upholstery. This creates a hydrophobic barrier on the fibers, causing water to bead off rather than soaking into the porous felt structure.
Why is my mask losing its shape?
This usually happens due to fiber fatigue or improper storage. To fix it, lightly steam the mask and pin it to a foam wig head. As it cools, the fibers will "reset" into the desired curvature.

