Run your fingers over the surface of a 300 GSM cotton-core cardstock and you will feel the microscopic fibers reaching out to meet you. This is the foundation of our craft; the tactile reality of Personalized Baby Milestone Cards depends entirely on the structural integrity of your paper choice. When you hold a premium sheet, you are sensing the high tensile strength of long-fiber cellulose, which prevents the edges from fraying during the inevitable handling by curious tiny hands. We are not just making paper scraps. We are building archival vessels for memory. The weight of the card should feel substantial in your palm, offering enough resistance to gravity that it does not wilt when propped up next to a wiggly three month old. Every indentation from your pen and every drop of pigment interacts with the porous surface of the medium, creating a permanent record that defies the passage of time. We are blending high-end physics with pure, unadulterated joy. Grab your bone folder and your finest ink; we are about to turn raw materials into a legacy.
THE STUDIO KIT
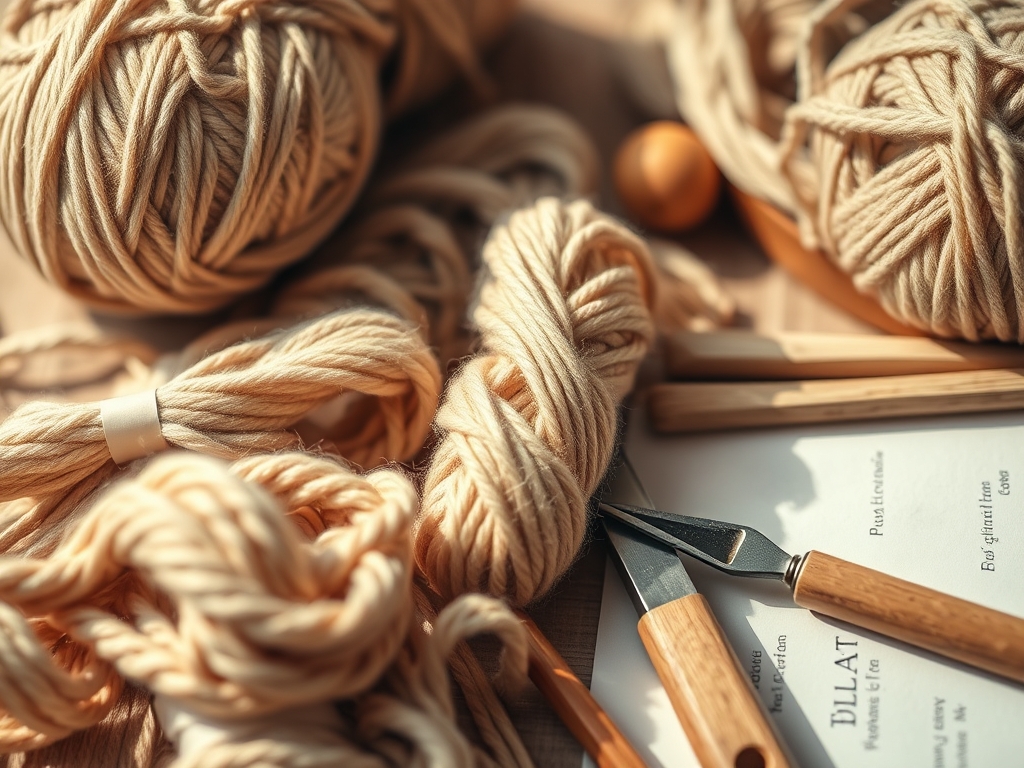
To achieve professional results, your toolkit must prioritize precision and ergonomic efficiency. You will need a self-healing cutting mat to provide a high-friction surface that prevents material slippage. A rotary cutter with a 45mm tungsten steel blade is essential for clean, shear-force edges that avoid the jagged micro-tears caused by standard scissors. For the personalized elements, a set of archival pigment liners is required; these inks are chemically stable and resistant to UV degradation. You will also need a bone folder made of genuine ox bone or high-density PTFE to burnish your folds without leaving a shiny friction mark on the paper fibers.
For material substitutions, if you cannot source 100 percent cotton rag, look for alpha-cellulose papers. These provide similar longevity and acid-free properties at a lower density. If a rotary cutter is unavailable, a heavy-duty guillotine trimmer can work, provided the blade is sharpened to a 15-degree angle to ensure a crisp "snap" through the paper ply rather than a crush.
THE TEMPO
The Maker's Rhythm is a three-phase cycle that respects the chemical and physical drying times of your media. Phase one is the Architectural Layout, which takes approximately forty-five minutes. This is where you calculate margins and font scales using a stainless steel ruler. Phase two is the Application, taking about twenty minutes per card. This involves the steady-state flow of ink or the calibrated pressure of a stamping tool. Finally, phase three is the Curing Period. You must allow at least four hours for the ink to fully bond with the paper fibers through capillary action. Rushing this stage leads to smudging, as the solvent in the ink hasn't fully evaporated to leave the solid pigment trapped in the paper's lattice.
THE CORE METHOD
1. The Botanical Border Frame
Begin by sketching a light graphite perimeter. Use a 0.05mm technical pen to draw delicate vines. This design relies on the principle of visual weight; keep the heaviest clusters at the bottom to ground the card.
Mastery Tip: Understand capillary action. If you hold your pen in one spot too long, the paper will pull more ink than intended, causing a "bloom." Keep your hand moving at a constant velocity to maintain a uniform line gauge.
2. Geometric Minimalist Arcs
Use a precision compass to swing perfect semi-circles at the top of your Personalized Baby Milestone Cards. This design uses negative space to highlight the baby's name.
Mastery Tip: The structural integrity of the card is affected by the direction of the paper grain. Always cut your arcs parallel to the grain to prevent the paper from curling or warping over time.
3. The Celestial Night Sky
Apply a wash of indigo watercolor. As the water evaporates, it creates unique flocculation patterns where the pigment particles settle into the valleys of the paper texture.
Mastery Tip: Use surface tension to your advantage. Drop clean water into a semi-dry wash to create "blooms" that mimic distant nebulae. This is fluid dynamics in action on a miniature scale.
4. Embossed Metallic Script
Using an embossing pen and heat tool, create raised lettering. The powder undergoes a phase transition from solid to liquid and back to solid, bonding to the surface.
Mastery Tip: Do not overheat the paper. Excessive thermal exposure can cause cellulose degradation, making the card brittle. Stop the heat as soon as the powder reaches its melting point and turns glossy.
5. Hand-Stitched Texture
Use a tapered awl to pre-punch holes in a star pattern, then thread through organic cotton floss. This adds a 3D tactile element that contrasts with the flat paper.
Mastery Tip: Maintain consistent thread tension. If you pull too hard, you will cause the paper to "buckle" as the tensile strength of the thread overcomes the rigidity of the cardstock.
6. Pressed Floral Inlay
Affix a dried petal using a pH-neutral adhesive. This design celebrates the organic geometry of nature.
Mastery Tip: Use a burnishing tool over a sheet of parchment paper to press the flower into the card. This ensures a total vacuum seal with the adhesive, preventing oxygen from reaching the petal and causing rapid oxidation.
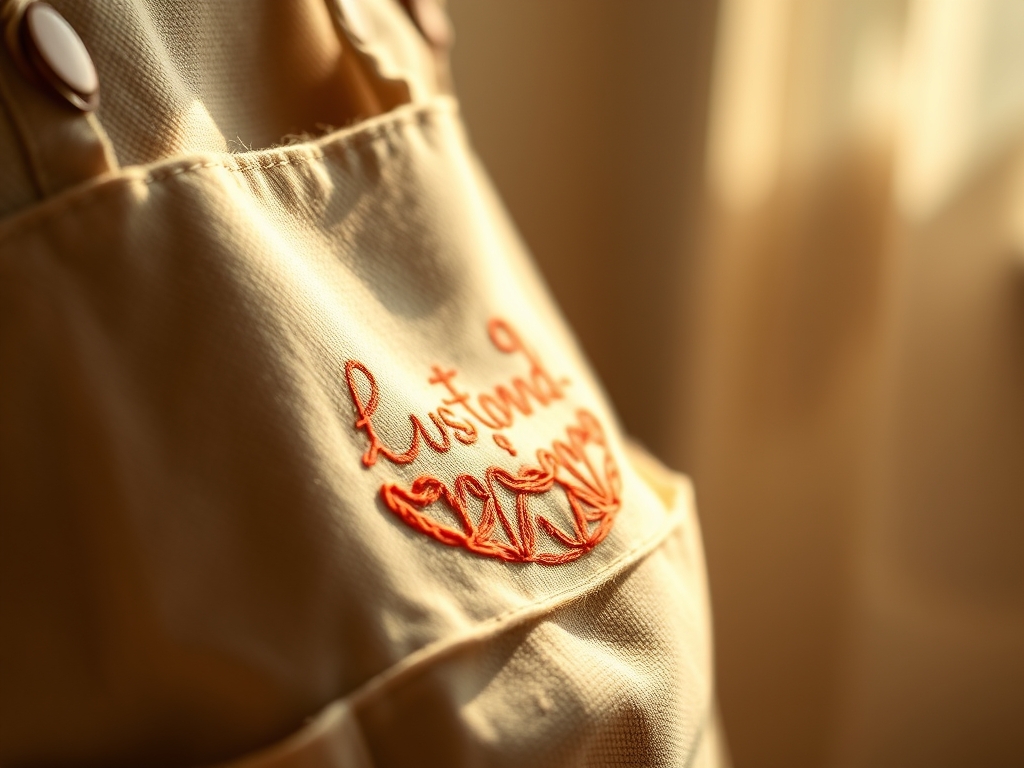
7. Modern Typographic Boldness
Utilize high-contrast black ink to write the "Month" milestones in a bold, sans-serif font. This design is about optical balance and legibility from a distance.
Mastery Tip: Use a ruling pen for ultra-thick lines. The gap between the two metal nibs controls the ink flow through viscosity resistance, allowing for perfectly consistent line widths across all seven designs.
THE TECHNICAL LEDGER
To maintain the longevity of your Personalized Baby Milestone Cards, they must be stored in a cool, dry microclimate. Moisture is the enemy of paper; high humidity increases the hygroscopicity of the fibers, leading to swelling and eventual mold growth. Use acid-free glassine sleeves to prevent acid migration between cards.
Material Variations: For a sustainable approach, use hemp-based paper, which has a higher tear resistance than wood pulp. For a premium feel, hand-milled deckle-edge paper offers a unique aesthetic where no two edges are chemically identical.
The Correction:
- Ink Bleeding: If ink spreads, your paper is too porous. Fix this by applying a light coat of workable fixative before writing.
- Paper Warping: If the card curls after painting, it is unevenly hydrated. Fix this by placing the card between two heavy boards (the compression method) once it is 90 percent dry.
- Cracked Embossing: This happens if the powder is old. Fix this by adding a secondary "sealant" layer of clear embossing powder to bridge the microscopic fractures.
Studio Organization: Store your cardstock horizontally in a steel flat file. Storing paper vertically for long periods causes the fibers to "slump" under their own weight, leading to permanent distortion of the sheet's flatness.
THE FINAL REVEAL
There is a specific kind of magic that happens when you see the full set of seven cards laid out on your studio table. The consistency of the line work, the depth of the pigments, and the crispness of the edges all culminate in a professional-grade product that feels like it belongs in a high-end boutique. When you place these cards next to a baby, the camera captures not just a milestone, but the tangible love and technical precision you poured into the craft. You have mastered the physics of the medium; now, enjoy the memories they will hold.
STUDIO QUESTIONS
What is the best paper weight for milestone cards?
Use 300 GSM (110 lb) cardstock or higher. This weight provides the necessary tensile strength to remain rigid during photos and ensures the paper fibers can absorb ink without significant warping or bleed-through.
How do I prevent my ink from smudging?
Ensure you are using archival pigment ink and allow for full evaporation of the carrier solvent. For humid environments, use a heat tool on a low setting to accelerate the drying process through controlled thermal energy.
Can I use regular markers for personalization?
Regular markers often contain dyes that are susceptible to photodegradation. For Personalized Baby Milestone Cards, always choose lightfast, pigment-based pens to ensure the colors do not fade when exposed to camera flashes or sunlight.
Why are my paper edges fraying when I cut them?
Fraying occurs when the blade is dull or the cutting angle is too shallow. Use a fresh carbide blade and apply consistent downward pressure to shear the cellulose fibers cleanly in a single pass.
How do I fix a card that has started to curl?
Use the counter-tension technique. Lightly mist the back of the card with distilled water and place it between two sheets of clean blotting paper under a heavy weight for twenty-four hours to realign the fibers.