Imagine the scent of ionized oxygen and warm metal filling your lungs as you lean over your workbench. There is a specific, electric thrill in the moment a raw sheet of sterling silver meets the bite of a jeweler's saw. You are not just making an accessory; you are forging a navigational instrument for a soul about to embark on a grand adventure. Hand Crafted Compass Jewelry serves as more than a decorative trinket. It is a physical manifestation of direction and intent, grounded in the tactile reality of precious metals and precision engineering. As you run your thumb over the cold, smooth surface of the disc, you can feel the potential energy stored within the molecular lattice of the silver. Graduates need something that carries weight, both metaphorically and physically. By manipulating the tensile strength of your materials, you create a piece that withstands the friction of daily wear while remaining a constant, shimmering reminder of home. We are about to dive deep into the grit and the glamour of high end metalwork.
THE STUDIO KIT
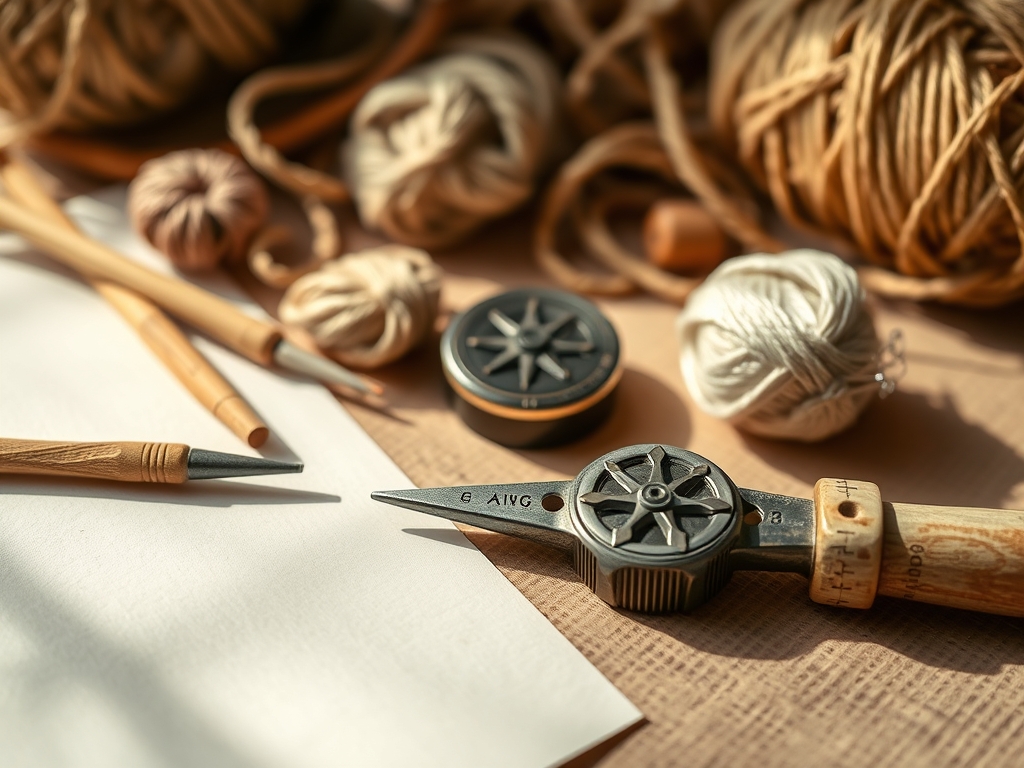
To execute this project with professional finesse, your kit must prioritize ergonomic precision and material integrity. You will need a jeweler's saw with 4/0 blades for intricate interior cuts and a set of digital calipers to ensure the geometric symmetry of your cardinal points. The base material is typically 20-gauge or 22-gauge sterling silver sheet, which offers the ideal balance between structural rigidity and malleability. You will also require a bench block, a rawhide mallet to prevent marring the surface, and a pumice wheel for pre-polishing.
For the compass rose detail, a tungsten carbide scriber is essential for marking your layout without slipping on the polished surface. If you are looking for material substitutions, you can swap sterling silver for red brass or phosphor bronze. These alloys offer a higher resistance to fatigue and a warm, vintage aesthetic, though they require more frequent cleaning to prevent oxidation. Always keep a borax-based flux and a butane torch nearby for the soldering phase; the capillary action of the molten solder is what creates the permanent bond between your compass needle and the base plate.
THE TEMPO
Creating a piece of Hand Crafted Compass Jewelry is a lesson in the Maker's Rhythm. You cannot rush the physics of metal. The initial design and layout phase takes approximately 45 minutes; this is a cerebral exercise where you calculate the exact center point to ensure the piece hangs straight. The piercing and sawing phase requires a steady, rhythmic stroke and usually spans 60 to 90 minutes depending on the complexity of your compass rose.
Soldering and quenching are the high-stakes moments that take only seconds but require minutes of preparation to reach the correct annealing temperature. Finally, the finishing process, including sanding through various grits and a final high-shine burnish, takes about an hour. Total studio time averages four to five hours. This tempo allows the metal to "rest" between heat cycles, preventing the grain structure from becoming brittle and prone to cracking under stress.
THE CORE METHOD
1. Geometric Layout and Scribing
Start by coating your silver sheet in a thin layer of layout fluid or permanent marker. Use your calipers to find the absolute center and scribe a perfect circle. Technical Fact: Scribing creates a physical groove that guides the saw blade, reducing the risk of "skating" across the metal surface. Use a protractor to mark the 90-degree cardinal points and 45-degree sub-points.
Mastery Tip: Always scribe from the center outward. This maintains the structural integrity of your center point, which is the most vulnerable part of the design during the initial layout.
2. Piercing and Tensioning the Saw
Drill a tiny starter hole in each segment of the compass rose that you intend to remove. Thread your saw blade through the hole and tension it until it produces a high-pitched "ping" when plucked. Technical Fact: A properly tensioned blade converts your physical energy into a clean shearing force rather than a jagged tearing motion.
Mastery Tip: Use a lubricant like beeswax or specialized "burr life" on your blade. This reduces friction and heat buildup, which prevents the blade from snapping due to thermal expansion.
3. The Soldering Heat Sink
Position your compass needle onto the base plate using a tiny drop of flux. Place small snippets of hard solder at the junction points. Use a "bushy" flame to heat the entire piece evenly. Technical Fact: Solder follows heat. If you heat only the needle, the solder will "jump" to the needle and fail to bond with the base plate.
Mastery Tip: Utilize a charcoal block as your soldering surface. Charcoal reflects heat back into the piece, creating a localized "oven" effect that ensures a consistent flow of solder through capillary action.
4. Refining the Bezel and Edge
Once the piece is quenched and pickled to remove firescale, use a series of needle files to refine the edges. Move from a #2 cut to a #4 cut for a smooth finish. Technical Fact: Filing in one direction rather than a sawing motion prevents "burring," where the metal rolls over the edge and creates a sharp, unfinished lip.
Mastery Tip: Use a burnishing tool at the very end. The hard steel of the burnisher compresses the surface molecules of the silver, creating a work-hardened finish that is significantly more resistant to scratching.
THE TECHNICAL LEDGER
Maintenance & Longevity: To keep your compass jewelry in heirloom condition, avoid exposure to chlorine and sulfur. Store the piece in a vacuum-sealed poly-bag when not in use to prevent the atmospheric oxidation of the copper content within the sterling silver.
Material Variations: For a sustainable approach, use certified recycled silver. For a premium version, incorporate a 24k gold keum-boo application on the cardinal points. This involves bonding thin gold foil to the silver through heat and pressure, creating a permanent molecular bond.
The Correction:
- The Pitted Solder Joint: This happens if the metal was dirty. Fix: File it flat, re-clean with pumice, and re-solder with a higher grade of flux.
- The Snapped Blade: Usually caused by twisting the saw. Fix: Ensure your workpiece is always perpendicular to the blade.
- Over-Annealing: If the silver looks "fuzzy," you have overheated it. Fix: You must sand past the depleted layer to reach the dense metal beneath.
Studio Organization: Organize your saw blades by gauge in glass tubes. Keep your flux in a sealed container to prevent evaporation, as crystallized flux will not flow properly and can cause "pitting" in your final solder seam.
THE FINAL REVEAL
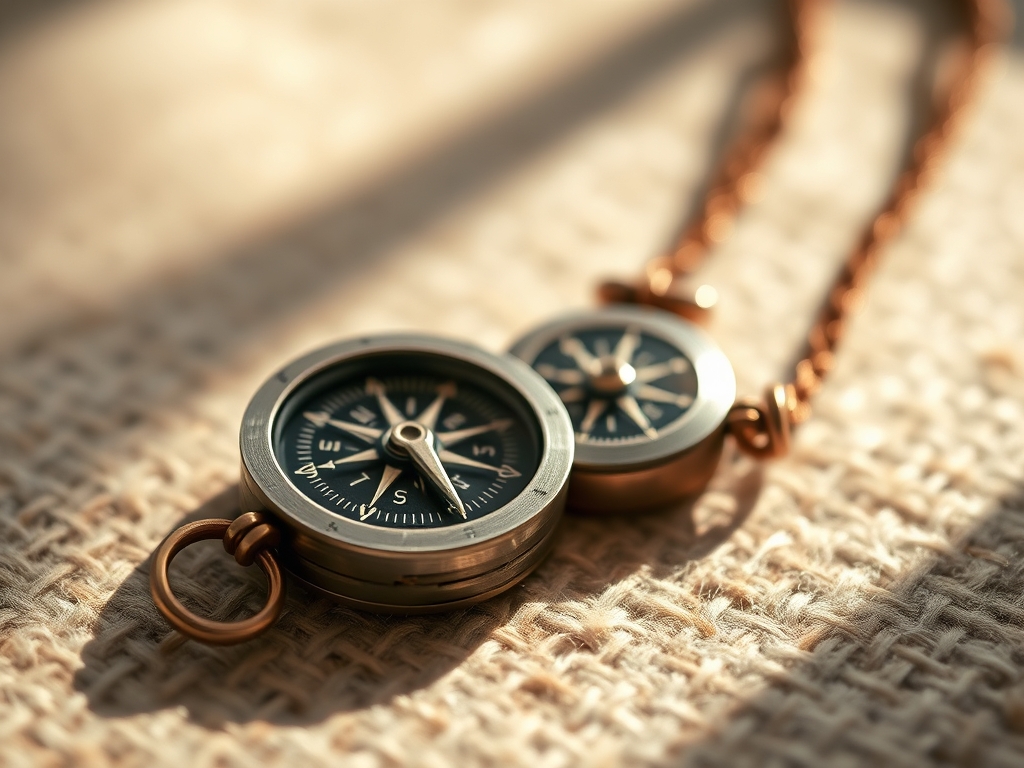
There is nothing quite like the weight of a finished compass pendant resting in the palm of your hand. When you hold it up to the light, the polished edges should catch the sun with a crisp, mirrored reflection. The Hand Crafted Compass Jewelry you have just created is a masterclass in balance and precision. The contrast between the darkened, recessed areas and the high-shine cardinal points creates a visual depth that machine-made pieces simply cannot replicate. It feels substantial; it feels like a promise. Your graduate now carries a piece of art that is technically sound and spiritually grounding, ready to guide them through whatever terrain lies ahead.
STUDIO QUESTIONS
What is the best metal for a beginner's compass?
Sterling silver is ideal because its high thermal conductivity makes soldering predictable. Brass is a more affordable alternative, though it requires more aggressive flux to prevent heavy oxidation during the heating process.
How do I prevent my saw blades from breaking?
Maintain a light grip and let the teeth do the work. Ensure the blade is under high tension and always lubricated. Never force the saw forward; use a steady, vertical rhythmic motion.
Why did my solder fail to flow?
Solder fails if the metal is oxidized or if the heat is uneven. Ensure the joint is chemically clean and heat the largest component first to pull the solder into the seam via capillary action.
How do I achieve a high-mirror finish?
Progress through sandpaper grits from 320 to 2000 without skipping steps. Finish with a rotary tool using red rogue or a polishing cloth. Each step removes the scratches from the previous, finer grit.