
Grab your jeweler's loupe and clear your workbench because we are about to dive into the molecular magic of metalwork. There is nothing quite like the cool, weighted slide of raw sterling silver against your palm before it meets the flame. When we talk about Custom Silver Pendant Necklaces, we are not just discussing jewelry; we are discussing the manipulation of atomic structures to forge a bond between siblings. The tactile resistance of a silver sheet under a jeweler's saw is a sensory thrill that never gets old. We are looking for that perfect balance of tensile strength and luster that only high grade 925 sterling can provide. As we prepare to saw, solder, and polish, remember that every vibration you feel through your bench pin is a lesson in material physics. We are turning cold, hard bullion into a wearable narrative that defies the passage of time.
THE STUDIO KIT
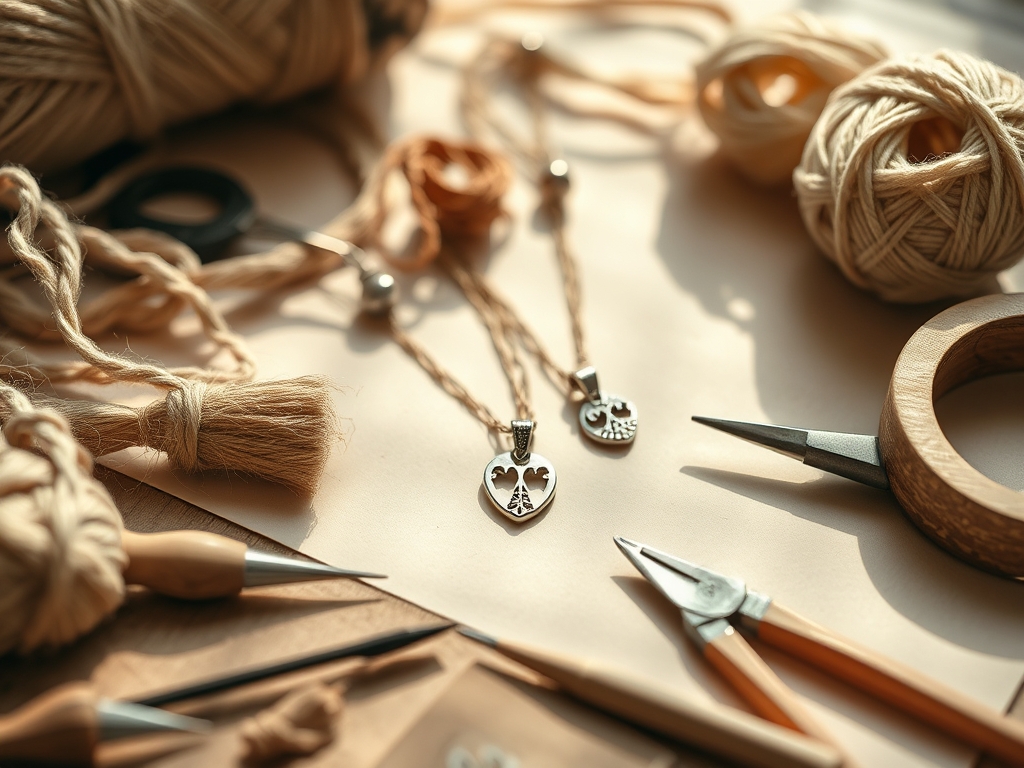
To execute these eight symbolic charms, your station must be calibrated for precision. You will need a professional jeweler's saw with 4/0 blades for intricate interior cuts. A digital caliper is non-negotiable for ensuring the gauge of your silver sheet is consistent across all sister pendants; typically, a 20-gauge or 18-gauge sheet offers the best structural integrity without being overly heavy. You will also need a bench block made of hardened steel to provide a stable surface for stamping and textural work. For the chemical side of the craft, keep a pot of safety pickle (sodium bisulfate) nearby to remove firescale after soldering.
For material substitutions, if you find sterling silver too temperamental for your first run, you can practice your piercing techniques on dead-soft brass or copper. These metals have similar ductility but are more cost-effective for mastering the rhythm of the saw. Always use a beeswax lubricant on your blades to reduce friction and prevent snapping. The porous nature of the wax traps microscopic metal shavings, keeping your cut line visible and your blade cool.
THE TEMPO
The maker's rhythm is a steady pulse that dictates the quality of the finish. Expect to spend approximately 45 minutes on the design and transfer phase for all eight charms. The "piercing and sawing" stage is the most labor-intensive, requiring roughly 30 minutes per charm to ensure the lines are crisp and the internal cutouts are precise. Soldering the jump rings is a quick but high-stakes operation, taking about 5 minutes per piece, followed by a 20-minute pickle bath to clean the metal. Finally, the polishing and burnishing phase takes 15 minutes per pendant. In total, allow for a full six-hour studio session to complete a set of Custom Silver Pendant Necklaces for a large group of sisters. This tempo allows the metal to "rest" between heat cycles, preventing unwanted brittleness.
THE CORE METHOD
1. The Design Transfer and Center Punch
Begin by applying a thin layer of layout fluid or a permanent marker to your silver sheet. Use an awl or a center punch to mark the exact entry points for your saw blade. This creates a tiny physical indentation that prevents your drill bit from wandering across the polished surface.
Mastery Tip: This step utilizes mechanical displacement. By creating a pilot hole, you ensure the drill bit bites into the metal immediately, preserving the structural integrity of the surrounding surface and preventing unsightly scratches.
2. Piercing the Interior Geometry
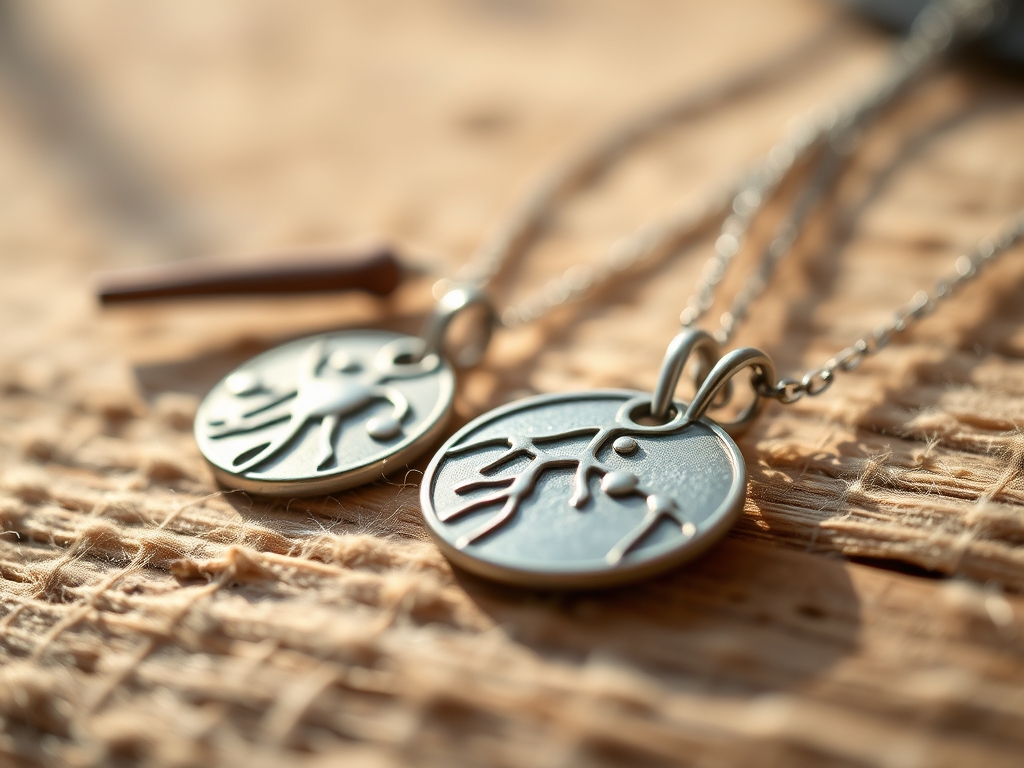
Thread your 4/0 saw blade through the pilot hole and tension it until it sings a high "C" note when plucked. Move the saw in a vertical motion, letting the teeth do the work rather than forcing the blade forward. This is essential for the "Interlocking Heart" or "Compass" symbols where interior negative space defines the charm.
Mastery Tip: Observe the kerf, which is the width of the cut made by the saw. Maintaining a consistent vertical angle prevents the kerf from tapering, ensuring that the charm looks identical from both the front and the back.
3. Filing and Refining the Profile
Once the charms are free from the main sheet, use a set of needle files (half-round and warding) to smooth the edges. Always file in a forward motion; dragging the file backward can dull the teeth and create burrs on the silver.
Mastery Tip: This process is about abrasive leveling. By moving from a coarse file to a fine 600-grit sandpaper, you are systematically removing deep scratches and replacing them with microscopic ones that the eye perceives as a smooth, matte surface.
4. Hard Soldering the Bail
Position a sterling silver jump ring at the top of your charm using a third-hand tool. Apply a tiny amount of easy-flow solder and a drop of flux. Heat the pendant generally until the flux goes clear, then focus the flame on the join until the solder flows.
Mastery Tip: This relies on capillary action. Solder will always flow toward the hottest part of the metal. By heating the larger mass of the pendant first, you "pull" the solder into the joint, creating a molecular bond that is as strong as the metal itself.
5. Texturing and Stamping
For symbols like the "North Star" or "Initials," use a brass hammer and steel stamps. Strike the stamp once with a firm, decisive blow. Multiple strikes often lead to "ghosting" where the stamp bounces and creates a blurred image.
Mastery Tip: This is known as work hardening. As you strike the silver, you are compressing the crystalline structure of the metal, making that specific area harder and more resistant to deformation than the surrounding annealed silver.
6. The Multi-Stage Polish
Start with a radial bristle disc on a rotary tool to reach the crevices, then move to a muslin buffing wheel with red rouge or Tripoli compound. This removes the final firescale and brings out the mirror finish characteristic of high-end Custom Silver Pendant Necklaces.
Mastery Tip: The friction of the buffing wheel generates heat, which slightly softens the surface layer of the silver. This allows the polishing compound to "burnish" the metal, flattening out microscopic peaks to create a high-specular reflection.
THE TECHNICAL LEDGER
Maintenance & Longevity: Sterling silver is prone to oxidation when exposed to atmospheric sulfur. To maintain the luster, sisters should store their pendants in airtight bags with anti-tarnish strips. For cleaning, a simple ionic cleaner or a soft microfiber cloth is superior to harsh chemical dips which can strip away intentional patinas.
Material Variations: For a sustainable edge, source EcoSilver, which is 100% recycled scrap from the medical and tech industries. It possesses the exact same chemical properties as mined silver but with a significantly lower environmental footprint.
The Correction:
- Broken Blades: Usually caused by poor tension or "pinching" the blade in a curve. Fix: Increase tension and use more lubricant.
- Pitted Solder Joins: Caused by dirty metal or over-heating. Fix: Sand the area back to clean metal and re-solder at a lower temperature.
- Off-Center Stamping: Fix: You cannot "erase" a stamp, but you can sand the entire surface down if the gauge is thick enough, or incorporate the mistake into a new "distressed" texture.
Studio Organization: Store your silver sheets flat in a dry, climate-controlled drawer. Use a dedicated "scrap box" for silver dust and offcuts; these can be melted down later to create "organic" cast charms, ensuring zero waste in your production cycle.
THE FINAL REVEAL
Look at that shine! Your set of eight symbolic charms is now a shimmering testament to your technical prowess and your sisterly bond. Whether you chose the "Celestial Sun," the "Infinite Knot," or the "Anchor," each piece reflects the light with a professional brilliance that only hand-finished sterling can achieve. The weight of the 18-gauge silver feels substantial and premium, a far cry from flimsy mass-produced jewelry. These Custom Silver Pendant Necklaces are ready to be boxed, gifted, and worn for a lifetime of adventures.
STUDIO QUESTIONS
What is the best silver gauge for sister necklaces?
An 18-gauge or 20-gauge sheet is ideal. It provides enough thickness for deep stamping and structural durability while remaining light enough for daily wear without causing neck strain or chain fatigue.
How do I prevent my saw blades from breaking?
Ensure the blade is under high tension so it "pings." Use beeswax as a lubricant frequently and maintain a strict vertical sawing motion. Never force the saw forward; let the teeth do the cutting.
Can I use a soldering iron for these pendants?
No. A soldering iron is for soft solder (tin/lead) used in electronics. Jewelry requires a butane or propane torch to reach the high temperatures necessary to melt silver solder and create a permanent molecular bond.
How do I remove the black marks after soldering?
Those marks are firescale. Submerge the warm pendant in a "pickle" solution (sodium bisulfate) for 10 to 15 minutes. This chemical reaction dissolves the copper oxides on the surface, leaving the silver clean and white.

