Close your eyes and listen to that specific, sharp scritch of a needle pulling through top grain hide; it is the sound of a legacy beginning. When you hold Hand Stitched Family Journals, you are not just holding paper and skin. You are holding a pressurized capsule of memory held together by the high tensile strength of waxed linen thread. The leather feels cool and slightly oily to the touch because of the tallow used in the tanning process, which keeps the fibers supple and prevents cracking over decades of use. I want you to feel that weight in your hands right now. It is substantial. It is permanent. We are moving away from the flimsy, glue bound notebooks of the modern world and stepping into the realm of heirloom engineering. This project requires more than just a creative eye; it demands an understanding of how organic materials respond to tension and moisture. We are about to fuse chemistry, physics, and art to create a vessel for your most secret stories and your family's most cherished chronologies.
THE STUDIO KIT

To build something that lasts a century, your kit must be precise. We start with 5 to 6 ounce vegetable tanned leather, which offers the perfect balance of rigidity and flexibility. You will need a diamond awl for piercing consistent, angled holes that allow the thread to sit flush against the surface. Grab your digital calipers to ensure your leather thickness is uniform across the entire hide; inconsistencies here can lead to uneven tension during the stitching phase. For the thread, we utilize 4-ply waxed linen, chosen for its incredible resistance to rot and its ability to "lock" into the leather pores. You will also need a bone folder made of genuine ox bone to create crisp, permanent creases without damaging the delicate grain.
Material Substitutions: If you cannot source vegetable tanned leather, a heavy chrome tanned pull-up leather works, though it will not burnish as cleanly. Instead of linen thread, a bonded nylon thread (size T90) offers extreme durability, though it lacks the traditional aesthetic. If an awl feels too intimidating, a pricking iron with a dead-blow mallet provides a more mechanical, uniform spacing for your stitch line.
THE TEMPO
The "Maker's Rhythm" is a psychological state where your heart rate syncs with the repetitive motion of the needle. This is not a fast project; it is a deliberate one. Expect to spend approximately two hours on material preparation, including cutting, skiving, and edge treatment. The actual stitching of the Hand Stitched Family Journals takes about four to six hours, depending on the complexity of your binding. Finally, allow twenty-four hours for the conditioners and waxes to fully penetrate the leather fibers and cure. This temporal investment ensures that the structural integrity of the journal remains intact even after thousands of openings and closings.
THE CORE METHOD
1. Mapping the Grain and Cutting
Before the first cut, you must identify the grain direction of the hide. Leather stretches more in one direction than the other; always align your cover so the least amount of stretch happens horizontally across the spine. Use a rotary cutter and a heavy steel ruler to make clean, decisive passes.
Mastery Tip: This is about dimensional stability. By aligning the "tight" grain across the spine, you prevent the journal from sagging or warping over time as the leather absorbs ambient humidity.
2. Skiving the Edges
Using a skiving knife, shave down the thickness of the leather where it folds over the interior pockets. You are aiming for a tapered edge that reduces bulk without sacrificing the tensile strength of the material.
Mastery Tip: This utilizes the principle of gradient thickness. A tapered edge allows for a more ergonomic grip and ensures that the mechanical stress of the fold is distributed across a wider surface area, preventing premature fiber fatigue.
3. Punching the Stitching Path
Mark your stitch line exactly 4mm from the edge using a wing divider. Use your pricking iron to mark the spacing. Every hole must be punched at a consistent 45-degree angle to create the classic "cast" look of professional leatherwork.
Mastery Tip: This relies on shear stress distribution. Angled holes allow the thread to wrap around the leather fibers in a way that prevents the thread from "sawing" through the hide when the journal is under tension.
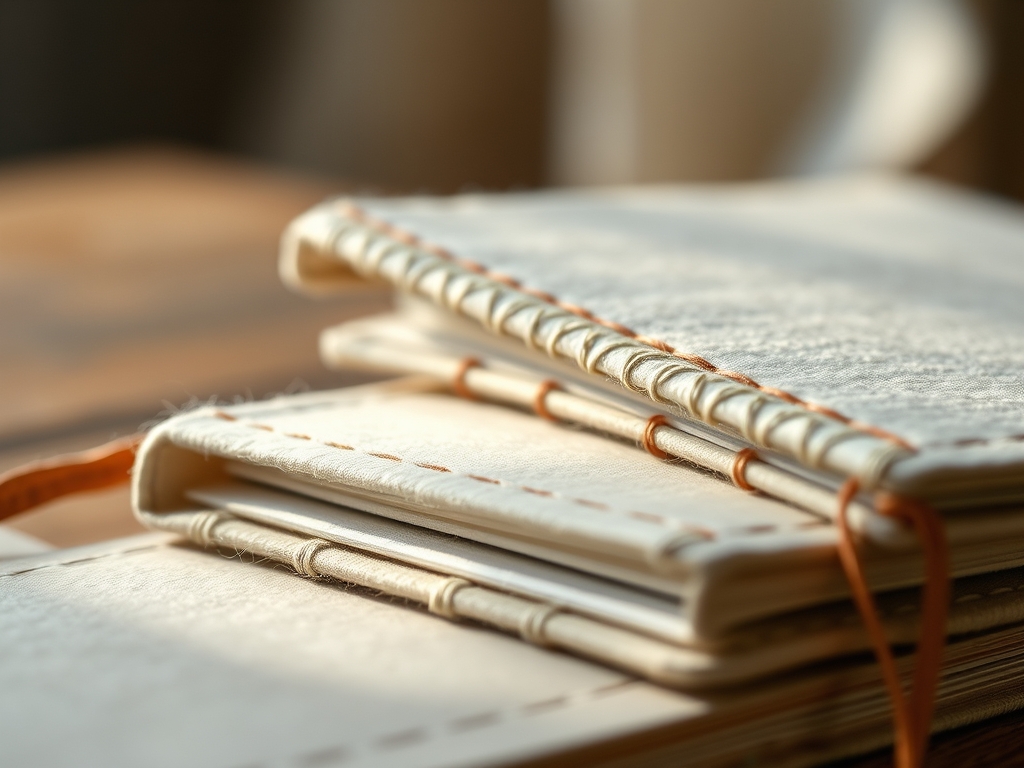
4. The Saddle Stitch Execution
Thread two needles onto a single length of waxed linen. Pass them through the same hole from opposite sides, creating an interlocking figure-eight pattern. Pull each stitch with even pressure to ensure the thread seats deeply into the leather.
Mastery Tip: This is the peak of mechanical redundancy. Unlike a machine lockstitch, if one thread breaks in a saddle stitch, the other remains intact, preventing the entire seam from unraveling.
5. Burnishing the Edges
Apply a small amount of tragacanth gum to the raw edges. Use a wooden burnisher to rub the edge rapidly until it generates heat. The friction causes the fibers to fuse together, creating a smooth, glassy finish.
Mastery Tip: This process uses friction-induced polymerization. The heat and pressure collapse the porous edge fibers into a solid, hydrophobic barrier that protects the internal structure from moisture and oils.
THE TECHNICAL LEDGER
Maintenance & Longevity
To keep your journal in heirloom condition, apply a high-grade neatsfoot oil or beeswax cream once every six months. This replenishes the natural lipids within the hide. Store the journal in a cool, dry place away from direct UV light, which can cause the collagen fibers to undergo photo-degradation, leading to brittleness.
Material Variations
For a sustainable twist, look for cork leather or recycled leather composites, though these require a finer gauge needle to prevent tearing. For a premium upgrade, Shell Cordovan is the gold standard; it is sourced from the flat muscle beneath the hide of a horse rump and is virtually non-porous and incredibly durable.
The Correction: 3 Common Mistakes
- The Loose Stitch: If your thread looks wavy, your tension is inconsistent. The Fix: Use a stitching pony to hold the leather steady, allowing you to use both hands to pull the thread with uniform force.
- The Blown-Out Hole: This happens when the awl is too large for the thread. The Fix: Match your thread gauge to your awl size. If the hole is already too big, a tiny drop of water can help the leather fibers swell and close slightly.
- The Cracked Spine: This occurs when the leather is too dry before folding. The Fix: Lightly dampen the grain side with a sponge before making your primary folds to increase the elasticity of the fibers.
Studio Organization
Store your leather flat or in loose rolls with the grain side facing out. Never fold your hides, as this creates permanent crease lines that disrupt the cellular structure of the leather. Keep your metal tools lightly oiled to prevent oxidation and store them in a humidity-controlled environment.
THE FINAL REVEAL
Look at that! You have successfully engineered a piece of history. The way the light catches the burnished edges and the rhythmic precision of those saddle stitches makes these Hand Stitched Family Journals feel like something pulled from an ancient library. It is heavy, it is fragrant, and it is ready to guard your family's secrets for the next century. The tactile feedback of the leather will only improve with age, developing a unique patina that tells the story of everyone who has ever held it. You didn't just make a book; you built a legacy.
STUDIO QUESTIONS
What is the best leather for beginners?
Vegetable tanned leather is ideal because it is firm, easy to tool, and takes a burnish beautifully. It provides the structural integrity needed for Hand Stitched Family Journals while being forgiving during the cutting and stitching phases.
How do I prevent my thread from tangling?
Always run your linen thread through a block of pure beeswax before stitching. This coats the fibers, reducing friction and preventing the thread from knotting or fraying as it passes through the leather multiple times.
Can I use a regular sewing machine?
Most home machines lack the torque to penetrate 6oz leather. Using one risks breaking the motor or the needle. Hand stitching with a saddle stitch is significantly more durable and provides a superior aesthetic for heirloom projects.
How do I fix a mistake in my stitching?
If you catch a mistake early, carefully unthread the needles and backstitch through the holes. If the leather is marked, a bone folder can sometimes be used to gently massage the fibers back into place and hide the indentation.