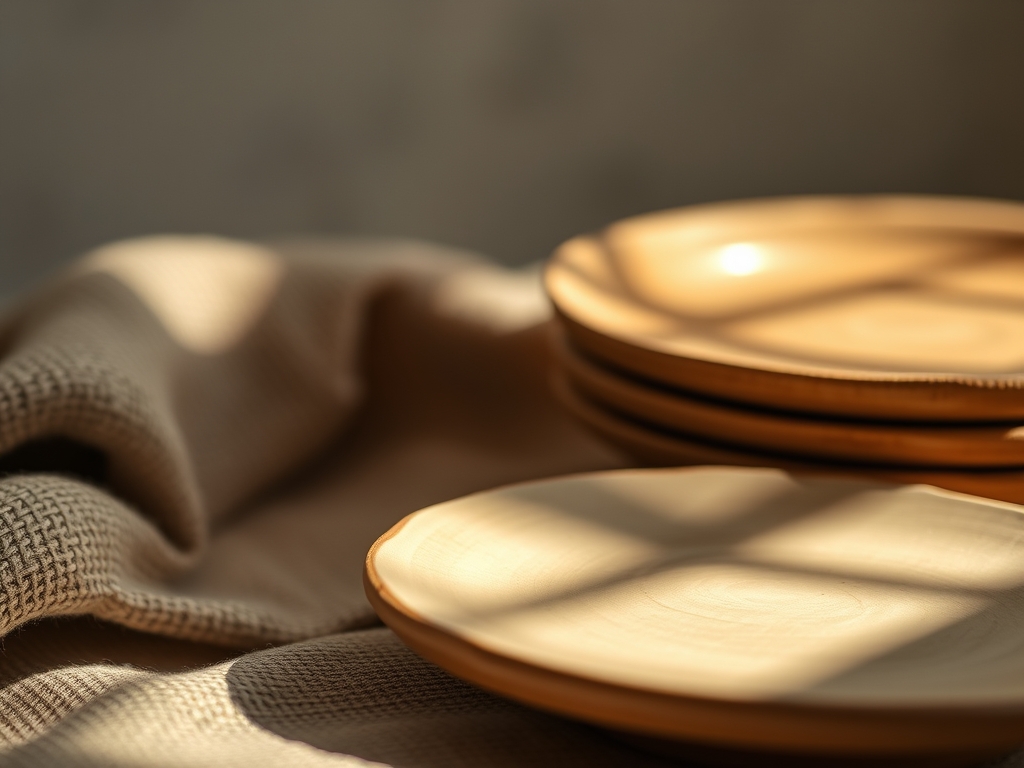
Wet clay is a fickle, gorgeous beast that demands your full attention before it even touches the wheel. You can feel the grit of the grog against your palms as you wedge the mass; it is a primal, tactile conversation between your muscles and the earth's mineral composition. When we talk about creating Hand Thrown Anniversary Plates, we are not just making dishes; we are engineering a legacy piece designed to withstand decades of thermal shock and celebratory dinners. The centrifugal force pulls at the clay body, testing its tensile strength as you pull the walls upward. You have to find that sweet spot where the moisture content allows for elasticity without causing the structural integrity to collapse under its own weight. It is a high-stakes dance of physics and art. We are aiming for a refined, professional finish that screams heirloom quality. Grab your apron and tie back your hair because we are diving deep into the molecular magic of high-fire ceramics and the shimmering chemistry of liquid gold.
THE STUDIO KIT
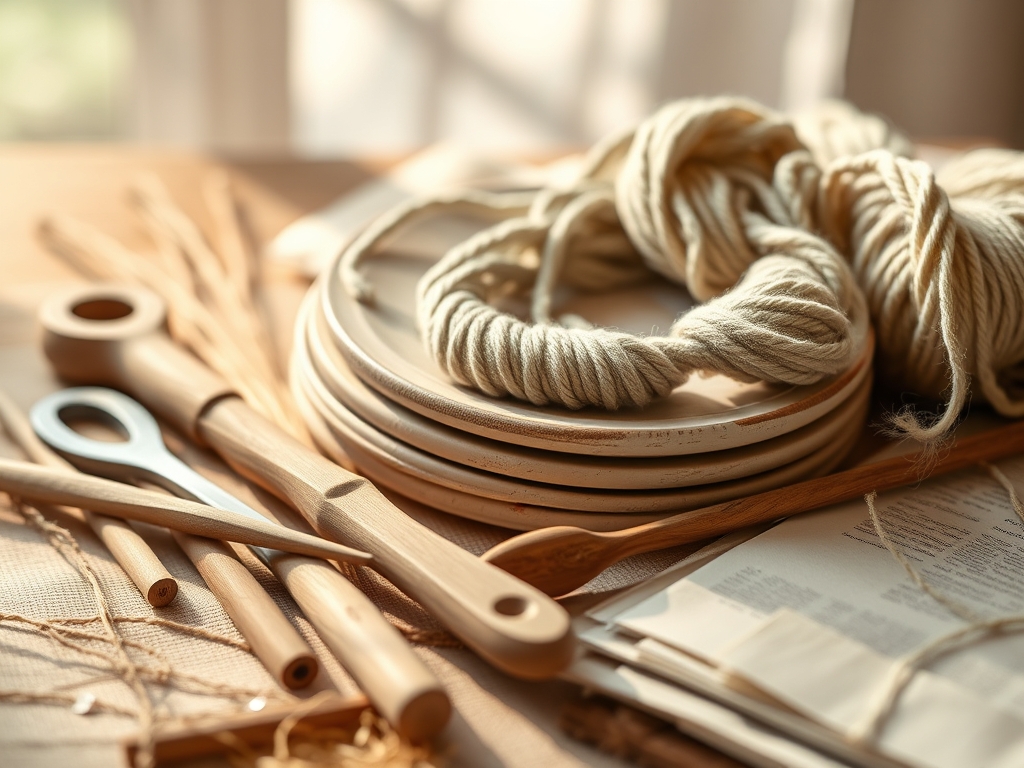
To execute these plates with precision, your workbench needs to look like a laboratory. We start with a high-fire stoneware or porcelain body; porcelain offers a higher translucency but has a finicky "memory" that requires expert handling during the drying phase to prevent warping. You will need a set of stainless steel calipers to ensure every plate in the anniversary set maintains a consistent diameter. For the shaping, a serrated metal rib is essential for scoring, while a flexible polymer rib helps burnish the surface to a glass-like smoothness.
For the decorative finish, we use overglaze gold luster, which contains actual particles of 22k gold suspended in a resin medium. You will also need a fine-tipped liner brush made of natural sable hair to achieve the capillary action necessary for a clean rim.
Material Substitutions: If you cannot access a high-fire kiln, you can utilize a mid-range (Cone 5/6) stoneware, though you must adjust your glaze chemistry to ensure the thermal expansion coefficients match the clay body. For a more sustainable approach, reclaim your scrap clay by slaking it down and re-wedging it to ensure the particle orientation is uniform.
THE TEMPO
The "Maker's Rhythm" is less about a stopwatch and more about the evaporation rate of the water trapped within the silicate structure. Expect to spend approximately 20 minutes on the wheel for each plate to ensure the floor is compressed sufficiently to prevent "S-cracks." However, the real time-sink is the drying.
You must allow the plates to reach a leather-hard state over 24 to 48 hours, depending on your studio's humidity. The bisque fire takes about 12 hours, followed by a 24-hour cooling period. The glaze fire is similar in duration, but the gold luster firing is a quick, low-temperature "third fire" that only takes about 4 hours. Total production time for a set of four plates usually spans ten days. Patience is your most important tool; rushing the drying process leads to uneven shrinkage and catastrophic cracking.
THE CORE METHOD
1. Centering and Compression
Start by slamming your clay onto the center of the bat. Use your palms to force the clay into a stable, rotating mound. Technical Fact: Compression of the plate's floor is vital because the center of a plate dries slower than the rim, creating internal tension.
Mastery Tip: Use a wooden rib to press firmly from the center outward to the rim at least three times. This aligns the clay platelets, increasing the structural integrity and preventing the dreaded S-crack during the firing.
2. Opening and Thinning the Walls
Gently pull the clay outward to create a wide, flat base. Keep your movements slow to avoid eccentric rotation. Use your calipers frequently here to check that your diameter matches your design specs.
Mastery Tip: Always leave a slightly thicker "bead" of clay at the rim. This extra mass provides tensile strength during the firing process, preventing the edges from drooping or warping under the intense heat of the kiln.
3. Trimming the Foot Ring
Once the plate is leather-hard, flip it over on the wheel. Use a tungsten carbide trimming tool to carve out a crisp foot ring. This reduces the overall weight and gives the plate a professional "lift."
Mastery Tip: The foot ring should be positioned approximately one-third of the way in from the edge. This provides the best ergonomic balance and ensures the weight of the plate is distributed evenly across the surface it sits on.
4. Applying the Seven Special Glazes
Now for the chemistry. We are looking for glazes that react beautifully with the gold. Options include Celadon (for a translucent, watery look), Oil Spot (for high-contrast texture), or a Matte White (to let the gold pop).
Mastery Tip: Ensure your glaze thickness is between 1.0 and 1.2 mm. If the glaze is too thick, it will "crawl" or run off the plate; if it is too thin, the color will appear washed out and lose its tactile depth.
5. The First Firing (Bisque)
Load the plates into the kiln, ensuring they are not touching. We fire to Cone 04 to burn off organic materials and make the clay porous enough to absorb the liquid glaze.
Mastery Tip: Slow the firing ramp between 300F and 500F. This is when "chemically combined water" escapes. If it leaves too fast, the plate will explode.
6. The Glaze Firing
Apply your chosen glaze and fire to the clay body's maturing temperature (usually Cone 6 or 10). This is where the silica and flux melt together to form a glass coating.
Mastery Tip: Use a "soak" at the end of the firing (holding the temp for 15-20 minutes). This allows bubbles to heal over, resulting in a pinhole-free, vitrified surface.
7. The Gold Luster Rim
After the glaze fire, apply the gold luster to the rim using a steady hand and a banding wheel. This requires a third, low-temperature firing (Cone 018).
Mastery Tip: Ensure the studio is well-ventilated. The gold luster contains volatile oils that must gassify. The gold bonds to the glaze through molecular adhesion, creating a permanent, metallic finish.
THE TECHNICAL LEDGER
Maintenance & Longevity: Hand thrown anniversary plates with gold rims are not microwave safe due to the metal content. Hand-wash only using a non-abrasive sponge to prevent scratching the 22k gold surface.
Material Variations:
- Sustainable: Use a "closed-loop" water system to recycle clay slurry.
- Premium: Incorporate bone ash into your clay body for a "Bone China" effect, increasing whiteness and strength.
The Correction:
- The Warp: If plates warp in the kiln, you likely pulled the walls unevenly. Use a bat system to avoid lifting the wet plate off the wheel.
- The Crawl: If glaze pulls away, the bisque was dusty. Always wipe your plates with a damp sponge before glazing.
- The Purple Gold: If your gold luster looks purple, it was applied too thin. It needs a solid, opaque layer to reflect the true yellow-gold spectrum.
Studio Organization: Store greenware on gypsum boards (drywall) to pull moisture evenly from the bottom. This prevents the edges from drying too fast and curling upward.
THE FINAL REVEAL
There is nothing quite like the moment you crack the kiln lid and see that gold rim catching the light. The contrast between the deep, complex glaze and the sharp, metallic edge is breathtaking. These Hand Thrown Anniversary Plates are more than just functional objects; they are a testament to your mastery of earth, fire, and chemistry. When you hold one, you can feel the balance and the weight of a piece built to last for generations. It is high-energy, high-reward crafting at its finest!
STUDIO QUESTIONS
Why do my plates crack in the center?
This is usually an "S-crack" caused by poor compression. Use a wooden rib to firmly press the floor of the plate while throwing to align the clay particles and reduce drying stress.
Can I put gold-rimmed plates in the dishwasher?
No. The harsh detergents and high-pressure water can abrade the thin layer of gold luster. Hand-washing is essential to preserve the molecular bond of the metallic finish over time.
What is the best clay for anniversary plates?
Stoneware is preferred for its durability and lower shrinkage rate. However, porcelain is the gold standard for anniversary gifts due to its refined, white surface which makes glazes appear more vibrant.
How do I stop the plates from warping?
Warping occurs due to uneven drying or uneven wall thickness. Use calipers for consistency and dry your plates slowly under plastic to ensure the rim and the base lose moisture at the same rate.