
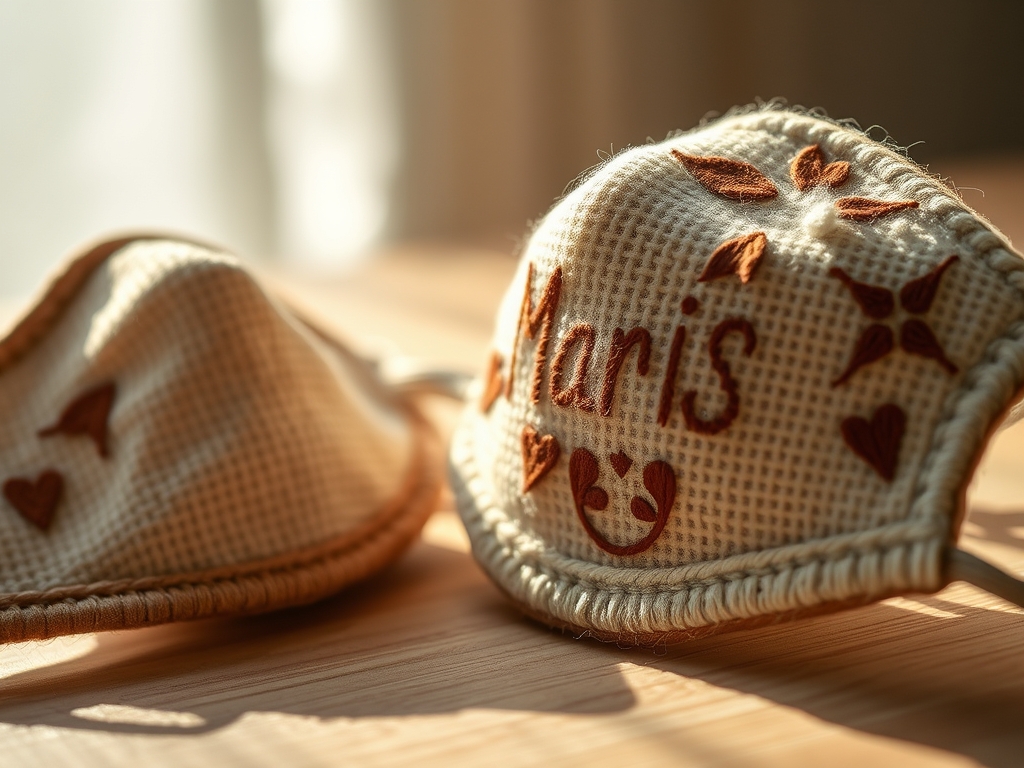
Imagine the sensation of a cool, high-thread-count cloud resting against your cheek while you navigate the sterile, pressurized cabin of a long-haul flight. That is the magic of working with premium soft cottons. When we talk about creating Personalized Embroidered Masks, we are not just sewing fabric; we are engineering a micro-environment for your face. The tactile feedback of a long-staple Egyptian cotton or a brushed Pima is unmistakable. These fibers possess a superior tensile strength that allows them to withstand the dense needle-penetration of intricate embroidery without puckering or tearing. As a maker, your hands will immediately register the difference in fiber density. High-quality cotton feels substantial yet breathable, offering a porous structure that facilitates airflow while maintaining a barrier. We are aiming for that sweet spot where luxury meets utility. By the time we finish this project, you will have a travel essential that feels like a bespoke hug for your senses, combining the structural integrity of professional tailoring with the softest touch imaginable.
THE STUDIO KIT
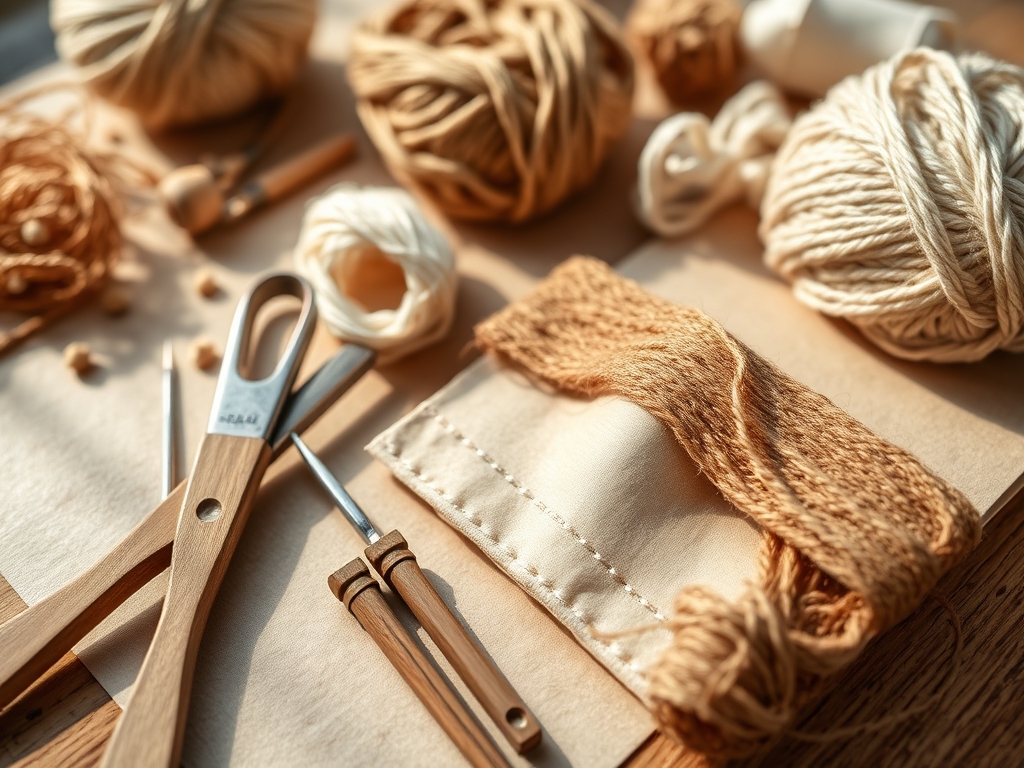
To execute this project with professional precision, your workstation needs to look less like a hobby desk and more like a laboratory. We start with a rotary cutter equipped with a fresh 45mm tungsten steel blade to ensure clean, fray-free edges. You will also need a tailor's ham for pressing curved seams, which is vital for maintaining the ergonomic shape of the mask. For the embroidery phase, a set of high-tension wooden hoops is non-negotiable; they must hold the fabric drum-tight to prevent shifting during the stitching process.
Material Substitutions: If you cannot source 600-thread-count Pima cotton, look for Tencel blends. Tencel offers a similar moisture-wicking profile and high luster. Instead of standard polyester thread, use mercerized cotton thread. The mercerization process increases the surface area of the fiber, giving it a brilliant sheen and improved dye affinity, which makes your Personalized Embroidered Masks pop against the base fabric. You will also need a fine-tipped stylus or bone folder to crisp your seam allowances before topstitching.
THE TEMPO
The maker's rhythm for this project follows a specific cadence of preparation, execution, and refinement. Total production time for a single high-end mask is approximately three to four hours, depending on the complexity of your embroidery design. The first hour is dedicated to the prep phase, which includes pre-washing the cotton to account for shrinkage and cutting the pattern pieces with surgical accuracy.
The second phase is the embroidery heart. This is where the tempo slows down. Whether you are using a machine or hand-stitching, this phase requires about ninety minutes of focused attention. You are essentially tattooing the fabric, and any rush here compromises the structural integrity of the weave. Finally, the assembly phase takes about forty-five minutes. This involves the "burrito method" of sewing the layers together, turning them right-side out, and performing the final burnish on the edges. Respecting this rhythm ensures that the final product is not just a mask, but a piece of wearable art.
THE CORE METHOD
1. Grainline Alignment and Cutting
Start by identifying the warp and weft of your soft cotton. Use your rotary cutter and a transparent acrylic ruler to cut your pattern pieces exactly on the grain. If the fabric is off-grain, the mask will twist and torque uncomfortably against your face after the first wash.
Mastery Tip: Understanding fabric bias is crucial here. Cutting the ear loops or binding on a 45-degree angle provides natural elasticity without the need for harsh synthetic elastics, utilizing the mechanical stretch inherent in the cotton weave.
2. Stabilizing the Embroidery Field
Before you begin your Personalized Embroidered Masks design, apply a lightweight, water-soluble stabilizer to the back of the cotton. This temporary reinforcement prevents the needle from pushing the delicate fibers out of alignment, which can cause "tunneling" or distorted patterns.
Mastery Tip: This process relies on structural tension. The stabilizer acts as a secondary substrate, absorbing the impact of the needle so the primary cotton fibers remain undisturbed and the stitch density remains uniform across the entire surface.
3. Executing the Personalized Embroidery
Using a fine gauge needle (size 70/10 is ideal for soft cotton), begin your design. Keep your thread tension slightly lower than usual to prevent the fabric from gathering. If you are hand-stitching, use a thimble to maintain consistent pressure and depth.
Mastery Tip: This step utilizes capillary action when you eventually wash away the stabilizer. The water must penetrate the fibers to dissolve the backing without over-saturating the cotton, which could lead to fiber swelling and loss of the crisp embroidery definition.
4. Ergonomic Seam Construction
Pin your embroidered front panel to the soft lining. Sew the central vertical seam using a short stitch length (2.0mm) to ensure the seam is robust enough to handle the constant movement of the jaw. Clip the curves carefully with embroidery scissors, being careful not to nick the thread.
Mastery Tip: Use a tailor's clapper after pressing your seams. The wood absorbs the steam and "traps" the heat, forcing the cotton fibers to lay perfectly flat. This creates a professional, low-profile seam that won't irritate the bridge of your nose.
5. Final Burnishing and Hardware
Turn the mask right-side out and use a bone folder to push out the corners. Topstitch the edges to secure the internal layers. If you are adding a nose wire, use a jewelry awl to create a small channel, then insert a plastic-coated aluminum strip for a custom fit.
Mastery Tip: Topstitching increases the tensile strength of the perimeter. By adding this final row of stitches, you are creating a structural frame that prevents the mask from collapsing inward when you inhale, a common flaw in lower-quality travel gear.
THE TECHNICAL LEDGER
Maintenance & Longevity
To preserve the luster of the soft cotton and the integrity of the embroidery, hand-wash your masks in cool water using a pH-neutral detergent. Avoid wringing the fabric, as this causes mechanical stress on the fibers. Instead, roll the mask in a clean towel to extract moisture before air-drying.
Material Variations
For a more sustainable approach, utilize organic GOTS-certified cotton. If you want a more premium feel, look for Sea Island cotton, which has the longest fibers in the world, resulting in an incredibly smooth surface that feels like silk but retains the durability of cotton.
The Correction
- Puckered Embroidery: This happens when the tension is too high. Fix it by steaming the area heavily and gently stretching the fabric while damp.
- Skipped Stitches: Usually caused by a dull needle. Replace your needle every four hours of active sewing to maintain a sharp point.
- Misaligned Seams: If the layers shift, use a walking foot on your sewing machine. This tool feeds the top and bottom layers at the same rate, preventing "creep."
Studio Organization
Store your cotton bolts in a cool, dry place away from direct sunlight to prevent UV degradation of the natural dyes. Use clear, airtight bins to keep dust out of the porous fibers, ensuring your materials stay pristine for your next batch of Personalized Embroidered Masks.
THE FINAL REVEAL
Look at that! You have successfully transformed raw, high-density cotton into a sophisticated travel companion. The embroidery is crisp, the seams are flat, and the fabric feels like an absolute dream against the skin. This isn't just about protection; it is about arriving at your destination feeling refreshed and looking intentional. Your Personalized Embroidered Masks are now a testament to your technical skill and your refusal to compromise on comfort. Throw one in your carry-on and get ready to turn heads at the terminal!
STUDIO QUESTIONS
Which cotton is best for sensitive skin during travel?
Pima or Egyptian cotton is ideal because the extra-long fibers create a smoother surface. This reduces friction against the skin, preventing irritation during long periods of wear in dry airplane cabins.
How do I prevent my embroidery from fraying?
Use a high-quality rayon or mercerized cotton thread and ensure your bobbin tension is balanced. Applying a tiny amount of fray-check solution to the back of the knots provides extra security for high-use items.
Can I make these masks without a sewing machine?
Yes, you can use a backstitch for the main seams. It is a very strong manual stitch that mimics the look and durability of a machine lockstitch, though it requires more time and precision.
Why is my mask fogging up my glasses?
This is a fit issue. Ensure you use a nose wire and a bone folder to crisp the top edge. A tighter seal at the bridge of the nose prevents warm air from escaping upward.
What is the best way to pre-shrink cotton?
Submerge the fabric in the hottest water it will likely encounter during its life, then let it air dry. This "shocks" the fibers into their final stable state before you begin cutting.

