
Imagine the cool, dense weight of wet stoneware sliding between your palms as the wheel begins its rhythmic hum. There is a specific, visceral thrill in feeling the centrifugal force fight against your thumbs while you center a three pound lump of clay. We are diving deep into the world of Hand Thrown Butter Crocks today. These are not just kitchen accessories; they are masterpieces of thermal regulation and fluid dynamics. When you press your fingers into that spinning mass, you are manipulating silica and alumina to create a porous barrier that uses water to seal out oxygen. It is pure kitchen alchemy. The smell of damp earth fills the studio, and the tactile feedback from the clay tells you exactly when the walls are thin enough to be elegant but thick enough to withstand the thermal shock of a kiln fire. We are crafting a vessel designed to keep butter at the perfect spreading consistency through the sheer power of evaporative cooling and an airtight water seal.
THE STUDIO KIT
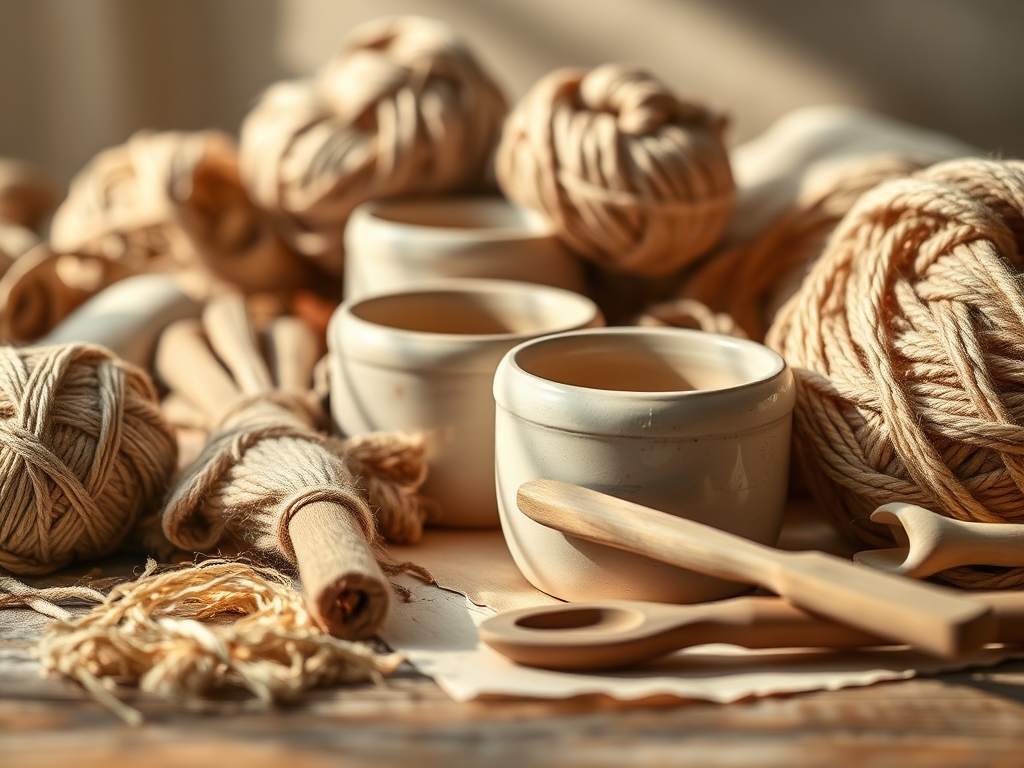
To master the French butter bell, you need a kit that respects the physics of the medium. Start with a **high-fire stoneware body** with a low absorption rate. This ensures the vessel remains watertight and does not leach moisture through the base. You will need a pair of **precision calipers** to measure the diameter of the inner bell against the outer crock. This is the most critical measurement in the process. A **stiff wire cutter** is essential for a clean release from the wheel head, while a **flexible steel rib** helps burnish the surface to compress the clay particles.
For the finer details, keep a needle tool and a wooden modeling tool nearby for trimming the foot and defining the rim. If you are looking for material substitutions, you can use a porcelain body for a smoother finish, though it has less tensile strength during the throwing phase and may slump if the walls are too thin. If you lack a professional splash pan, a simple plastic basin works, but ensure your ergonomic setup allows your elbows to lock against your hips for maximum stability during the centering phase.
THE TEMPO
The maker's rhythm is dictated by the evaporation rate of the water within the clay. You cannot rush a butter crock. The initial throwing phase takes about twenty to thirty minutes per set. However, the pieces must then sit for twelve to twenty four hours to reach a leather-hard state. This is the window where the clay has lost enough moisture to be handled without deforming but retains enough to be trimmed with a sharp blade.
After trimming, the drying process must be slow and even to prevent warping or cracking. This usually takes three to five days depending on the humidity of your studio. The first firing, known as the bisque fire, takes about twelve hours, followed by a cooling period of another twenty four hours. Finally, the glazing and second firing add another two days to the timeline. Total production time for a professional grade crock is roughly one week from raw clay to finished ceramic.
THE CORE METHOD
1. Centering and Opening the Outer Crock
Start by throwing the outer vessel, which is essentially a sturdy cylinder. Focus on maintaining a consistent wall thickness of about one quarter inch. Use your calipers to check the interior depth. The outer crock must be deep enough to hold the water and the inner bell without overflowing.
Mastery Tip: Utilize capillary action principles by ensuring the interior floor is perfectly flat. A flat floor prevents air pockets from forming under the water, which ensures a more stable and consistent vacuum seal when the lid is placed.
2. Throwing the Inner Bell
The inner bell is thrown upside down. It is a smaller, hollow cylinder attached to a wider lid. This is where the butter will live. The diameter of this bell must be exactly one half inch smaller than the interior of the outer crock to allow for water displacement.
Mastery Tip: The structural integrity of the bell depends on the rim. Flare the rim slightly to create a "catch" for the butter. This increases the surface area, allowing the butter to adhere to the ceramic walls through friction and suction.
3. Trimming the Foot and Lid
Once the pieces are leather hard, return them to the wheel. Use a loop tool to carve away excess clay from the base of the outer crock and the top of the lid. Create a recessed foot on the outer crock to prevent heat transfer from kitchen counters.
Mastery Tip: Burnishing the leather hard clay with a smooth stone or metal rib collapses the surface pores. This creates a denser exterior that is more resistant to moisture penetration even before the glaze is applied.
4. Refining the Fit
Place the bell into the outer crock to test the clearance. There should be a uniform gap around the sides. Use your needle tool to mark any areas that need further trimming. The lid should sit flush on the rim of the outer crock without wobbling.
Mastery Tip: Consider the shrinkage rate of your specific clay body. Most stoneware shrinks by 10 to 12 percent during the firing process. You must calculate this into your initial caliper measurements to ensure the pieces still fit after the final kiln exit.
5. Glazing for Functionality
Apply a food safe, non-porous glaze to the entire interior of the bell and the interior of the outer crock. Leave the rim where the two pieces touch unglazed to prevent them from fusing together in the kiln.
Mastery Tip: A high gloss glaze is easier to clean and prevents bacteria from nesting in microscopic pits. The surface tension of a smooth glaze allows water to slide easily, making the daily water change a seamless process.
6. The Final Firing
Fire the pieces to the maturing temperature of your clay, typically Cone 6 or Cone 10. This vitrifies the clay, turning it into a glass-like state that is completely waterproof.
Mastery Tip: Slow cooling in the kiln prevents dunting, which are cracks caused by thermal shock. A slow descent through the quartz inversion zone ensures the silica crystals bond permanently without stress fractures.
THE TECHNICAL LEDGER
Maintenance & Longevity: To keep your crock in peak condition, change the water every two to three days. Use filtered water to prevent mineral buildup on the unglazed rims. Every two weeks, run the crock through a high temperature dishwasher cycle to sanitize the pores.
Material Variations: While stoneware is the standard, premium porcelain offers a translucent quality that is stunning but requires a higher level of skill to throw. For a more sustainable approach, use recycled "pugged" clay, which often has a unique variegated texture but requires careful wedging to remove air bubbles.
The Correction:
- The Bell Slump: If the inner bell falls out, the interior was too smooth. Fix: Score the inside of the bell with a needle tool before the bisque fire to add "tooth."
- The Vacuum Lock: If the lid is hard to remove, the fit is too tight. Fix: Sand the unglazed rims with silicon carbide sandpaper after firing to increase the air gap.
- The Seep: If water leaks through the bottom, the clay was under-fired. Fix: Re-fire the piece to a higher cone to ensure full vitrification.
Studio Organization: Store your drying crocks under thin plastic sheeting to ensure the bell and the crock dry at the same rate. This prevents the lids from warping at a different speed than the bases, which would ruin the airtight seal.
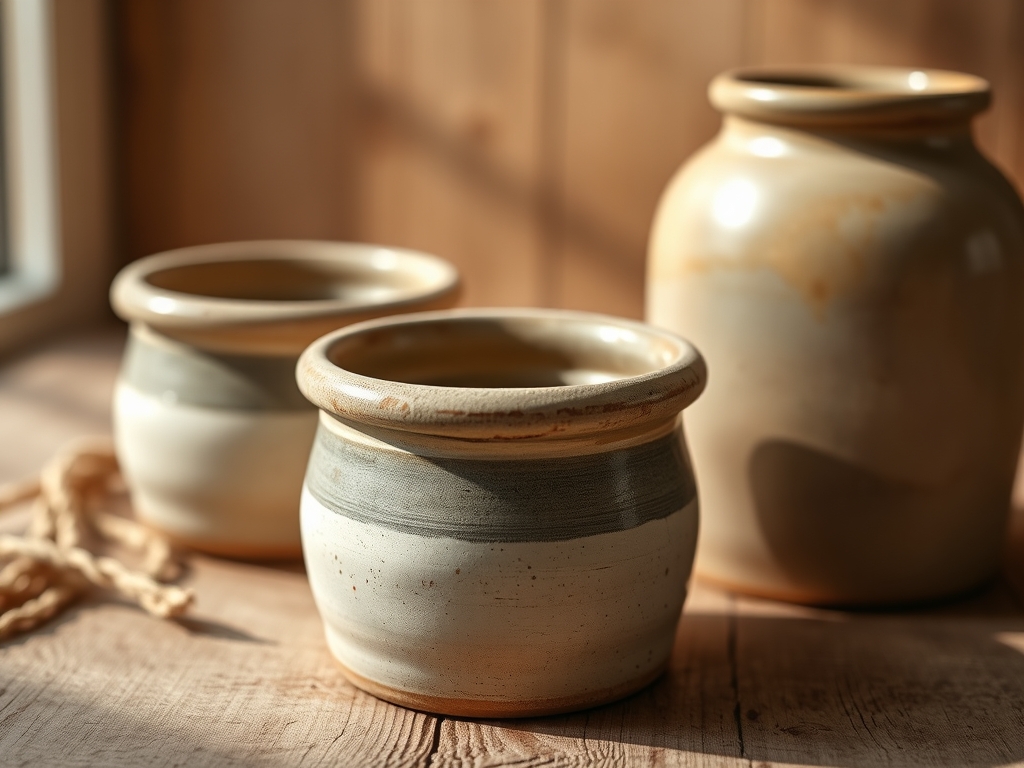
THE FINAL REVEAL
The finished Hand Thrown Butter Crocks are a triumph of engineering and aesthetic grace. When you lift the lid, you should feel a slight resistance from the water seal; a satisfying "pop" that signals the vacuum has been broken. The butter inside remains soft, cool, and perfectly preserved. The glaze should catch the light, highlighting the subtle throwing rings that prove this was made by human hands. It is a functional sculpture that brings a piece of French culinary history right onto your breakfast table.
STUDIO QUESTIONS
Why does my butter fall out of the bell?
This usually happens because the butter was too warm when packed or the bell's interior is too smooth. Ensure the bell is bone dry and slightly textured inside. Pack the butter firmly to eliminate air pockets that cause slipping.
How often should I change the water?
For maximum freshness, change the water every two to three days. Use cold, filtered water to maintain a clean seal. This prevents the growth of mold and ensures the evaporative cooling system functions at peak efficiency for the butter.
Can I use any type of clay for this?
No, you must use a vitrified clay body like stoneware or porcelain. Low fire earthenware is too porous and will allow water to seep through the walls, eventually causing the butter to spoil or the crock to leak on your counter.
What is the best way to clean the crock?
Most vitrified stoneware is dishwasher safe. However, for the best longevity, hand wash with warm soapy water and a soft brush. Ensure the unglazed rims are thoroughly dried before refilling to prevent any moisture from trapped bacteria.
Why is my lid wobbling on the base?
Wobbling occurs due to uneven drying or warping in the kiln. To fix this, you can use a flat piece of glass with valve grinding compound to sand the two meeting surfaces together until they create a perfectly flat, stable connection.

