
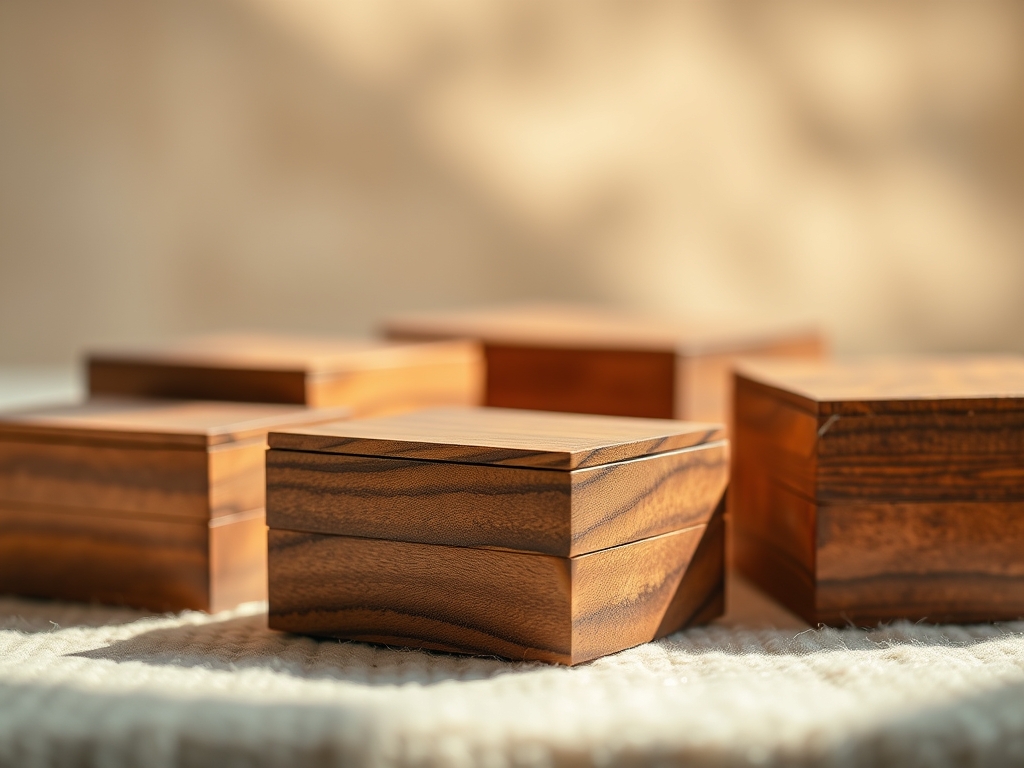
Imagine the scent of freshly planed walnut meeting the heavy, regal perfume of silk-backed velvet. There is a specific, electric thrill that happens when you run your fingers over the raw grain of Custom Wood Jewelry Boxes and realize you are about to marry that organic texture with something as decadent as crushed velvet. We are not just making a container; we are engineering a sanctuary for heirlooms. When you line a box, you are managing the intersection of friction and aesthetics. The velvet acts as a shock absorber, protecting soft metals like 24k gold from the abrasive micro-scratches caused by wood lignin. We are diving deep into the physics of the perfect fit. This is where your inner engineer meets your inner stylist. We are looking for that satisfying "whoosh" of air escaping as the velvet-lined tray slides into place. It is about precision, the tensile strength of the fabric, and the way light bounces off the pile. Let us get our hands dirty and our results polished.
THE STUDIO KIT
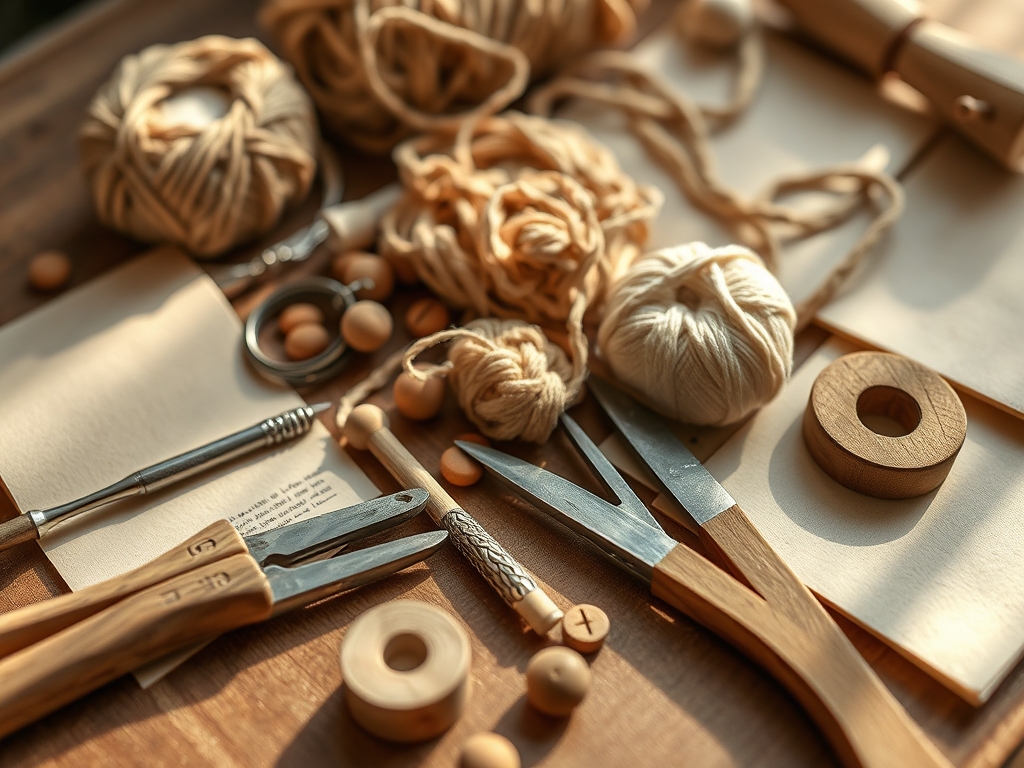
To achieve professional results, your workbench needs to look like a cross between a tailor's shop and a luthier's studio. You will need a rotary cutter with a fresh tungsten carbide blade for zero-fray edges. Grab a bone folder to burnish the fabric into the tight 90-degree corners of your Custom Wood Jewelry Boxes. For measurements, put away the tape measure and use digital calipers to get readings down to the millimeter; velvet has a thickness (pile height) that must be accounted for in your internal dimensions. You will also need pH-neutral archival glue to prevent the silver from tarnishing over time.
Material Substitutions: If you cannot source high-density silk velvet, look for synthetic microsuede or flocked paper. Microsuede offers incredible durability and is less prone to "crushing" under the weight of heavy watches. Flocked paper is excellent for beginners because it has zero stretch, though it lacks the tactile luxury of a true textile. Avoid standard craft felt; the fibers are too loose and can snag on delicate earring posts.
THE TEMPO
The "Maker's Rhythm" is all about respecting the cure times. You cannot rush the bond between porous wood and non-porous adhesive.
Phase 1: The Blueprint (20 Minutes). This is the mental heavy lifting. You are measuring, calculating the "take-up" of the fabric, and dry-fitting your mirror.
Phase 2: The Cut (15 Minutes). This requires a steady hand and a high-tension cutting mat.
Phase 3: The Application (45 Minutes). This is the flow state. You are applying adhesive, waiting for the "tack" stage, and seating the velvet.
Phase 4: The Cure (24 Hours). The most difficult part. You must leave the box open in a dust-free environment to allow the moisture to evaporate without warping the wood or fogging the mirror.
THE CORE METHOD
1. Preparing the Substrate
Before any fabric touches the wood, the interior surfaces must be sanded to at least 320 grit. Even though the wood will be covered, any high spots or burrs will telegraph through the velvet, creating unsightly lumps. Use a tack cloth to remove every microscopic particle of sawdust.
Mastery Tip: This is about surface energy. A clean, slightly scuffed surface allows the adhesive to create a mechanical bond with the wood fibers. If the wood is too oily (like teak or rosewood), wipe it down with denatured alcohol first to ensure the glue does not delaminate.
2. Sizing the Mirror Inset
Your mirror should be 1/16th of an inch smaller than the lid cavity. This "reveal" allows the velvet to wrap around the edges of the mirror, creating a seamless transition. Use a glass cutter with a drop of oil for a clean snap.
Mastery Tip: Mirrors are heavy. Use a neutral-cure silicone rather than standard wood glue. Standard adhesives can eat through the silver nitrate backing of the mirror over time, causing "black edge" or desilvering.
3. The Precision Fabric Cut
Lay your velvet face down on the cutting mat. Using your calipers, measure the depth of the box walls and the width of the floor. Add these together, plus a 1/4 inch margin for "turning the edge." Use a heavy steel ruler to weigh down the fabric so it does not shift under the rotary blade.
Mastery Tip: Pay attention to the grain direction (the nap) of the velvet. Ensure the nap runs the same way on all panels. If the nap is inconsistent, the panels will appear to be different colors when light hits them, a phenomenon known as dichroism.
4. Adhesive Mapping
Apply a thin, even layer of contact cement or archival PVA glue to the wood, not the fabric. Use a stiff-bristled brush to ensure the corners are saturated but not puddling. Wait for the glue to become "tacky" to the touch.
Mastery Tip: This utilizes capillary action. If the glue is too wet, it will soak through the fabric backing and ruin the pile (wicking). By waiting for the tack stage, the adhesive stays on the surface of the fibers, creating a structural bond without the mess.
5. Seating and Burnishing
Start from the center of the box floor and work outward. Use your bone folder to press the velvet into the corners. Once the floor is set, move up the walls. The "tuck" at the corner should be a precise 45-degree miter.
Mastery Tip: Use the principle of tensile loading. Do not pull the fabric too tight, or it will "bridge" the corners, leaving a gap behind the velvet. You want the fabric to relax into the geometry of the box.
6. The Mirror Reveal
Apply the mirror to the lid last. Press it firmly into the velvet-lined recess. The velvet should "lip" over the edge of the glass slightly, holding it in a soft, protective embrace.
Mastery Tip: This creates a compression seal. The slight pressure of the velvet against the glass edges prevents dust from migrating behind the mirror, keeping your reflection crisp for decades.
THE TECHNICAL LEDGER
Maintenance & Longevity: To keep your Custom Wood Jewelry Boxes in museum condition, avoid direct sunlight, which can UV-fade the velvet and dry out the wood. Use a soft-bristled jewelry brush to "groom" the nap of the velvet once a year.
Material Variations:
- Sustainable: Organic bamboo velvet paired with reclaimed white oak.
- Premium: Italian silk velvet with a 2,000-thread count, paired with African Ebony.
- Recycled: RPet velvet (made from recycled bottles) which offers incredible stain resistance.
The Correction:
- The Bubble: If a bubble forms, use a fine-gauge hypodermic needle to inject a tiny drop of glue, then burnish flat.
- The Fray: If an edge frays, use a microscopic amount of "fray check" or clear nail polish on a toothpick to seal the fibers.
- The Glue Leak: If glue hits the pile, wait for it to dry completely, then gently "pick" it out with a fine-point awl. Never rub wet glue.
Studio Organization: Store your velvet rolls vertically. Laying them flat creates "crush marks" that are nearly impossible to steam out. Keep your mirrors in acid-free paper to prevent oxidation before installation.
THE FINAL REVEAL
There it is. You have transformed a simple wooden shell into a masterpiece of engineering and style. When you open the lid of your Custom Wood Jewelry Boxes, the mirror catches the light, and the velvet glows with a deep, internal fire. The precision of your miters and the smoothness of the pile are testaments to your mastery of the materials. It feels expensive because it is built on a foundation of physics and patience. Your jewelry is no longer just "stored"; it is curated.
STUDIO QUESTIONS
What is the best adhesive for velvet linings?
Use a pH-neutral archival PVA glue or a high-quality contact cement. These prevent "wicking" through the fabric and ensure the metal in your jewelry does not tarnish from acidic off-gassing over long periods of time.
How do I prevent the velvet from fraying?
Always use a sharp rotary cutter rather than scissors. For high-wear areas, apply a thin bead of fabric sealant to the edges. Ensure the fabric is cut slightly oversized so edges can be tucked and hidden.
Can I use a mirror in the bottom of the box?
Technically yes, but it is not recommended for the floor. Heavy jewelry can crack the glass. It is better to keep the mirror in the lid where it is protected and serves a functional purpose for the wearer.
How do I clean dust out of the velvet?
Use a piece of low-tack masking tape or a specialized mini vacuum attachment. Never use water or liquid cleaners, as they can collapse the pile of the velvet and leave permanent water spots on the fabric surface.
What wood works best with velvet?
Hardwoods like Walnut, Cherry, and Maple are ideal. They have a tight grain structure that provides a smooth substrate for the adhesive, ensuring the velvet lays perfectly flat without any telegraphing of the wood grain through the material.

