
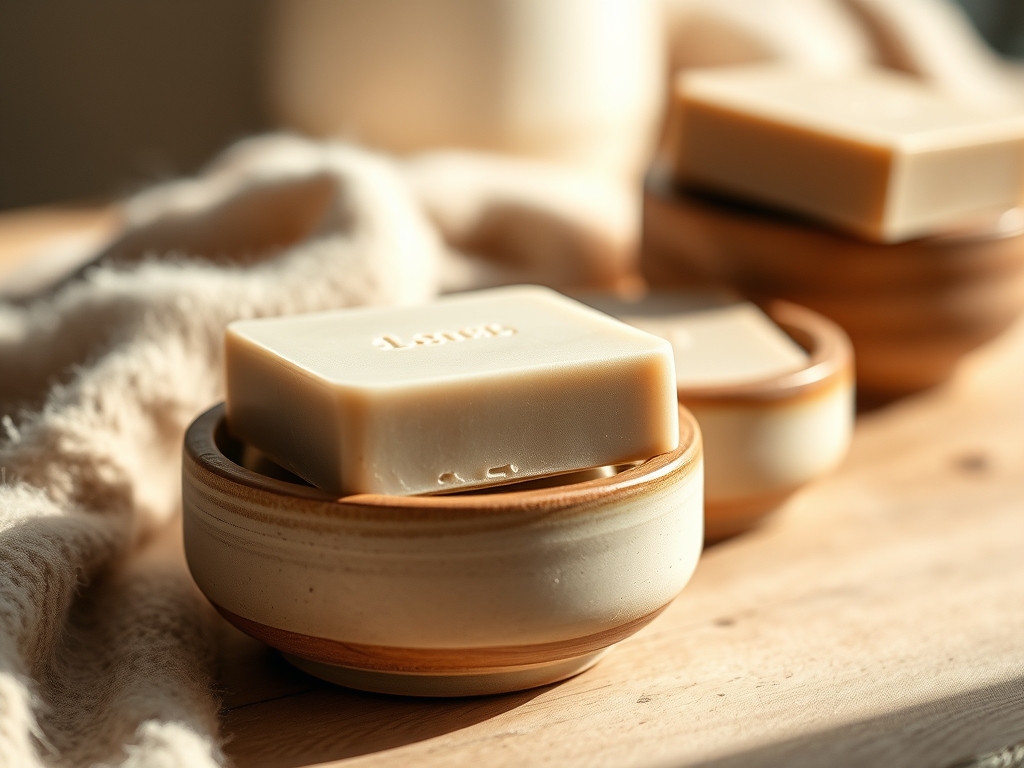
The cold, damp weight of the clay slab hits the wheel head with a satisfying thud that resonates right through your palms. There is a specific kind of magic in transforming a shapeless lump of earth into functional art; specifically, these Hand Thrown Soap Dishes are the ultimate marriage of utility and rustic charm. As you kick the wheel into motion, the centrifugal force fights against your centering hands; you have to find that sweet spot of resistance where your skeletal structure does the heavy lifting rather than just your muscles. The smell of wet minerals and the slick, tactile slide of slurry between your fingers sets the stage for a project that is as much about physics as it is about aesthetics. We are aiming for a piece that feels heavy enough to stay put on a porcelain rim but refined enough to showcase the delicate throwing rings of the maker. This is not just about a dish; it is about controlling the moisture content and surface tension of the clay to create a vessel that breathes and drains perfectly in a steamy farmhouse bathroom environment.
THE STUDIO KIT
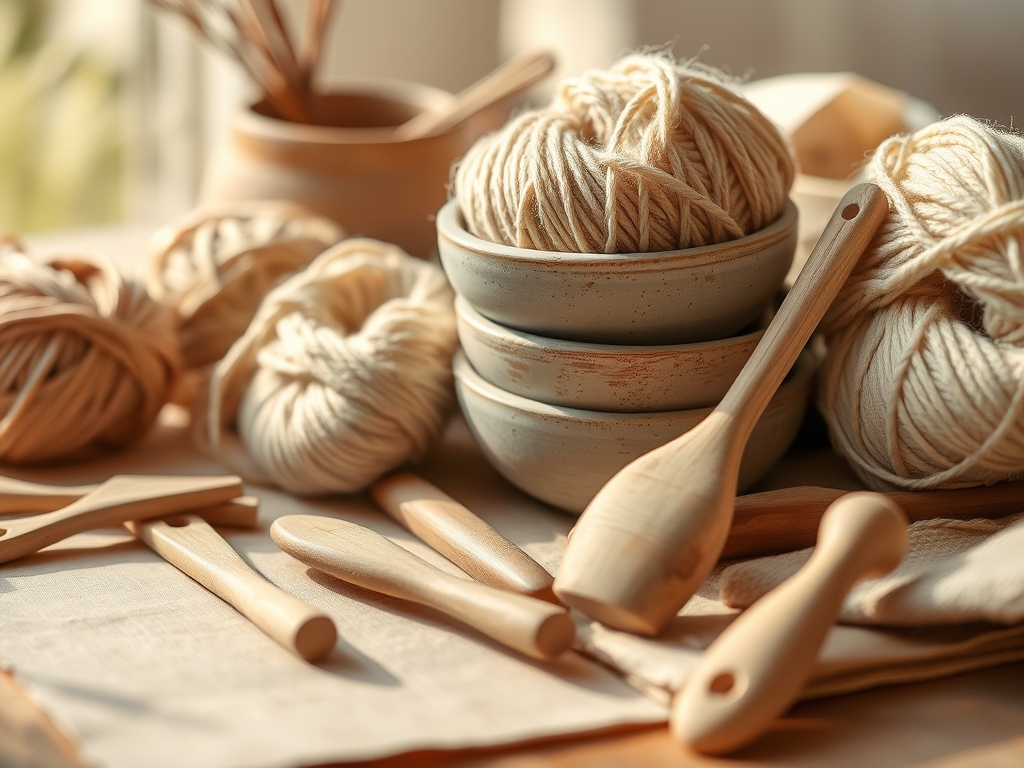
To execute these pieces with professional precision, you need a kit that respects the tensile strength of your medium. Start with a high-fire stoneware clay body; preferably one with a fine grog content to provide structural integrity during the drying phase. You will need a set of stainless steel calipers to ensure the diameter of your dishes remains consistent across a set. A wire clay cutter with a high-gauge tension is essential for a clean release from the bat. For the drainage details, keep a needle tool and a small sponge on hand to soften any sharp edges that could snag a bar of soap.
Material Substitutions: If you cannot source a specific stoneware, a terra cotta body works beautifully for a Mediterranean rustic look, though you must adjust your firing temperatures to prevent over-vitrification. Instead of a professional throwing rib, a stiff piece of recycled plastic or an old credit card can be used to burnish the exterior walls, compressing the particles to reduce porosity.
THE TEMPO
The "Maker's Rhythm" for ceramics is dictated entirely by the evaporation rate of water. You cannot rush the clay; you can only negotiate with it. The initial throwing phase is fast and high-energy, taking roughly fifteen minutes per dish. However, the true work happens in the quiet intervals. You must allow the pieces to reach a leather-hard state, which typically takes twelve to twenty-four hours depending on your studio's humidity levels.
Once the clay has lost its plasticity but retains enough moisture to be carved without shattering, you enter the trimming and piercing phase. This requires a steady, meditative pace of about thirty minutes per piece. Following this, the "Big Wait" begins; a slow, seven-day drying period to ensure all chemically combined water is evaporated before the first bisque fire. Rushing this stage leads to steam explosions in the kiln, a heartbreak we definitely want to avoid.
THE CORE METHOD
1. Centering and Opening the Mound
Start by slapping a one-pound ball of clay onto the center of the bat. Use the heel of your hand to push the clay toward the center while the wheel spins at high speed. Once the clay stops wobbling, use your thumbs to press a shallow, wide well into the center.
Mastery Tip: This stage relies on centripetal force. By keeping your elbows tucked into your hips, you use your body weight to stabilize the clay, ensuring the grain of the clay particles is aligned in a tight, circular pattern for maximum strength.
2. Pulling the Low Walls
Slow the wheel down to a moderate tempo. Hook your fingers and gently pull the clay outward and slightly upward to create a low, flared rim. The walls should be approximately half an inch thick to withstand the daily "clunk" of a heavy soap bar.
Mastery Tip: Pay attention to the hydrostatic pressure of your wet hands against the clay. If you pull too fast, you risk thinning the walls unevenly; if you pull too slow, the clay becomes oversaturated and loses its structural "memory," leading to a collapsed rim.
3. Creating the Drainage Slope
While the wheel is still spinning slowly, use a wooden modeling tool to create a slight interior slope toward the center or one side. This ensures that water does not pool under the soap, which would otherwise cause the bar to disintegrate.
Mastery Tip: This involves calculating the angle of repose for the water runoff. A three-degree incline is usually sufficient to encourage capillary action, pulling the moisture away from the soap's surface and toward the drainage holes.
4. Piercing for Airflow
Once the dish is leather-hard, use a hollow drill tool or a needle tool to punch five to seven holes in the bottom of the well. Arrange them in a star or circular pattern for visual balance.
Mastery Tip: Always pierce from the inside out to prevent the clay from "burring" on the surface where the soap sits. This maintains the ergonomic smoothness of the dish and prevents the soap from sticking to rough edges.
5. Applying the Rustic Glaze
After the bisque fire, dip your dishes into one of our seven rustic glazes. For a farmhouse look, "Oatmeal Speckle" or "Weathered Iron" are top-tier choices. Ensure the bottom of the dish is wiped clean of glaze to prevent it from fusing to the kiln shelf.
Mastery Tip: Glaze fit is a matter of coefficient of thermal expansion. You want a glaze that shrinks at the same rate as your clay body during cooling to prevent "crazing" (tiny cracks), which can harbor bacteria in a bathroom setting.
THE TECHNICAL LEDGER
Maintenance & Longevity: To keep your hand thrown soap dishes in peak condition, rinse them weekly with warm water to remove buildup. Because stoneware is highly vitrified, these are dishwasher safe, but hand washing preserves the delicate "bloom" of some rustic glazes.
Material Variations: For a premium upgrade, use a porcelain-stoneware blend. It offers the buttery smoothness of porcelain with the rugged durability and "tooth" of stoneware. If you are eco-conscious, reclaim your "slop" (the scrap clay from throwing) to create a marbled, recycled clay body that looks stunning under a clear matte glaze.
The Correction:
- The S-Crack: If the base of your dish cracks in an "S" shape, you didn't compress the bottom enough during throwing. Fix: Use a rib tool to firmly press down on the floor of the dish during the initial opening.
- Glaze Crawling: If the glaze pulls away in spots, the bisque was likely dusty or oily. Fix: Always wipe your bisque-ware with a damp sponge before glazing.
- Warping: If the dish turns oval during firing, it was handled too roughly while wet. Fix: Use a bat system so you never have to touch the clay until it is leather-hard.
Studio Organization: Store your drying pieces on a wire rack covered with a loose plastic sheet. This allows for even airflow around the top and bottom, preventing the edges from drying faster than the center, which is the primary cause of structural tension and cracking.
THE FINAL REVEAL
There is nothing quite like the feeling of pulling a fresh batch of dishes out of the kiln. The way a "Toasted Sage" glaze breaks over the throwing rings, revealing the dark, iron-rich clay beneath, is pure farmhouse magic. These pieces feel substantial in the hand; they have a tactile weight that mass-produced plastic simply cannot replicate. When you place one on a reclaimed wood vanity, it anchors the space with an earthy, grounded energy. You have successfully turned raw minerals into a functional heirloom that will survive decades of morning routines.
STUDIO QUESTIONS
What is the best clay for soap dishes?
High-fire stoneware is ideal because it vitrifies at high temperatures, making it non-porous and waterproof even without glaze. This prevents the dish from absorbing "soap scum" into the ceramic body itself, ensuring a hygienic and durable finish.
How do I prevent my soap from sticking?
The secret is a combination of drainage holes and a textured interior. By leaving slight throwing rings or adding carved ridges, you reduce the surface area contact between the soap and the dish, allowing air to circulate and dry the bar.
Can I use these for liquid soap?
While these are designed for bar soap, the same throwing technique can be used to create a "bottle coaster." Simply omit the drainage holes to protect your countertops from drips and rings, maintaining that cohesive rustic farmhouse aesthetic throughout the room.
Why did my glaze turn out dull?
Dullness usually indicates the kiln didn't reach the "mature" temperature for that specific glaze, or the cooling process was too slow, causing micro-crystals to form. Ensure your kiln is calibrated and check your glaze's specific firing cone requirements.

