
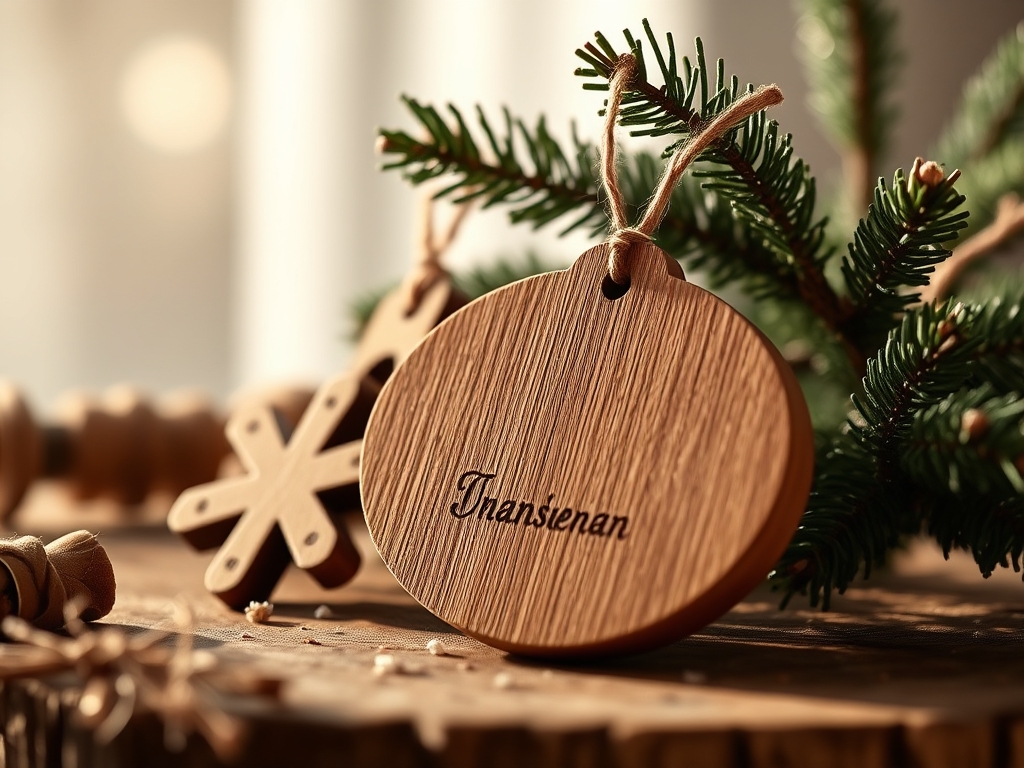
Close your eyes and listen to the high pitched hum of the workshop. Can you smell that? It is the scent of toasted cellulose and raw birch sap. There is something deeply primal about holding a sanded disc of wood; it is a tactile connection to the earth that feels both heavy and light in your palm. When we talk about creating Personalized Wooden Ornaments for the newest members of the family, we are not just making trinkets. We are manipulating organic fibers to hold a legacy. The grain of the wood acts like a fingerprint, unique and impossible to replicate. As you run your thumb over the surface, you can feel the porous density of the winter growth rings. This is the foundation of our holiday magic. We are going to take that raw, stubborn material and transform it into a shimmering heirloom using nothing but our wits and a few precision tools. Grab your apron; we are about to dive into the physics of the perfect holiday keepsake.
THE STUDIO KIT
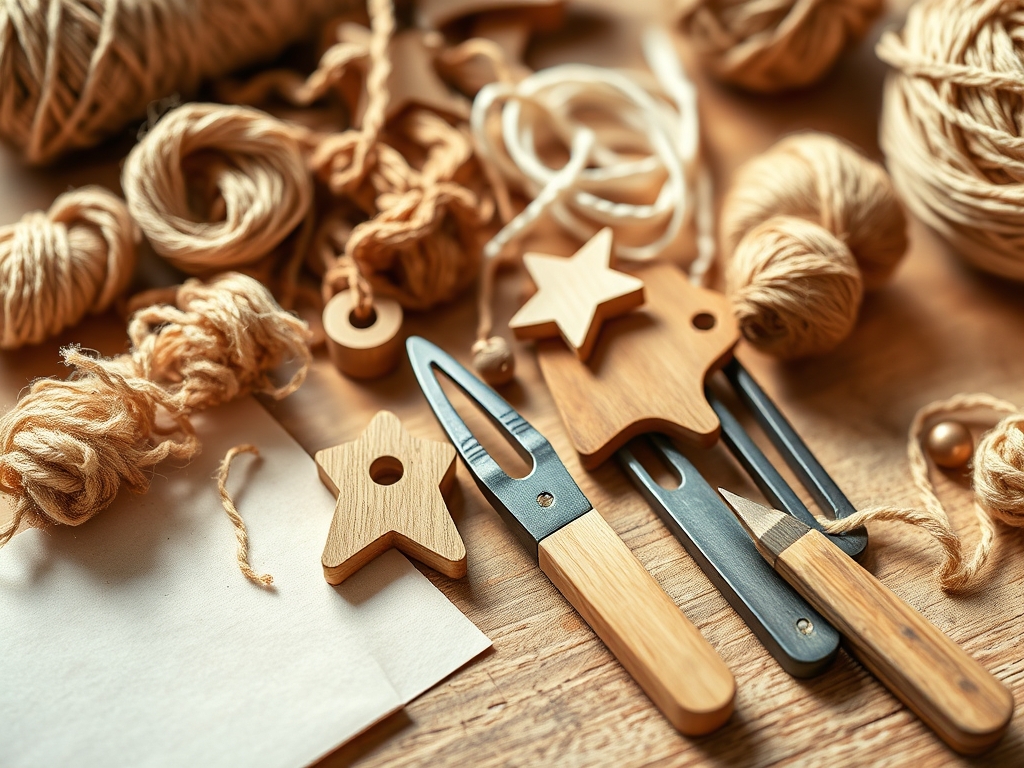
To master this craft, you need more than just enthusiasm; you need a kit that respects the tensile strength of your medium. Start with high quality Baltic birch plywood or solid maple blanks. Birch is preferred for its cross-banded layers which prevent warping under humid conditions. You will need a jeweler's saw for intricate internal cuts and a set of digital calipers to ensure your thickness is consistent to the millimeter. For the finish, gather an awl for marking pilot holes, a bone folder for smoothing any adhesive elements, and various grits of sandpaper ranging from 120 to 400.
Material Substitutions: If you cannot find maple, cherry wood offers a beautiful photodegenerative quality that darkens elegantly over time. For a vegan alternative to leather hanging loops, use high gauge waxed cotton cord. Avoid pine for small ornaments; the high resin content can gum up your saw blades and cause "tear out" along the grain lines.
THE TEMPO
The "Maker's Rhythm" is all about respecting the drying times and the physical limits of the wood. This is not a race; it is a symphony of stages. The Prep Phase takes about thirty minutes as you select blanks and map out grain directions. The Execution Phase, where the actual cutting and drilling happens, requires sixty minutes of intense focus. Finally, the Curing Phase is the longest. Depending on your choice of sealant or paint, you must allow at least four hours for the molecular bonds of the finish to stabilize. Do not rush the sanding. Each grit requires a steady, rhythmic motion to remove the scratches from the previous layer, ensuring a surface that feels like polished stone.
THE CORE METHOD
1. Mapping the Grain Direction
Before you make a single cut, you must identify the longitudinal axis of the wood fibers. Wood is strongest along the grain. When designing shapes like stars or delicate snowflakes for your Personalized Wooden Ornaments, ensure that the thinnest points of the design do not run parallel to the grain lines.
Mastery Tip: This is about structural integrity. If a narrow point follows the grain, the wood is prone to "cleaving" or splitting along the natural cellular lines. By orienting your design diagonally to the grain, you distribute the stress across multiple fiber bundles.
2. Precision Boring with the Awl
Once your shape is traced, use your awl to create a small indentation where the hanging hole will be. This prevents your drill bit from "walking" across the surface and marring the wood.
Mastery Tip: This involves displacement physics. Instead of removing material immediately, the awl compresses the fibers to create a guide. This ensures your hole is perfectly centered, maintaining the balance of the ornament when it is suspended.
3. The Jeweler's Saw Execution
Clamp your wood blank to a bench pin and use the jeweler's saw with a fine tooth blade. Keep the saw vertical and move it in long, steady strokes. Let the teeth do the work; if you push too hard, you risk snapping the blade or scorching the wood through friction heat.
Mastery Tip: This utilizes frictional thermodynamics. High speed or high pressure creates heat that can caramelize the sugars in the wood, leaving dark burn marks. A steady, slow tempo keeps the temperature low and the cut clean.
4. Graduated Sanding Sequences
Start with your coarsest sandpaper to remove tool marks, then move through the grits. Always sand in the direction of the grain to avoid creating microscopic "cross-grain" scratches that will show up once the finish is applied.
Mastery Tip: This is the science of surface refraction. A smooth surface reflects light evenly. If you leave deep scratches, light traps in the grooves, making the wood look dull. Sanding to a 400 grit creates a surface so flat that it begins to exhibit a natural luster.
5. Applying the Base Coat
Use a lint free cloth to apply a thin layer of sealant or wood conditioner. This prepares the porous surface so that your paint or ink does not bleed into the surrounding fibers through capillary action.
Mastery Tip: Wood is essentially a bundle of straws. Without a sealer, liquid pigments will travel up the "straws" (vessels), causing blurry edges on your personalization. The sealer plugs these vessels, ensuring your lines stay crisp and professional.
6. The Personalization Layer
Using a fine tip archival pen or a small brush, add the grandbaby's name and the year. This is where the piece gains its soul. Hold your breath during the long strokes to steady your hand.
Mastery Tip: Focus on viscosity. If your ink is too thin, it will run. If it is too thick, it will sit on top of the wood and peel later. Aim for a "heavy cream" consistency for the best adhesion to the prepped surface.
7. The Final Burnish
After the ink is completely dry, use a bone folder or a smooth piece of hardwood to rub the surface gently. This "burnishing" technique presses down any raised fibers and gives the ornament a professional, high end feel.
Mastery Tip: This process is called mechanical compression. By physically flattening the surface fibers, you increase the density of the top layer, making it more resistant to moisture and handling over the years.
THE TECHNICAL LEDGER
Maintenance & Longevity: To keep these ornaments pristine for decades, avoid storing them in attics or basements where temperature fluctuations are extreme. Wood is hygroscopic, meaning it absorbs and releases moisture from the air. Rapid changes can cause the wood to shrink or swell, leading to cracks in the finish.
Material Variations: For a premium feel, try using reclaimed walnut from old furniture. It has a high oil content and a tight grain that finishes beautifully. For a sustainable option, look for FSC-certified bamboo ply, which offers incredible tensile strength and a unique linear aesthetic.
The Correction:
- The Splinter: If the wood splinters during cutting, use a tiny drop of cyanoacrylate glue (super glue) to seal the fiber back down before sanding.
- The Bleed: If your ink runs, you likely skipped the sealer. Sand the area back down to the raw wood, apply a "wash coat" of shellac, and try again.
- The Warp: If the ornament bows, it was likely dried too fast. Place it between two heavy books for 48 hours to "reset" the fiber memory.
Studio Organization: Store your completed ornaments in acid free tissue paper inside a cedar box. Cedar naturally repels insects that might be attracted to the wood starch, ensuring your Personalized Wooden Ornaments remain heirloom quality.
THE FINAL REVEAL
Look at that! You have successfully navigated the complex world of timber physics and artistic flair. Your finished Personalized Wooden Ornaments are not just decorations; they are engineered marvels. The way the light catches the burnished edges and the way the grain peaks through the personalization is nothing short of breathtaking. These pieces feel substantial in the hand, carrying the weight of the love you have for those grandbabies. You have turned a simple slab of birch into a time capsule that will hang on a tree for generations to come. You should be incredibly proud of your technical mastery and your creative heart.
STUDIO QUESTIONS
What is the best wood for beginners?
Baltic birch is the gold standard for beginners. It offers incredible stability due to its layered construction. It is less likely to warp or split than solid wood, making it very forgiving during the cutting and drilling phases.
How do I prevent my paint from fading?
Use pigments with a high lightfastness rating. Always finish your ornament with a UV-resistant clear coat. This creates a protective barrier that prevents the sun's rays from breaking down the chemical bonds of the pigment over time.
Can I use a laser cutter instead of a saw?
Yes, but be aware of the "char" layer. A laser burns through the wood, leaving carbonized edges. You must sand this carbon off completely before applying any finish, or the black soot will smudge and ruin your personalization.
What is the best way to clean wooden ornaments?
Use a dry, soft microfiber cloth to remove dust. Never use water or chemical cleaners, as these can penetrate the wood fibers and cause swelling or discoloration. If a stain occurs, a very light sanding is the safest repair.
Why does my wood feel "fuzzy" after painting?
This is called "grain raise." When water based paints hit the wood, the fibers absorb the moisture and swell upward. To fix this, lightly sand the surface with 400 grit sandpaper after the first coat of sealer is dry.

