
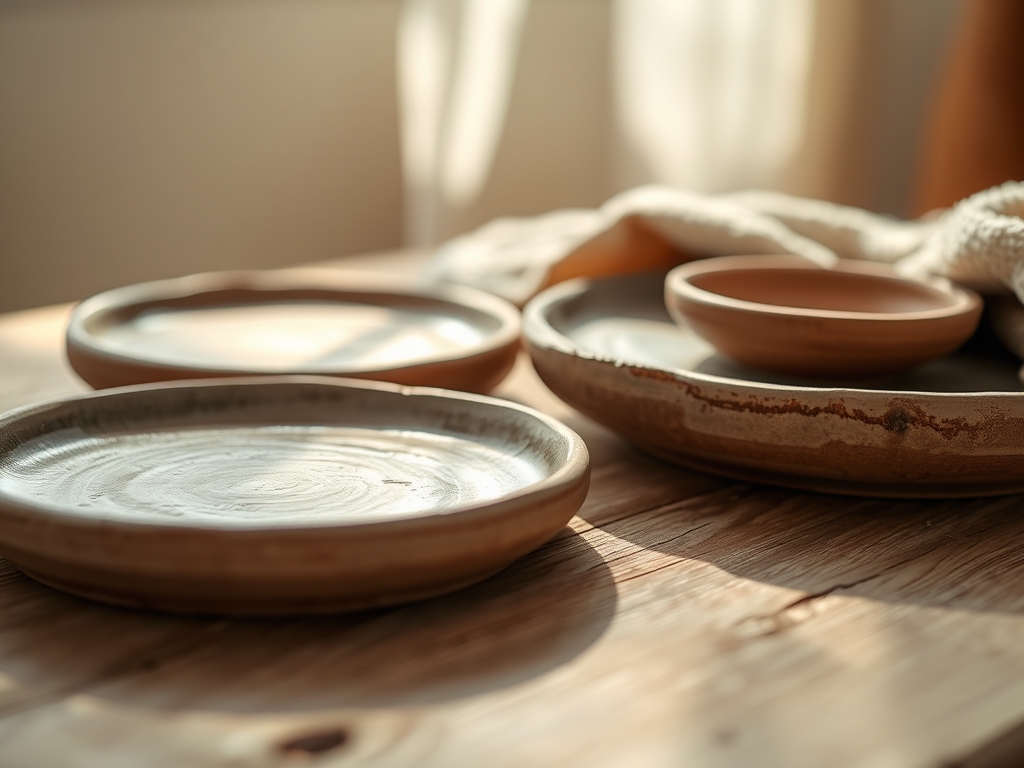
The smell of damp earth meets the sharp, metallic tang of cold steel as you sit down at the workbench. There is a specific weight to Hand Thrown Serving Trays that demands respect; they are dense, cool to the touch, and possess a structural integrity that only fire and clay can provide. When you run your thumb along the rim, you feel the microscopic ridges left by the potter's ribs. These are not just objects; they are canvases for utility. But here is the catch: a tray is only as reliable as its grip. We are looking for that perfect marriage of tensile strength and ergonomic curvature. If the handle fails, the tea service ends in a tragedy of shattered stoneware. We are diving deep into the physics of attachment today, focusing on how different materials react to the sheer force of a fully loaded platter. It is about the friction between your palm and the surface, the way the weight distributes across the grain, and the satisfaction of a bond that will never budge.
THE STUDIO KIT
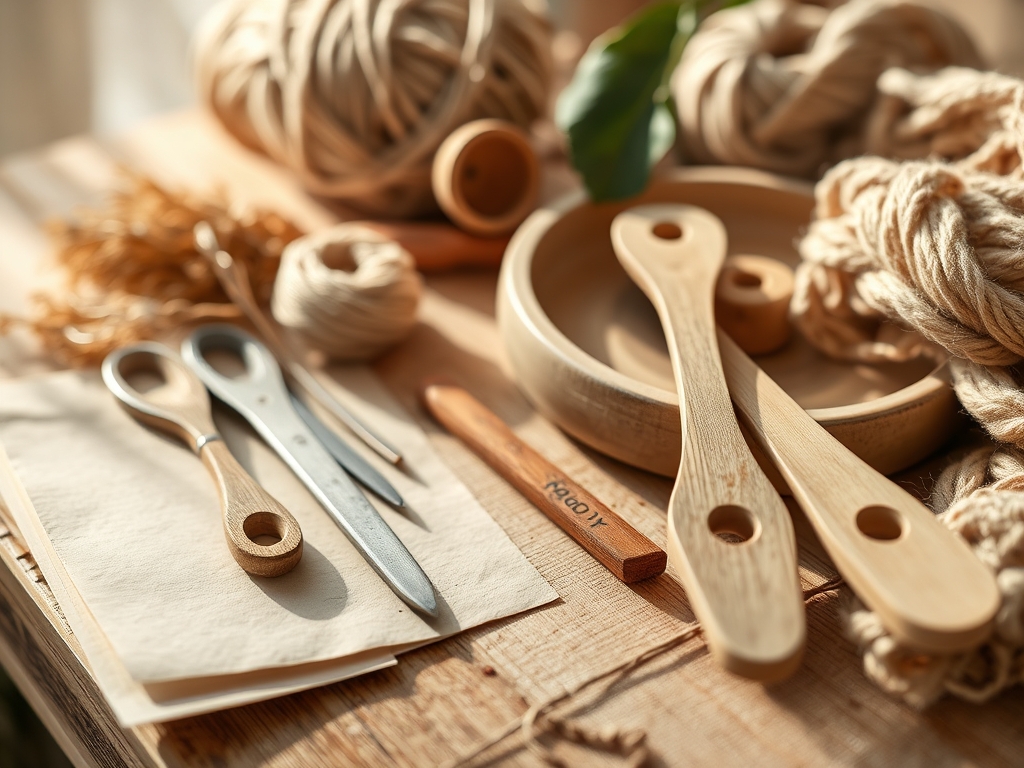
To master these builds, your workstation needs to look like a cross between a laboratory and a high-end woodshop. You will need a set of **digital calipers** for precise thickness matching; even a two-millimeter variance can throw off the center of gravity. For the leather components, a **rotary cutter** with a tungsten carbide blade ensures a clean edge without compressing the fibers. If you are working with wood, keep a **burnishing tool** and various grits of sandpaper nearby to manage grain raise. For metal accents, a **jeweler’s saw** and a high-density rubber bench block are non-negotiable for shaping.
Material Substitutions: If you cannot source premium vegetable-tanned leather, look for high-density recycled rubber gaskets; they offer incredible grip and are completely waterproof. Instead of solid brass rods, you can use stainless steel threaded bolts for an industrial aesthetic, provided you use nylon-insert lock nuts to prevent vibration loosening. For the wood lovers, if white oak is unavailable, black walnut provides excellent rot resistance and a beautiful dark contrast against light-colored glazes.
THE TEMPO
The "Maker's Rhythm" is all about respecting the drying and curing cycles of your materials. You cannot rush the molecular bonding of adhesives or the moisture equalization of organic fibers. Phase one is the Architectural Draft, taking roughly forty-five minutes to map out the drill points and weight distribution. Phase two is the Material Prep, which spans two hours of cutting, sanding, and treating your handle components to ensure they are hydrophobic. Phase three is the Mechanical Marriage, the actual assembly, taking sixty minutes of intense focus. Finally, allow a twenty-four-hour Stasis Period for all epoxies or oils to fully polymerize before the tray sees its first teapot.
THE CORE METHOD
1. The Sculpted Lug
Start by creating clay extensions directly on the Hand Thrown Serving Trays while they are in the leather-hard state. You want to use a "score and slip" method, but with a twist: use a vinegar-based slip to break down the surface tension of the clay particles for a deeper weld.
Mastery Tip: This relies on capillary action; the vinegar pulls the clay particles together at a microscopic level, creating a monolithic bond rather than a simple surface attachment.
2. The Bolted Bridle
For a modern look, drill holes into the rim of the tray using a diamond-core bit under a constant drip of water. Thread a thick strip of 8-ounce leather through the holes and secure it with Chicago screws.
Mastery Tip: Ensure the leather is "tempered" by flexing it repeatedly before installation. This prevents creep, where the material permanently deforms under a heavy load.
3. The Steam-Bent Ash
Ash wood is famous for its elastic modulus. Soak thin strips in boiling water for thirty minutes, then clamp them into a jig to create a perfect "U" shape. Once dry, bolt these to the sides of the tray.
Mastery Tip: Wood cells are like bundles of straws; steam softening allows the lignin to become plastic, letting you reshape the "straws" without snapping the fibers.
4. The Braided Jute Wrap
If your tray has pre-existing ceramic loops, wrap them in high-density jute twine. Use a clove hitch knot at the start and finish, pulling with significant force to ensure a tight fit.
Mastery Tip: This increases the coefficient of friction between your hand and the handle, which is vital when condensation from a cold pitcher makes surfaces slick.
5. The Cold-Forged Copper
Copper is highly malleable. Use a ball-peen hammer to work-harden a copper rod into a flattened arc. The hammering process actually rearranges the crystal structure of the metal, making it stiffer.
Mastery Tip: Work-hardening increases the yield strength of the copper, ensuring the handle doesn't sag when you lift a heavy tray of snacks.
6. The Driftwood Inlay
Find a piece of weathered wood and use an oscillating tool to carve a flat mating surface. Attach this to the tray using a food-safe, two-part marine epoxy.
Mastery Tip: Epoxy creates a cross-linked polymer chain that bridges the gap between the porous wood and the vitrified ceramic, making it nearly impossible to shear off.
7. The Woven Willow
Willow branches are incredibly resilient. Harvest them while "green" and weave them through pre-drilled holes in the tray's gallery. As they dry, they will shrink and tighten around the ceramic.
Mastery Tip: This utilizes radial shrinkage to create a mechanical lock that requires no hardware or adhesives.
8. The Industrial Rebar
For a brutalist vibe, use thin-gauge rebar bent into a geometric handle. Coat the metal in a clear polyurethane to prevent oxidation and rust transfer to the tea towels.
Mastery Tip: The ridges on rebar provide excellent mechanical bite for your fingers, preventing the tray from tilting during transport.
9. The Resin-Poured Grip
Create a mold around a simple wire frame and pour a high-strength casting resin mixed with sand for texture. This allows for a completely custom ergonomic fit tailored to your hand size.
Mastery Tip: The sand acts as a structural aggregate, increasing the impact resistance of the resin so it won't chip if bumped against a stone countertop.
THE TECHNICAL LEDGER
Maintaining Hand Thrown Serving Trays requires a dual approach. For the ceramic body, a simple wipe-down is sufficient, but the handles need specific care. Leather should be treated with neatsfoot oil every six months to maintain suppleness. Wood handles require a fresh coat of butcher block conditioner to prevent the grain from checking.
Material Variations: For a sustainable twist, use reclaimed teak from old furniture; its high oil content makes it naturally water-resistant. For a premium feel, solid brass hardware provides a weight and patina that only improves with age.
The Correction:
- Loose Bolting: If a handle wobbles, do not just tighten the screw. Add a silicone washer between the metal and the ceramic to absorb vibrations and prevent cracking.
- Leather Stretching: If leather handles become too long, soak them in warm water and dry them rapidly near a heat source to induce collagen shrinkage.
- Epoxy Failure: If a bond snaps, it is usually due to "surface bloom." Sand both surfaces with 80-grit paper to increase the surface area before re-applying the adhesive.
Studio Organization: Store your trays vertically in a padded rack to prevent "point loading" on the handles. Never stack trays with different handle materials, as the harder material (like steel) will inevitably scratch the softer one (like wood or leather).
THE FINAL REVEAL
There is nothing quite like the moment you lift a finished tray and feel that absolute stability. The weight is balanced, the grip is secure, and the aesthetic is a perfect reflection of your craft. Your Hand Thrown Serving Trays are no longer just pottery; they are high-performance tools for hospitality. Whether it is a sunny afternoon tea or a heavy evening charcuterie spread, these handles are engineered to endure. The contrast of the organic clay against the precision-engineered handles creates a tactile experience that your guests will notice the second they reach for a scone.
STUDIO QUESTIONS
Why do my leather handles feel slimy when wet?
This is usually caused by excessive tannins or cheap dyes leaching out. To fix this, thoroughly clean the leather with saddle soap and seal it with a high-quality acrylic resolene to create a waterproof barrier.
Can I put trays with wood handles in the dishwasher?
Absolutely not. The high heat and humidity will cause the wood to reach its fiber saturation point, leading to warping, cracking, and the eventual failure of the adhesive bonds or mechanical fasteners.
What is the best drill bit for ceramic trays?
A diamond-tipped hole saw or a spear-point carbine bit is essential. Always use a slow RPM and a constant stream of water to dissipate heat and prevent thermal shock to the ceramic.
How do I prevent my metal handles from rusting?
Apply a microcrystalline wax (like Renaissance Wax) to the metal. This creates an airtight seal that is much more durable than standard oils and won't rub off on your hands during use.
My tray is unbalanced; can I fix it with handles?
Yes. Use asymmetrical handle placement or choose a heavier material (like solid steel) for the handle on the lighter side of the tray to shift the center of mass back to the midpoint.

