
Wet clay is a fickle, gorgeous beast that demands your full attention before it even touches the wheel. You can feel the grit of the grog against your palms; it is a tactile reminder that you are working with ancient, decomposed granite. When we talk about Hand Thrown Oil Bottles, we are not just making containers. We are engineering fluid dynamics. The weight of the clay must be centered with absolute precision because the neck of an oil bottle is its most vulnerable structural point. If your centrifugal force is off by even a millimeter, that elegant taper will wobble and collapse under its own weight during the final pull. I love the smell of damp earth in the studio; it signals the start of a session where physics meets art. We are aiming for a balance between the tensile strength of the clay body and the delicate, ergonomic curve that a chef needs for a controlled pour. Grab your apron and let us get messy with some high-level ceramic engineering.
THE STUDIO KIT
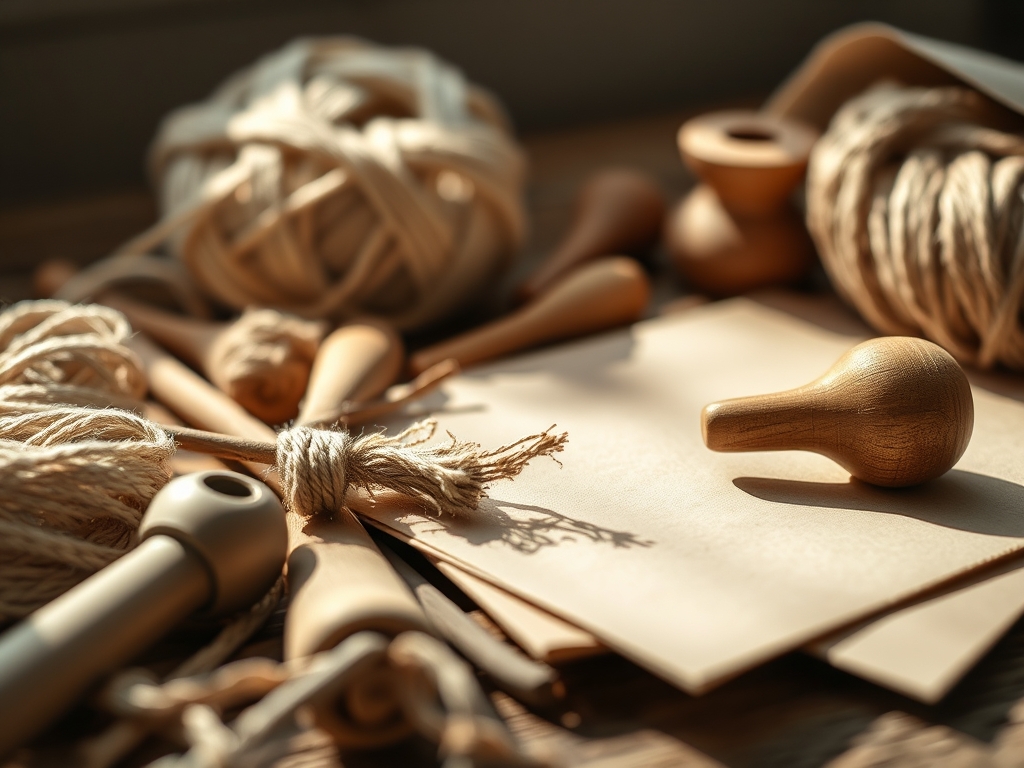
To master these six elegant neck profiles, your tool kit must be as sharp as your focus. You will need a high-torque potter wheel capable of maintaining steady RPMs under pressure. For the fine details, keep your stainless steel calipers close; consistency is the hallmark of a professional set. You will also need a flexible mud tool rib for compressing the exterior walls and an elephant ear sponge for controlled moisture application. For the interior, a long-handled wooden rib helps maintain wall thickness where your hand cannot reach.
Material Substitutions: If you cannot find a high-fire stoneware with heavy grog, you can substitute a porcelain-stoneware blend. This offers the smoothness of porcelain with the structural integrity of stoneware. If you lack a professional needle tool, a heavy-gauge sewing needle corked into a wine stopper works in a pinch for trimming the rim. Always ensure your water bucket is lukewarm to prevent hand fatigue and to keep the clay particles supple during the lamination process of the throw.
THE TEMPO
The "Maker's Rhythm" is a three-act play. Act one is the preparation phase, taking about 20 minutes to wedge your clay and remove every microscopic air bubble. Air pockets are the enemy of structural integrity; they cause uneven expansion in the kiln. Act two is the active throwing phase, which takes roughly 15 to 30 minutes per bottle depending on the complexity of the neck. This is where you find your flow state.
Act three is the slow cure. You cannot rush the drying process of a narrow-necked vessel. Because the rim dries faster than the heavy base, you must use a humidity tent for at least 48 hours. This allows the moisture to equalize, preventing the dreaded "S-crack" at the bottom. Total production time from raw clay to the final glaze fire usually spans 10 to 14 days. Patience is a technical requirement here.
THE CORE METHOD
1. The Compressed Cylinder Base
Every elegant neck starts with a perfectly vertical cylinder. Use your palms to exert lateral pressure while the wheel spins at a medium-high velocity. You must compress the bottom floor with a wooden tool to align the clay platelets; this prevents leakage.
Mastery Tip: The science of compaction is vital. By pressing the floor of the bottle firmly, you increase the density of the clay particles, which reduces the porosity of the fired piece, ensuring the oil does not seep through the ceramic over time.
2. The Controlled Collaring Phase
To achieve a narrow neck, you must "collar" the clay. Wrap your hands around the top of the cylinder and slowly move them inward. Do not rush this; if you collar too fast, the clay will "ruffle" like a pie crust.
Mastery Tip: This involves hoop stress. As you reduce the diameter, the clay is being compressed into a smaller space. If the moisture content is too high, the wall will lose its tensile strength and buckle. Keep the clay "leather-hard" in feel but still pliable.
3. The Flared Rim for Drip Control
A chef needs a clean pour. Use your index finger to gently flare the top 5 millimeters of the neck outward. This creates a sharp edge that breaks the surface tension of the oil, preventing it from dribbling down the side of the bottle.
Mastery Tip: This utilizes the Coanda effect. A sharp, tapered edge encourages the fluid to detach cleanly from the vessel rather than following the curve of the clay body back down the neck.
4. The Ergonomic Thumb Rest
For the "Tapered Obelisk" neck style, use an awl or a small sponge to create a slight indentation halfway up the neck. This provides a tactile grip point for oily hands in a busy kitchen.
Mastery Tip: By altering the center of gravity, you make the bottle feel lighter in the hand. An ergonomic grip point reduces the torque required to tilt the bottle, making the pouring action more fluid and precise.
5. The Internal Stopper Seat
The interior of the neck must be perfectly circular to accommodate a cork or a pour spout. Use your calipers to measure the internal diameter at three different points to ensure a "true" circle.
Mastery Tip: This is about mechanical tolerances. If the neck is even slightly elliptical, the seal will fail. Consistent internal pressure during the final rotation ensures the neck remains a perfect geometric cylinder on the inside.
6. The Burnished Finish
Once the neck is shaped, use a bone folder or a smooth stone to burnish the surface. This rubs the finest clay particles into the pores, creating a natural sheen even before the glaze is applied.
Mastery Tip: Burnishing aligns the platelet structure of the clay on a microscopic level. This not only looks beautiful but also increases the structural density of the neck, making it more resistant to thermal shock during the firing process.
THE TECHNICAL LEDGER
Maintenance & Longevity: Hand thrown oil bottles should be hand washed with a soft bottle brush. Avoid the dishwasher; the high-alkaline detergents can eventually degrade the silica matrix of certain glazes.
Material Variations: For a sustainable twist, use reclaimed clay from your splash pan, but ensure it is re-wedged to a consistent specific gravity. Premium porcelain offers a higher vitrification point, making the bottle almost glass-like and completely non-porous.
The Correction:
- The Wobble: If the neck starts to oscillate, slow the wheel immediately and use a metal rib to stabilize the base.
- The Collapse: If the neck falls inward, you have used too much water. Use a heat gun for 30 seconds to stiffen the clay before attempting to pull again.
- The Thin Rim: If the rim is too sharp, it will chip. Use a small piece of chamois leather to compress and round the edge during the final spin.
Studio Organization: Store your unfinished bottles in a "damp box" lined with plaster. This maintains a 90 percent humidity level, preventing the neck from drying faster than the body and ensuring even shrinkage rates.
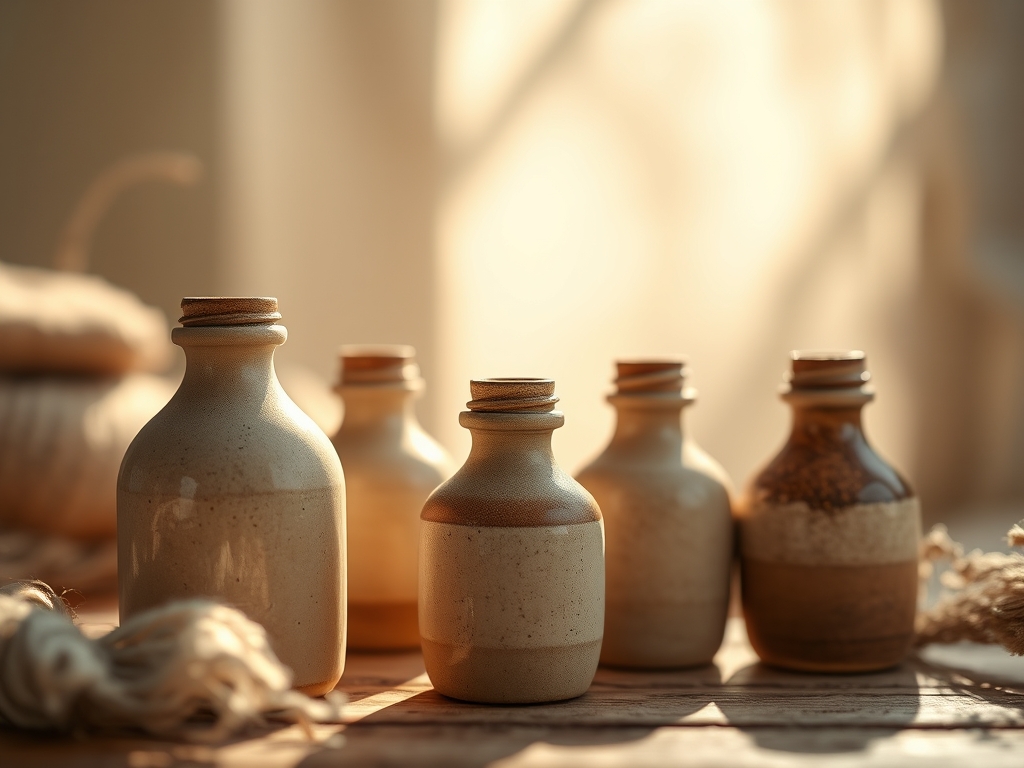
THE FINAL REVEAL
Look at those lines! A set of Hand Thrown Oil Bottles is the ultimate kitchen flex. When you hold one, you can feel the balance; the weight is distributed toward the base for stability, while the neck feels light and responsive. The way the glaze breaks over the flared rim shows off the topography of your work. These are not just tools; they are functional sculptures that turn a simple drizzle of olive oil into a choreographed performance. Your chef friends will be obsessed with the ergonomic grip and the precision of the pour.
STUDIO QUESTIONS
Why does my bottle neck keep twisting?
This usually happens because the wheel speed is too high relative to your hand movement. Slow down the RPMs and ensure your hands move in a perfectly synchronized vertical line to maintain the structural axis of the clay.
How do I prevent the bottom from cracking?
Cracks often occur due to uneven drying or trapped moisture. Always compress the floor of your Hand Thrown Oil Bottles with a wooden rib and dry the piece slowly under plastic to ensure uniform evaporation rates.
Can I use any glaze for oil bottles?
No, you must use a food-safe, chemically stable glaze. Avoid glazes with high lead or cadmium content. A high-fire feldspathic glaze is best as it creates a durable, non-reactive surface that won't be degraded by acidic oils.
What is the best clay for oil bottles?
A stoneware body with a low absorption rate (less than 1%) is ideal. This ensures the bottle is fully vitrified and won't absorb oils, which can go rancid over time if trapped in a porous ceramic wall.
How do I get a consistent neck size?
Use calipers to measure the opening while the wheel is spinning. Mark your desired width on the tool and check the neck frequently during the collaring process to ensure it matches your pour spout dimensions exactly.

